Programming a garage door opener becomes necessary the moment a remote stops responding or a power outage wipes the saved codes from the unit. Knowing how to program your garage door opener correctly means the difference between a door that works every time and one that leaves you troubleshooting in the driveway.
The process is not complicated, but it does require knowing your opener model, following the right sequence, and understanding how each type of residential garage door opener gets programmed. This guide covers every scenario in full, from a basic handheld remote to a built-in car system and a wireless keypad.
Why Programming Your Garage Door Opener Matters
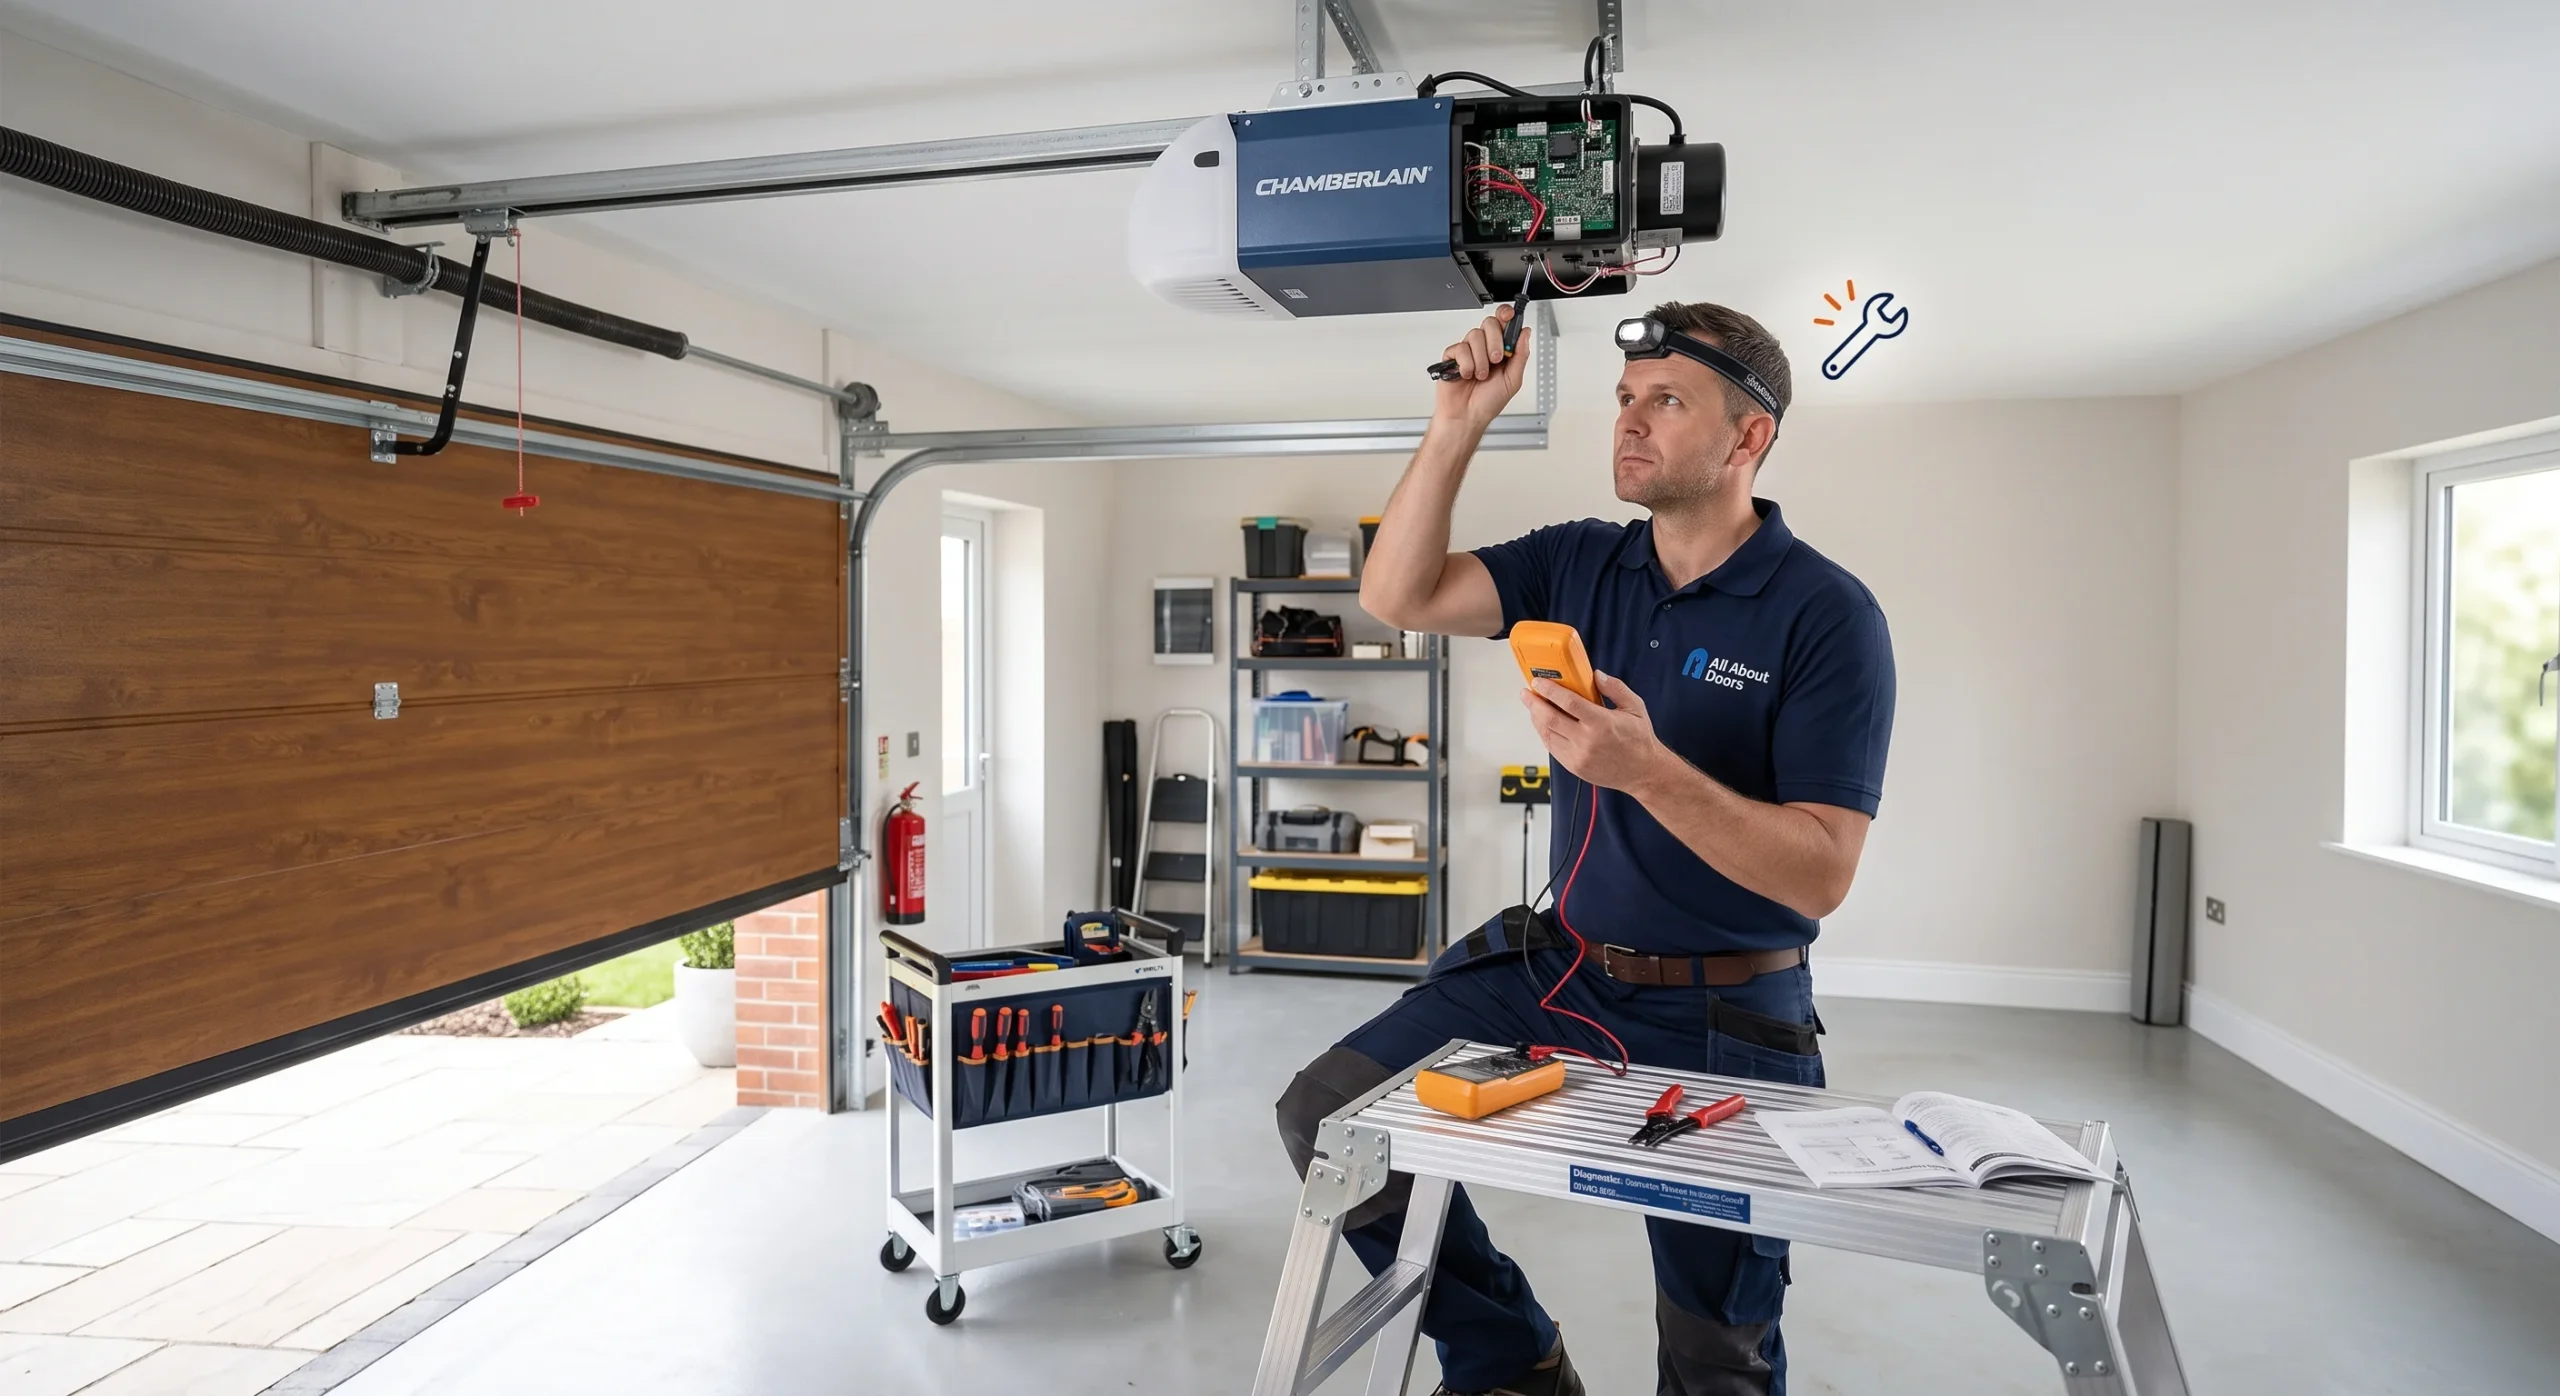
A garage door opener that has lost its saved codes or has never been set up will not respond to any remote, keypad, or car system because the motor unit has no wireless device to communicate with.
Common reasons homeowners need to program or reprogram their opener include:
- Moving into a new home where old remotes from previous owners may still be active.
- A remote that stopped working even after installing a fresh battery.
- Adding a new remote, keypad, or car system that has not yet been registered to the motor unit.
- A power outage or power surge wiped out saved codes from the opener.
- A new vehicle with a built-in HomeLink system that has not been trained to the existing opener.
To understand the warning signals your opener may send after losing its programming, read our guide on LiftMaster Garage Door Beeping? Discover the Shocking Cause Behind the Noise!, which covers every alert pattern and what each one means.
Safety Steps to Take Before Programming Your Garage Door Opener
Following the right safety steps before programming protects both you and the equipment from preventable damage or injury.
Before getting started, here are the safety steps to follow:
- Keep children and pets out of the garage during setup.
- Unplug the opener before handling any electrical components.
- Confirm the safety sensors are clear and the infrared beam is connected.
- Keep the door fully closed before starting.
- Only pull the red emergency release cord during a power failure.
Treating these steps as non-negotiable before programming begins keeps the process under control and protects the equipment.
What You Need to Prepare Before Programming Your Garage Door Opener
Having the right tools and information ready before you start makes the entire programming process faster and helps avoid mistakes that force you to start over.
Here is what to prepare before programming your garage door opener:
- A working power source and a GFCI outlet that has not been tripped.
- Fresh batteries installed in the remote or keypad.
- A ladder to reach the learn button on the motor unit.
- The owner’s manual for your specific opener model and brand.
- The model number of your opener is printed on the motor unit label.
To make a more informed decision before investing in a new remote or upgrade, read our guide on Secrets to Reducing LiftMaster Garage Door Opener Costs Without Sacrificing Quality, which breaks down every cost factor worth knowing.
How to Program Your Garage Door Opener
Programming a Handheld Remote
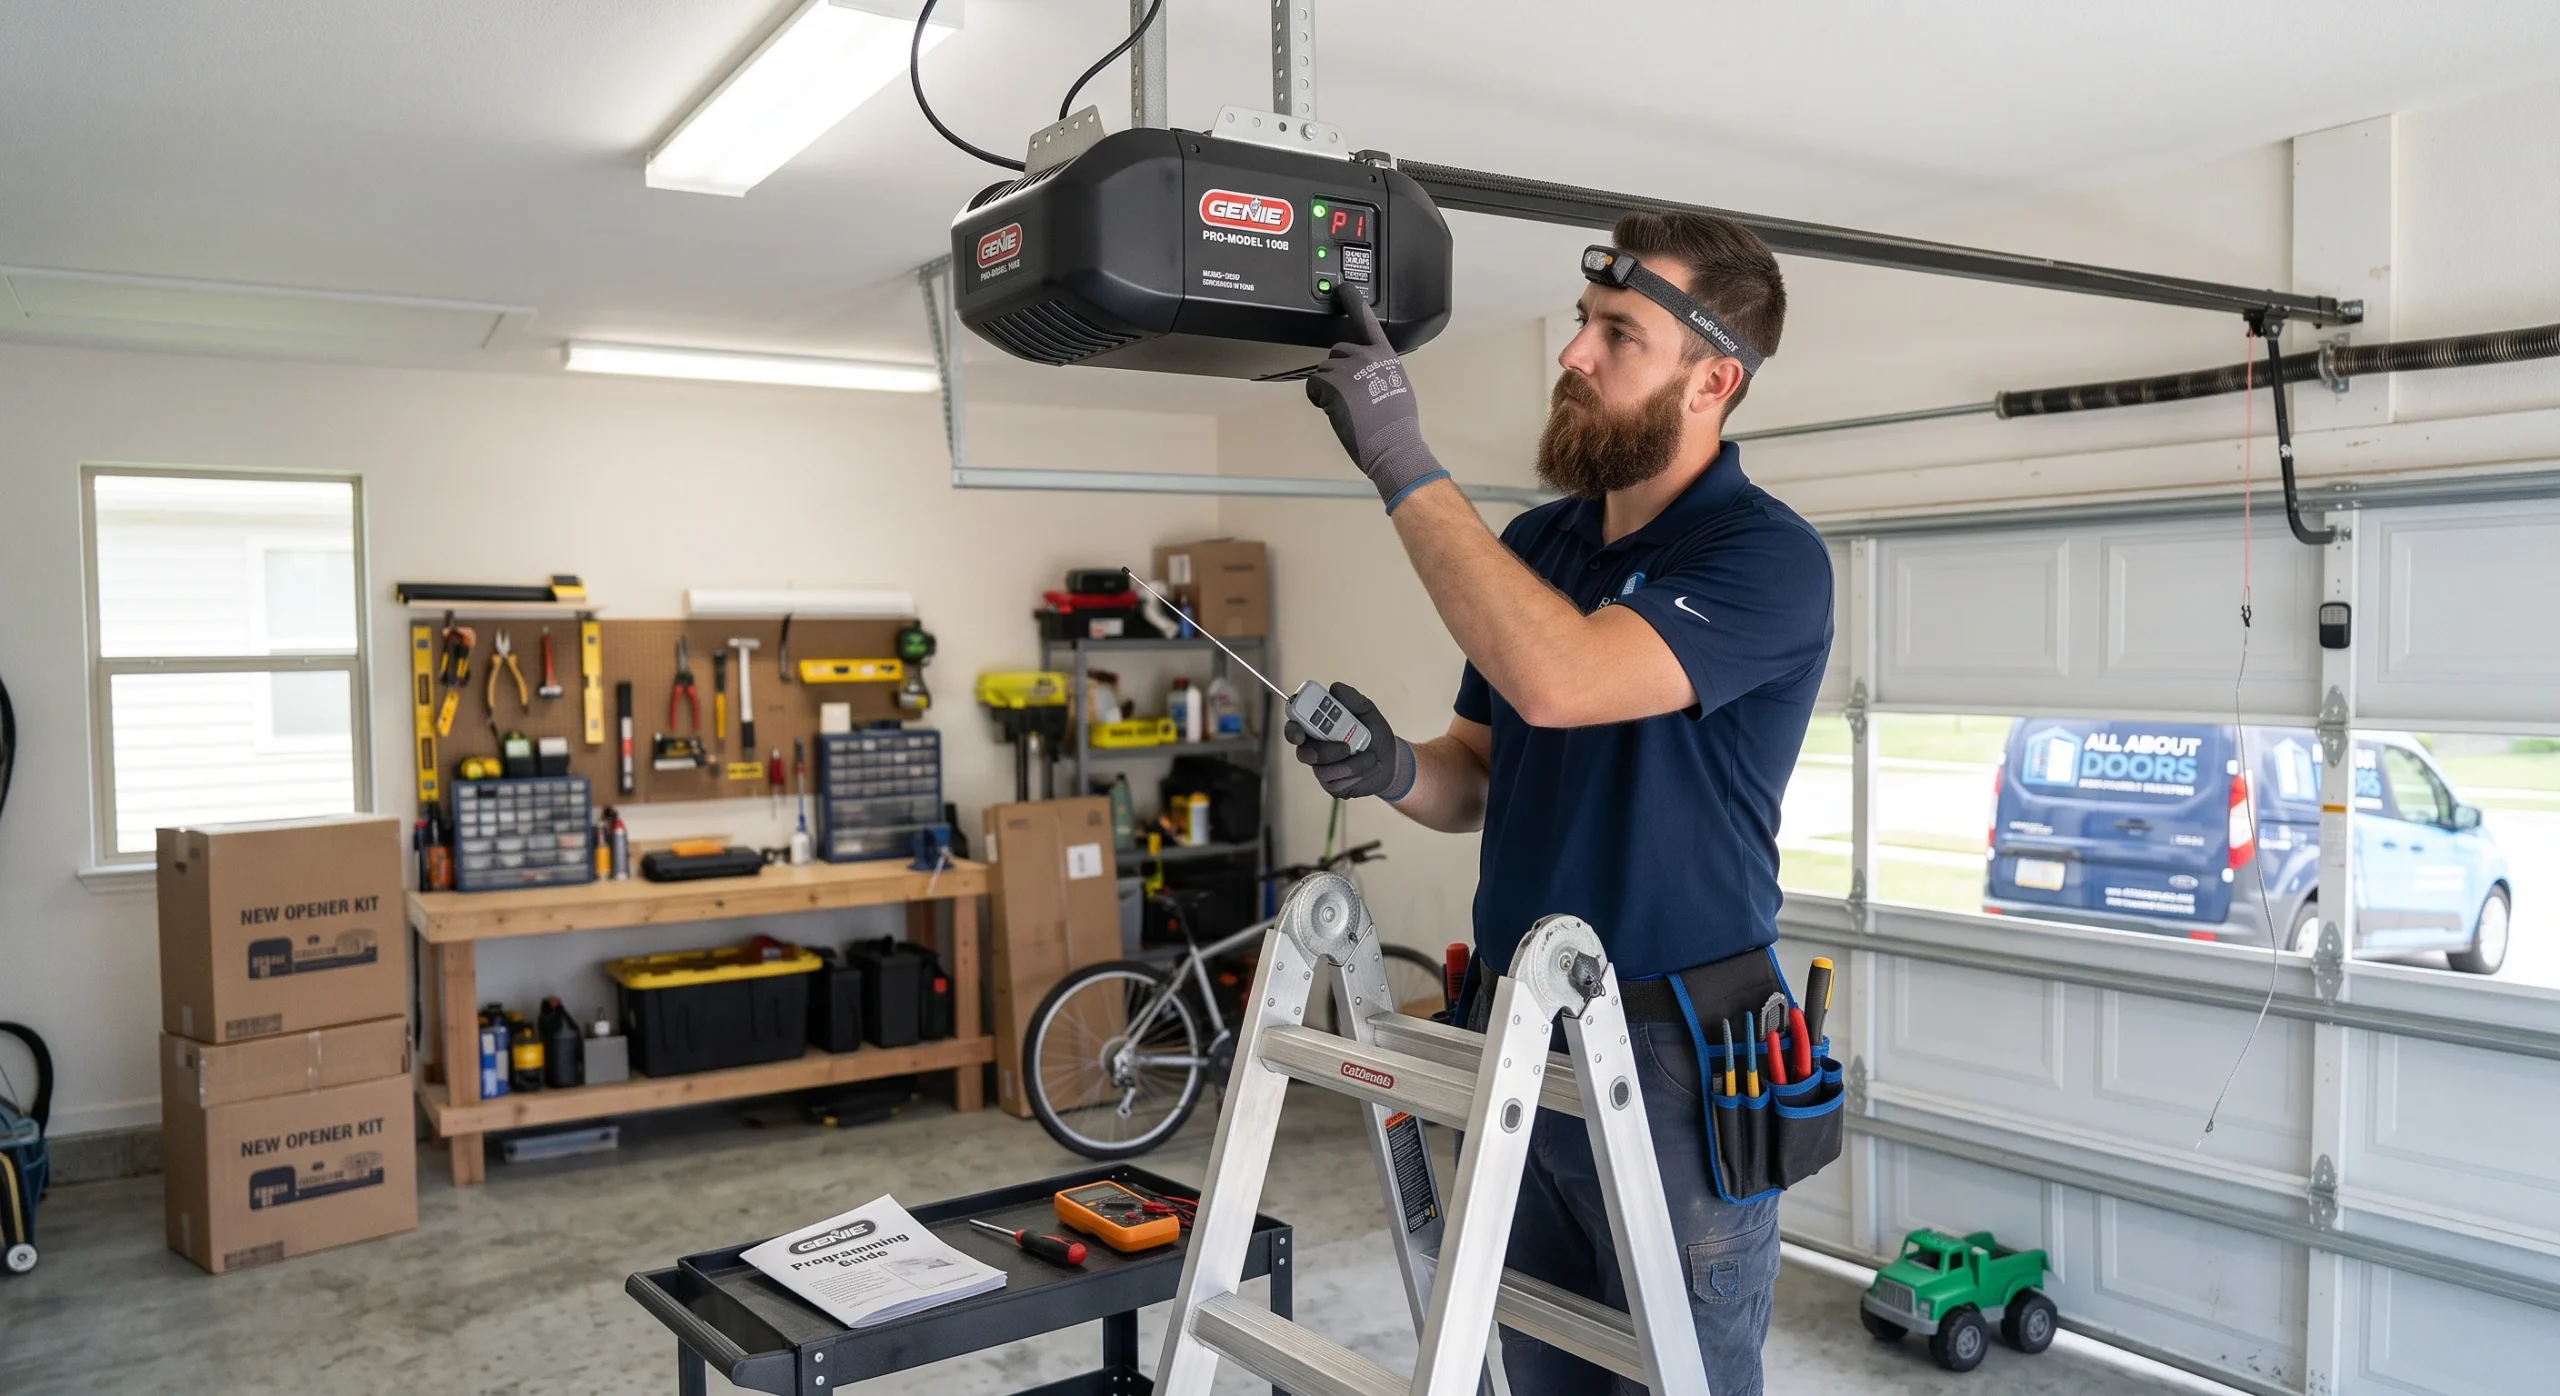
Syncing a handheld remote requires activating the learn button to open a short pairing window between the remote and the opener.
Steps to program a handheld remote:
- Locate the learn button on the back or side of the motor unit.
- Press and release it until the LED lights up, giving about 30 seconds to sync.
- Hold the remote button until the opener lights flash, or press the remote button twice to confirm the code.
- Test the remote from inside the garage to confirm the door responds.
- Repeat for each additional remote being added.
Completing each step within the pairing window is what determines whether the remote successfully syncs with the opener.
Programming a Built-in Car System (HomeLink)
Training a HomeLink system involves a two-stage sync process that connects the car’s built-in buttons to the motor unit.
Follow these steps to program HomeLink:
- Hold the two outer HomeLink buttons until the indicator flashes rapidly to clear old codes.
- Hold the original remote near the HomeLink buttons and press both simultaneously until the indicator shifts to a rapid blink.
- Press and release the learn button on the motor unit within 30 seconds.
- Press the programmed HomeLink button three times or until the door activates.
- Test from the driveway to confirm full range and consistent response.
Rolling code technology changes the access code after every use, which is why the two-stage sync process is required for most modern garage door systems.
Programming a Wireless Keypad
Setting up a wireless keypad requires activating the learn button and completing the PIN entry within the pairing window.
Here is how to set up a wireless keypad:
- Press and release the learn button to open the 30-second pairing window.
- Enter the preferred 4-digit PIN within that window.
- Hold the Enter or Send button until the opener lights flash or two clicks confirm the PIN.
- Test the keypad from outside by entering the PIN and pressing Enter.
- Check the keypad battery if the door does not respond on the first attempt.
Keypad programming follows the same core pairing logic as a handheld remote, so the process should feel familiar once the learn button is activated.
Programming Without a Learn Button
Older garage door openers without a learn button use DIP switches to establish a fixed communication code between the remote and the motor unit.
Setting up a DIP switch system requires:
- Open the remote casing to locate the toggle switches inside.
- Find the matching DIP switch panel inside the motor unit.
- Set both switch rows to the same pattern to enable communication.
- Close both covers and test the remote to confirm the door responds.
- Consider an upgrade if the unit is old, as fixed codes offer less protection than rolling-code systems.
Fixed codes never change after programming, making DIP switch systems more vulnerable to unauthorized access than newer rolling-code openers.
Programming a New or Replacement Remote
Replacing a lost or broken remote starts with a compatibility confirmation before any programming steps are attempted.
What to do when programming a replacement remote:
- Verify compatibility with the opener’s brand and model before purchasing.
- Install fresh batteries before starting.
- Hold the learn button for 6 to 10 seconds until the LED goes out to erase all stored remotes.
- Press and release the learn button, then hold the new remote button until the opener confirms the sync.
- Test signal range from the driveway to confirm consistent performance.
Clearing the opener’s memory before adding a replacement remote ensures no previously stored devices retain access to the system.
Common Garage Door Opener Programming Issues and How to Address Them
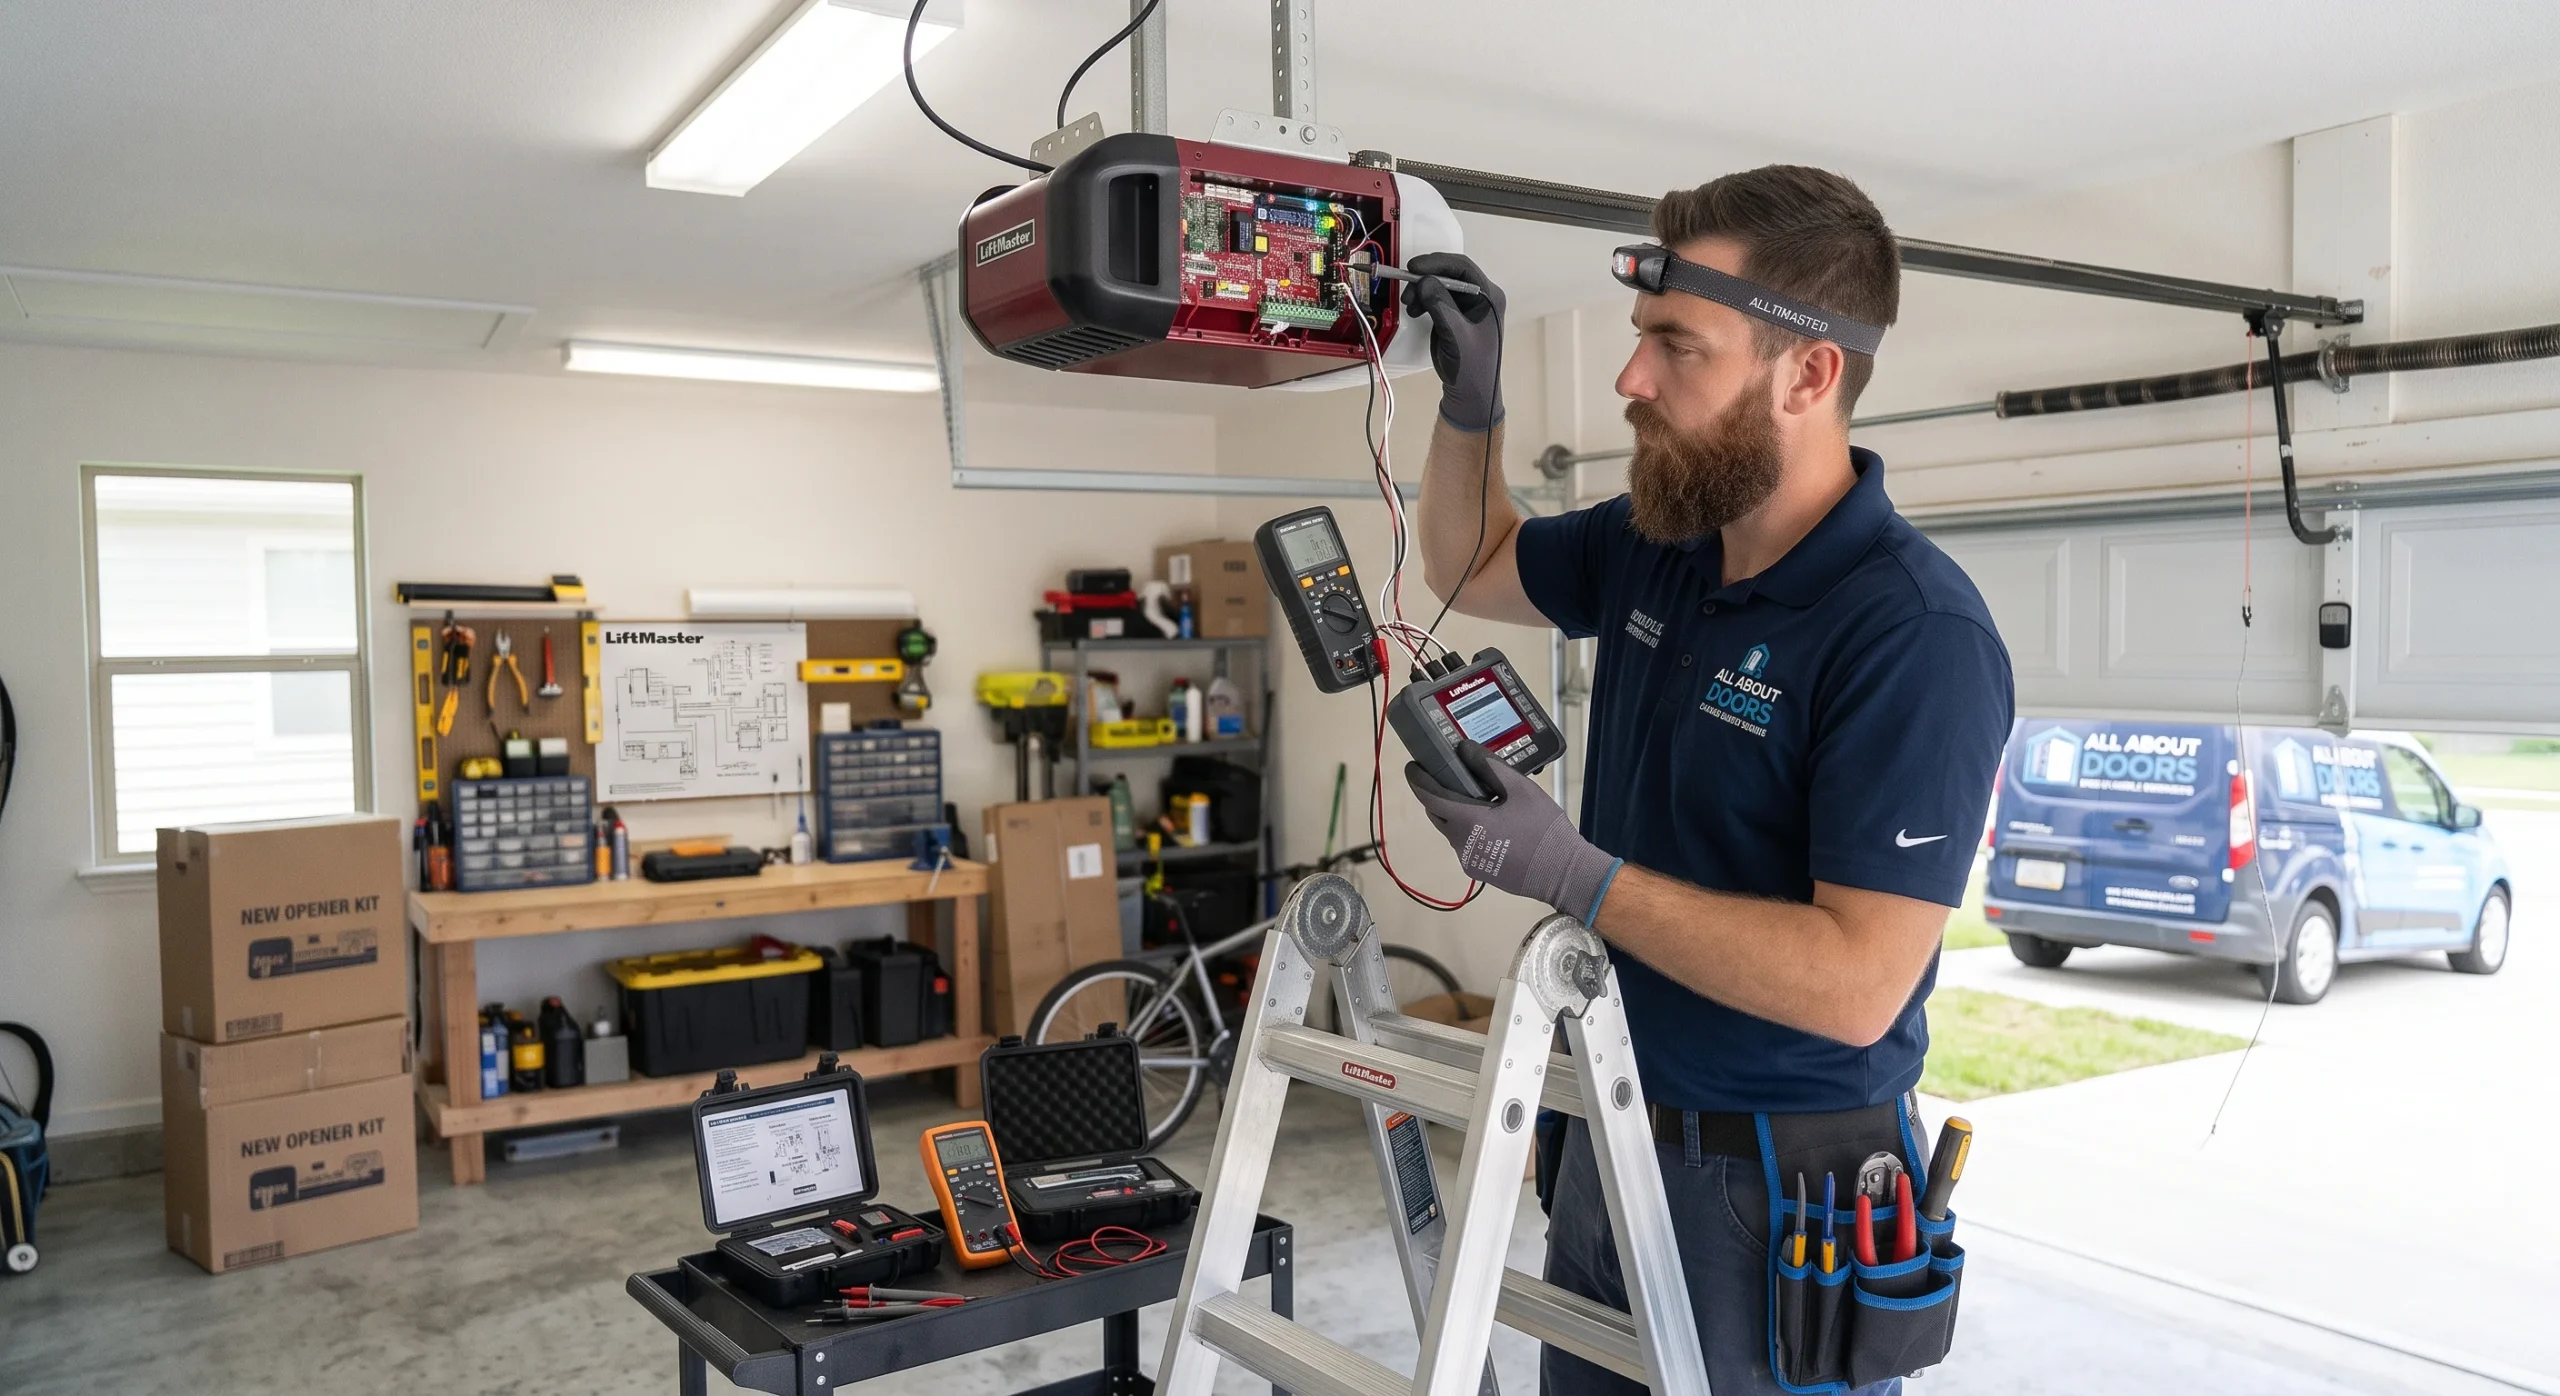
Most LiftMaster garage door opener issues after programming come down to a small number of causes worth checking before calling a professional.
| Issue | What to Check |
| Remote not responding | Dead batteries, lost sync, or lock mode active on the wall control |
| Door refuses to move | Tripped circuit breaker, tripped GFCI outlet, or misaligned safety sensors |
| Inconsistent response | Signal interference from nearby wireless devices or LED bulbs near the motor unit |
| Blinking light on opener | Error code in the troubleshooting guide of the owner’s manual |
| Door stops mid-cycle | Travel limits or force settings that need adjustment |
To identify what is keeping your door shut after a full reprogram, read our guide on 5 Shocking Reasons Your LiftMaster Garage Door Won’t Close – And How to Fix Them!, which covers every cause behind a door that refuses to complete its closing cycle.
When to Call a Professional for Garage Door Opener Problems
Programming can only do so much, and a garage door opener that keeps failing after a full reset is telling you something a technician needs to evaluate in person.
Signs it is time to call a professional garage door technician:
- The motor unit makes grinding or clunking sounds during operation.
- The logic board behaves erratically after repeated power surges.
- Safety sensors will not align even after cleaning and repositioning.
- The door moves unevenly or has come off its track.
- Reprogramming works temporarily, but the opener keeps losing its memory.
Damaged electrical components and parts under extreme tension are never a DIY situation and always call for professional garage door repair.
Program Your Garage Door Opener Correctly and Get It Right the First Time
Understanding how to program your garage door opener correctly is what makes the difference between a system that works every time and one that keeps losing its connection. Taking the time to identify your opener model and follow the correct sequence is what keeps every remote, keypad, and car system responding the way it was set up to.
All About Doors has helped countless homeowners in Glen Burnie, MD, take the guesswork out of programming their garage doors through honest assessments and hands-on service. Contact us or give us a call today, and let our team ensure every device connected to your opener is synced and working properly.
Frequently Asked Questions
Why is my LiftMaster garage door opener beeping every 30 seconds?
When a Liftmaster beeps every 30 seconds, it is almost always a warning about the battery backup being low, disconnected, or due for replacement. Check the battery backup unit connected to your opener and replace it if the beeping continues.
How can I troubleshoot a LiftMaster garage door opener that won't open or close?
Start by checking the power source, inspecting the safety sensors for obstructions, and looking for a blinking light error code on the motor unit. If none of those resolve the issue, a full reset followed by reprogramming is the next step.
What steps should I take if my LiftMaster garage door remote suddenly stops working?
First, replace the batteries and check whether lock mode is enabled on the wall control. If the door responds to the wall button but not the remote, reprogram the remote using the learn button on the motor unit.
How do I program a new remote for my LiftMaster garage door opener?
Press and release the learn button on the motor unit until the LED lights up, then press and hold the remote button until the opener flashes or clicks twice. Testing the remote immediately after confirms whether the sync was completed successfully.
Can I change the frequency on my LiftMaster garage door opener, and if so, how?
On most current models, manually changing the frequency is not possible without contacting LiftMaster support directly. Understanding how to change the frequency of a garage door opener starts with identifying your model number, since some older DIP switch models allow frequency adjustments by changing the switch pattern.
What does it mean if my LiftMaster garage door opener has flashing lights or an error code?
Each blink pattern on a LiftMaster unit indicates a specific fault, such as a sensor issue, an active lock mode, or a problem with the logic board. Count the blinks carefully and cross-reference them with the light codes chart in your manual or on the LiftMaster website.
Are there user manual instructions available for troubleshooting my LiftMaster garage door opener?
Yes, manuals for most LiftMaster models are available for free on the LiftMaster website. The Liftmaster 8165w manual and other model-specific documents can be found by entering your model number in the support section of their website.
When should I consider professional service for ongoing LiftMaster garage door opener problems?
Recurring issues with the logic board, drive system, or garage door sensors that return after every reset are a clear sign that professional service is needed. A technician can diagnose the cause of the repeated failure and resolve it correctly the first time.
Where can I find parts or support for my LiftMaster garage door opener model?
The LiftMaster website is the best starting point for parts, manuals, and support for any model. Homeowners in Glen Burnie, MD, can also contact a local garage door service company for faster access to parts and hands-on assistance.