Knowing how to replace a garage door opener can save you time, money, and a great deal of frustration. Whether your current unit is aging, making unusual noises, or simply not responding the way it should, sometimes garage door repair is not enough, and a full garage door opener replacement becomes the more practical solution. Replacing the opener is one of the more manageable home improvement projects a confident homeowner can take on.
This step-by-step guide covers everything involved in replacing a garage door opener, from gathering your tools to running your final safety test. If you have been putting off this project, this guide gives you everything you need to get it done correctly the first time.
What You Need Before You Start Replacing a Garage Door Opener
Before you begin, gather the following tools and materials. Having everything ready before you start will keep the process smooth and efficient.
- New garage door opener unit, matched to your door size and weight
- Sturdy ladder, tall enough to comfortably reach the ceiling
- Power drill and assorted drill bits
- Adjustable wrench and locking pliers
- Flathead and Phillips screwdrivers
- Wire stripper and electrical tape
- Safety glasses and work gloves
- A second set of hands, if possible, for mounting and lifting
Before installing your new system, it’s also worth reviewing How to Safely Attach a Garage Door Opener to Your Door to ensure your setup is secure from the very start.
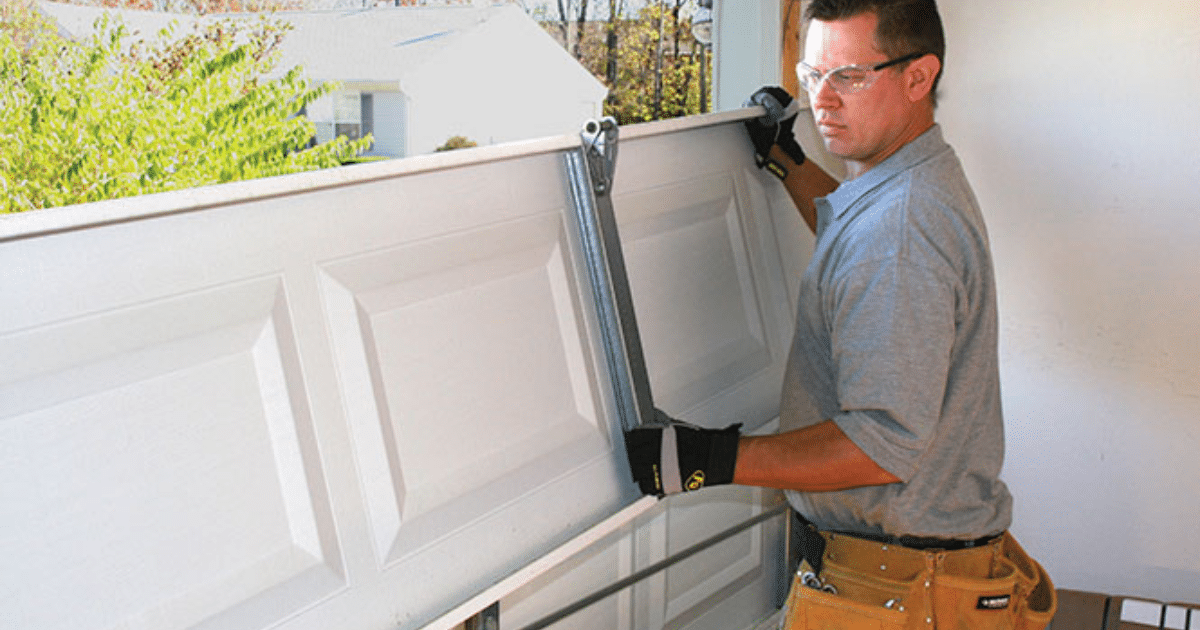
Step 1: Disconnect and Remove the Old Garage Door Opener
The first step in any garage door opener replacement project is safely removing the existing unit. Rushing through this step can damage your door or create a hazard during installation.
- Pull the red emergency release cord to disengage the door from the opener carriage.
- Unplug the motor unit from the ceiling outlet.
- Loosen and remove the mounting hardware connecting the rail to the ceiling brackets.
- Disconnect the door arm from the top panel of the garage door.
- Carefully lower the motor unit from the ceiling. A helper makes this much safer.
- Set all hardware aside in a container. Some brackets and bolts may be compatible with your new opener.
Before disconnecting any wires, take a clear photo of the wiring setup. This reference will save you significant time during the new installation.
If you are also planning to program a new remote or connect your vehicle’s built-in system to your new opener, our related guide on How to Program Genie Garage Door Opener to Car Without Remote: A Step-by-Step Guide walks through that process in full detail.
Step 2: Inspect the Garage Door Before Installing the New Opener
Installing a new opener on a door that is worn, unbalanced, or damaged will shorten the life of the unit significantly. Before moving forward, take time to thoroughly check the door itself.
- Inspect the springs and cables for fraying, rust, or visible wear.
- Disconnect the door from any opener carriage and manually lift it to about waist height, then release. A properly balanced door will hold its position without drifting.
- Roll the door slowly along its tracks and listen for grinding, scraping, or sticking.
- Check the rollers for flat spots or cracking.
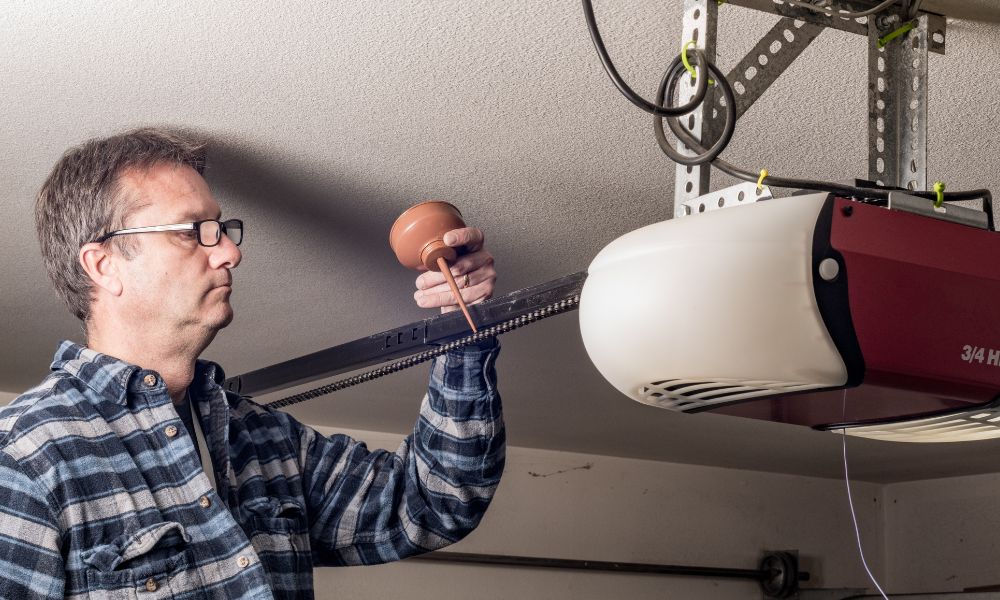
- Apply lubricant to the rollers, hinges, and tracks where needed.
- Inspect the weatherstripping at the bottom of the door and replace it if it is torn or compressed flat.
If you are unsure whether your opener will handle your door properly after inspection, our What Horsepower Garage Door Opener Do I Need? A Complete Guide can help you make the right choice.
Step 3: Assemble the New Garage Door Opener
Most new garage door openers ship with detailed assembly instructions specific to that model. Always follow the manufacturer’s guide, but here is a general overview of what the assembly process involves.
- Lay all rail sections out on the garage floor and connect them in the correct order.
- Thread the drive system, whether belt, chain, or screw, along the rail as directed.
- Attach the trolley or carriage to the drive system on the rail.
- Connect the front pulley bracket at the end of the rail nearest the door.
- Attach the light lens cover and any included accessories to the motor head before lifting the unit.
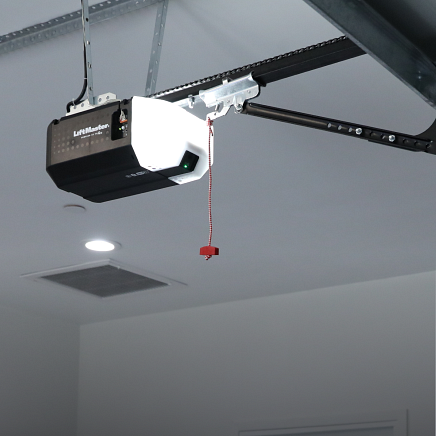
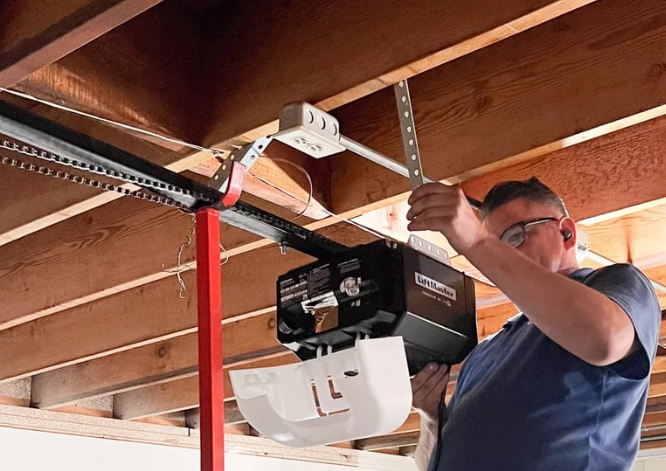
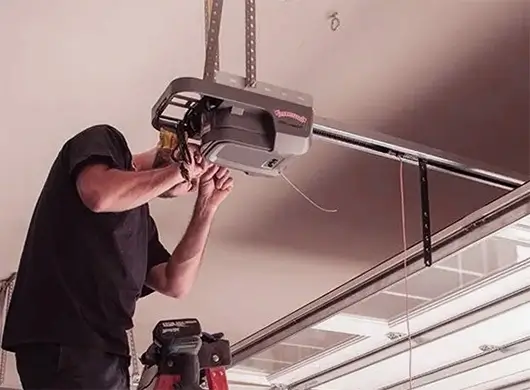
Step 4: Mount the New Opener to the Ceiling
Proper mounting is one of the most critical parts of replacing a garage door opener. A poorly mounted opener is a safety hazard and will not perform reliably over time.
- Locate the center point of the garage door header and mark your mounting position above it.
- Install the ceiling mounting bracket using lag bolts driven into a solid wood joist or blocking. Never mount the bracket into drywall or plaster alone.
- Lift the rail and attach the rear end to the ceiling bracket securely.
- Attach the front of the rail to the header bracket above the door.
- Use a level to confirm the rail is straight from front to back.
- Add any additional support straps as required by your opener model.
For additional safety standards on proper opener installation, the DASMA garage door opener safety guidelines are a reliable reference every homeowner should review before mounting any new unit.
Step 5: Connect the Garage Door to the New Opener
Once the opener is securely mounted, the next step is connecting it to the door itself.
- Attach the curved door arm bracket to the top section panel of the garage door using the included hardware.
- Connect the straight door arm section to the trolley on the rail.
- Join the two arm pieces at the connection point and fasten with the provided bolt and clip.
- Manually operate the door through its full range of motion to confirm the arm moves freely without binding or pulling to one side.
- Check that all connection bolts are tight before applying power.
Step 6: Wire the Safety Sensors
Safety sensors are a required component on all modern garage door openers. These sensors use an infrared beam to detect obstructions and prevent the door from closing on a person, pet, or object.
- Mount the sensor brackets on each side of the door track, four to six inches above the floor.
- Run the low-voltage sensor wiring along the wall and up to the motor unit, keeping wires secured with staples or clips.
- Connect the sensor wires to the labeled terminals on the motor unit according to the color coding in your manual.
- Power on the unit briefly to check the sensor indicator lights. Solid lights on both sensors confirm proper alignment. Blinking lights indicate misalignment and must be corrected before use.
Understanding why safety sensors are required on all modern openers starts with the automatic garage door safety standards that govern residential installations across the country.
Step 7: Set Travel Limits and Force Settings
Travel limits tell the opener exactly how far to move the door in each direction. Force settings determine how much resistance the door can encounter before stopping and reversing. Both must be set correctly for safe and reliable operation.
- Locate the travel limit adjustment on your motor unit. Most models have separate controls for open and close limits.
- Run the door through several cycles and adjust the limits until the door opens fully and closes flat against the floor without straining.
- Adjust the force setting so the door stops and reverses when it meets resistance. Do not set the force so high that the door pushes through an obstruction.
- Consult your opener manual for the exact adjustment procedure, as controls vary by model.
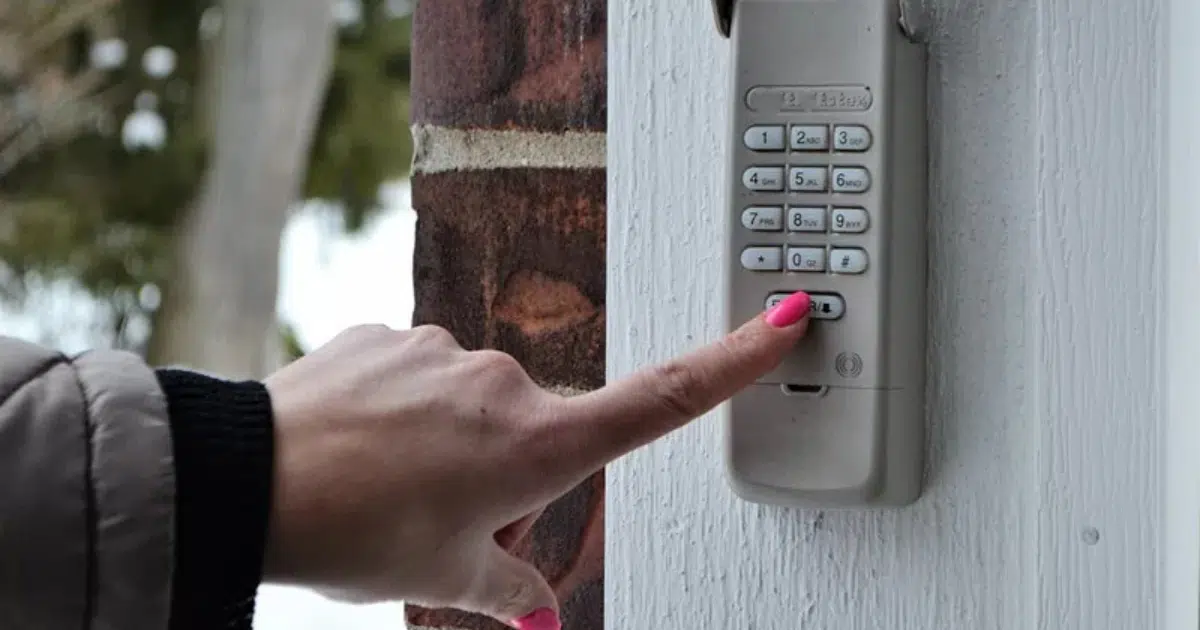
Step 8: Program the Remote Controls and Keypads
With the opener installed and adjusted, the final setup step is programming your remote controls and any wall-mounted keypads.
- Press the “Learn” button on the motor unit until the indicator light activates.
- Within 30 seconds, press and hold the button on your remote until the opener light flashes, confirming the pairing.
- Repeat the process for each additional remote or keypad you want to program.
- Test each programmed device to confirm it opens and closes the door reliably.
For homeowners who want to control the door directly from a vehicle without a separate remote, our guide on How to Replace Garage Door Opener Battery: Full DIY Guide includes tips for keeping your remote system running properly between uses.
Step 9: Run a Full Safety Test
Before using the opener regularly, complete a thorough safety test to confirm that every component is functioning as it should.
- Open and close the door five to ten times using the remote and the wall button, listening for unusual sounds each time.
- Place a flat, solid object such as a two-by-four on the floor under the center of the door and press close. The door should contact the object and reverse automatically within two seconds.
- Wave your hand or hold an object between the sensors while the door is closing. The door should stop and reverse immediately.
- Test the manual emergency release by pulling the cord and confirming that the door can be operated by hand.
- Check that the opener light functions and that the auto-shutoff timer is set to your preference.
Common Mistakes to Avoid When Replacing a Garage Door Opener
Even experienced homeowners can run into problems during residential garage door opener replacement. Being aware of these common errors ahead of time will save you time and prevent safety issues.
- Skipping the door balance check before installation. An unbalanced door puts excessive strain on the opener motor and shortens its lifespan.
- Choosing an opener with the wrong horsepower for the door weight. Heavier doors require more powerful units.
- Mounting the ceiling bracket into drywall without hitting a joist. This can cause the entire unit to fall.
- Setting the travel limits incorrectly, which causes the door to stop short or strain against the floor.
- Ignoring sensor alignment. Misaligned sensors will cause the door to refuse to close or to reverse unexpectedly.
- Skipping the safety reversal test. This is not optional. It is a required step to confirm the opener is safe to use.
When to Call a Professional for Garage Door Opener Repair
Garage door opener replacement is a realistic project for many homeowners, but certain situations call for a trained technician. Recognizing those situations early prevents injuries and costly mistakes.
- The torsion or extension springs are broken, worn, or visibly damaged.
- The door tracks are bent, misaligned, or detached from the wall.
- There is no solid ceiling joist available for mounting without additional blocking.
- The electrical outlet near the opener is ungrounded or malfunctioning.
- The door continues to reverse without any visible obstruction after installation.
- The garage door panels are damaged and affecting the door’s ability to run on its tracks properly.
Get the Help You Need for a Smooth Garage Door Opener Replacement
Replacing a garage door opener is one of the most satisfying home improvement projects you can complete on your own. When each step is followed carefully, including the balance check, proper mounting, sensor alignment, and safety testing, the result is a reliable system that will serve your home well for many years. Taking the time to do it right from the start is always worth it.
All About Doors has been a trusted name for homeowners in Glen Burnie, MD, looking for dependable garage door services. If your installation becomes more involved than expected, or if you encounter an issue that calls for professional hands, do not hesitate to contact us or give us a call. We are here to make sure your garage door works the way it should.
Frequently Asked Questions
Do I need a permit to replace a garage door opener in Maryland?
Permit requirements vary by county and municipality. In many cases, a simple opener swap does not require a permit, but adding new wiring or making structural changes may. Check with your local building department before starting.
What horsepower do I need for my garage door opener?
A half-horsepower opener handles most standard single and double garage doors. Heavier wood doors or oversized doors may require a three-quarter or one-horsepower unit. Check the door's weight specification before choosing a model.
Can I install a new garage door opener without a helper?
It is possible but not recommended. Lifting and aligning the motor unit while securing it to the ceiling bracket is significantly easier and safer with two people. For heavier units, a helper is strongly advised.
What type of drive system is best for a residential garage?
Belt drives are the quietest and work well for attached garages near bedrooms or living spaces. Chain drives are more affordable and durable,how to program genie garage door opener but louder. Screw drives require less maintenance but can be sensitive to temperature changes.
How do I know if my garage door springs need to be replaced before installing a new opener?
Perform the manual balance test. Disconnect the door from the opener and lift it to waist height. If the door drops quickly, the springs are worn and need attention before you install any new opener.
Is it safe to reuse the old mounting hardware when installing a new opener?
Only reuse hardware if it is in good condition and compatible with the new unit. Worn brackets, stripped bolts, or bent components should be replaced. Using damaged hardware creates a safety risk.
Why does my new garage door opener reverse before the door fully closes?
This is usually a travel limit or force adjustment issue. The close limit may be set too short, or the force setting may be too sensitive. Refer to your opener manual to adjust both settings until the door closes completely and smoothly.
How often should I have my garage door opener serviced after installation?
A general inspection once a year is a good practice. This includes checking the balance, lubricating moving parts, testing the safety reversal, and confirming that sensor alignment is correct.
Can I use my smartphone to control a newly installed garage door opener?
Many modern openers are compatible with Wi-Fi accessories or built-in smart connectivity. If your model supports it, you can download the manufacturer's app and link the opener to your home network for remote access.