Knowing how to replace a garage door opener battery is one of the simplest maintenance tasks a homeowner can handle on their own. A dead or weakening battery is one of the most common reasons a garage door remote stops responding, and addressing it early can save you from a larger garage door repair down the line. In most cases, the battery swap takes less than five minutes with no special tools required.
This full DIY guide walks you through everything you need to know about garage door opener battery replacement, from identifying the right battery type to testing the remote after the swap.
Why Garage Door Opener Batteries Fail
Before jumping into the replacement steps, it helps to understand why batteries wear out in the first place. Garage door opener remotes use small batteries that gradually lose their charge with every signal they send. Extreme temperatures, which are common in garages during Maryland summers and winters, can also accelerate battery drain significantly.
Most garage door remote batteries last anywhere from one to two years, depending on how frequently the door is used and the conditions the remote is stored in. If your remote is slow to respond, requires multiple presses, or has stopped working entirely, a garage door opener battery replacement is almost always the first thing to check before assuming a larger issue exists.
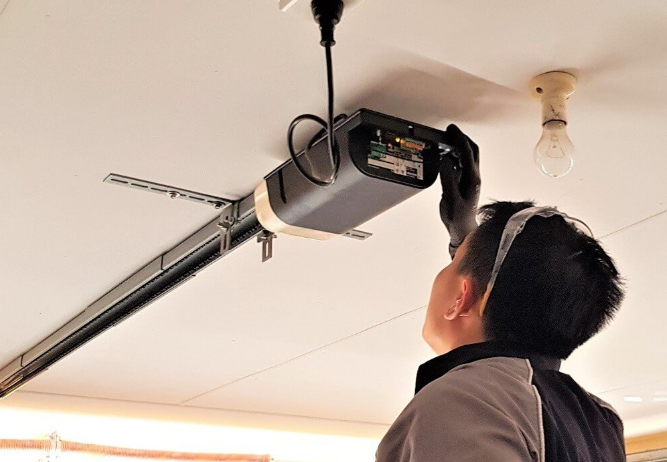
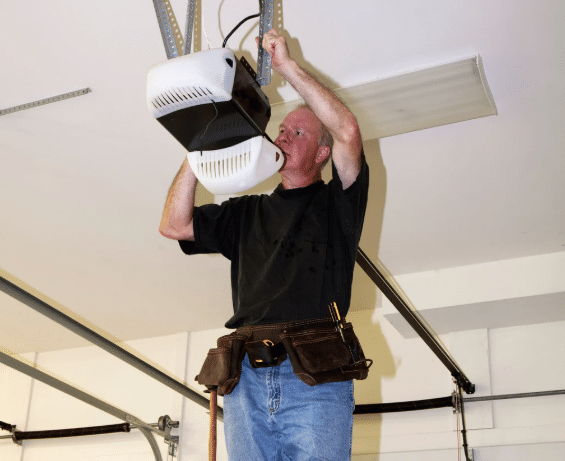
For homeowners who have recently completed a full installation, our parent guide on How To Replace a Garage Door Opener covers the full system setup and is a helpful reference for understanding how the remote fits into the overall opener system.
What Type of Battery Does a Garage Door Opener Remote Use?
Before purchasing a replacement, you need to confirm which battery your specific remote requires. Using the wrong size or voltage will prevent the remote from working correctly.
- 9-volt batteries are used in some older remote models and wall-mounted keypads.
- AA or AAA batteries are found in many standard handheld remotes from brands like Chamberlain, LiftMaster, and others.
- CR2032 coin cell batteries are the most common type found in slim, compact remotes and many modern Genie models.
- CR2016 or CR2025 coin cell batteries may be used in thinner remote designs, depending on the manufacturer.
Choosing the right battery is important, but so is choosing the right opener power. Learn more in What Horsepower Garage Door Opener Do I Need? A Complete Guide.
Tools and Supplies You Need for Garage Door Opener Battery Replacement
Gathering everything before you start keeps the process quick and simple.
- Replacement battery in the correct type and voltage for your remote
- A small flathead screwdriver or coin for opening the battery compartment
- A clean, dry cloth for wiping contacts if needed
- Fresh batteries on hand in case the first replacement does not resolve the issue
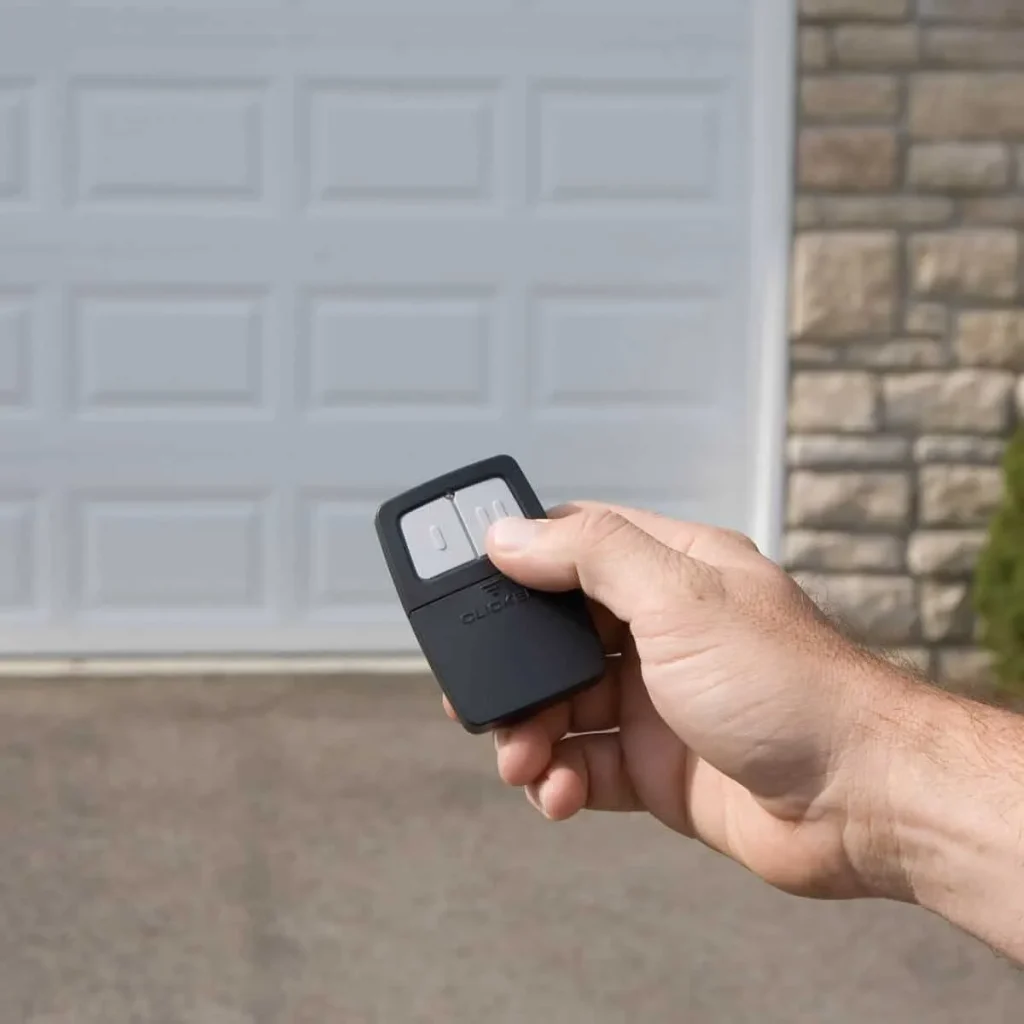
Step 1: Identify the Type of Remote You Have
The first step in replacing a garage door opener battery is confirming what kind of remote you are working with, as the battery compartment location and opening method vary by model.
- Handheld clicker remotes typically have a sliding panel or a small compartment on the back secured with a small screw or snap closure.
- Keychain remotes are usually slim and use a coin cell battery accessed by prying the two halves apart with a flathead screwdriver or coin.
- Wall-mounted keypads have a larger compartment, often on the back of the unit, that holds one or two standard batteries.
- Smart remotes with Wi-Fi may use rechargeable batteries or have a dedicated charging port instead of a replaceable battery.
Step 2: Open the Battery Compartment
Once you have identified your remote type, open the battery compartment carefully.
- For snap-close compartments, press the tab or button on the back of the remote and slide the panel off.
- For screw-secured compartments, use a small Phillips screwdriver to remove the single screw, then lift the panel away.
- For coin cell remotes, insert a thin flathead screwdriver or coin into the small slot on the edge of the remote and twist gently to separate the two halves.
- For keypads, locate the compartment cover on the back or underside of the unit and slide or lift it open.
Step 3: Remove the Old Battery
With the compartment open, remove the old battery carefully.
- For standard AA, AAA, or 9-volt batteries, note the orientation of the positive and negative terminals before removing. Most compartments have markings inside to indicate correct placement.
- For coin cell batteries, use a fingernail or the edge of a flathead screwdriver to gently pop the battery out of its holder. Avoid using metal tools directly against the battery surface.
- Dispose of the old battery properly. Many hardware stores and electronics retailers accept used batteries for recycling.
Step 4: Check the Battery Contacts
Before inserting the new battery, take a moment to inspect the metal contacts inside the compartment. This step is often skipped but makes a real difference in the performance of the new battery.
- Look for any white or greenish residue on the metal contacts, which indicates corrosion from the old battery.
- If corrosion is present, gently clean the contacts using a dry cloth or a cotton swab lightly dampened with rubbing alcohol.
- Allow the contacts to dry completely before inserting the new battery.
- Check that the spring-loaded contacts are not flattened or bent out of position. Contacts that no longer apply pressure to the battery will cause intermittent or no connection.
If your system continues to have issues, it may be related to improper installation, How to Safely Attach a Garage Door Opener to Your Door can help identify potential problems.
Step 5: Insert the New Battery
With the contacts clean and ready, insert the new battery correctly.
- Match the positive terminal of the new battery to the positive marking inside the compartment. Installing the battery backwards will prevent the remote from working and can cause damage in some models.
- For coin cell batteries, press the battery firmly into the holder until it clicks or sits flush.
- For AA, AAA, or 9-volt batteries, seat the battery fully and confirm it makes solid contact with both terminals.
- Do not force the battery if it does not fit. Double-check that you have the correct battery type for your remote model.
For homeowners who want a broader understanding of how their garage door system works beyond just the remote, This Old House’s complete guide to garage doors covers everything from openers to hardware in practical detail.
Step 6: Close the Battery Compartment
Once the new battery is seated correctly, close the compartment securely.
- For snap-close panels, align the panel and press firmly until you hear or feel it click into place.
- For screw-secured panels, replace the cover and tighten the screw snugly without overtightening, which can strip the threads or crack the casing.
- For coin cell remotes, press the two halves of the remote firmly back together until the seam is flush and the halves no longer separate.
- For keypads, slide or press the cover back into position until it is fully closed.
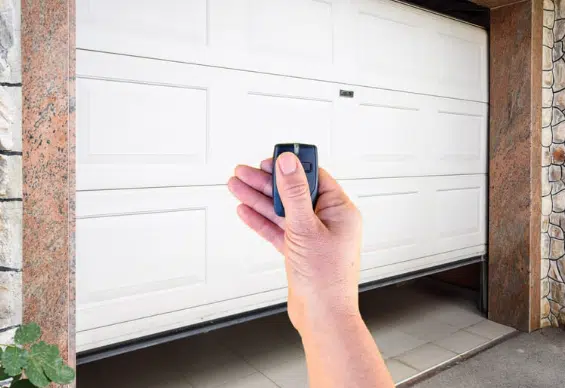
Step 7: Test the Remote After Battery Replacement
With the new battery installed and the compartment closed, it is time to test the remote.
- Stand within a normal operating distance from the garage door opener, typically within 20 to 30 feet.
- Press the button on the remote once and observe whether the door responds.
- If the door opens or closes on the first press, the garage door opener battery replacement was successful.
- Test the remote from several different distances, including from the end of the driveway, to confirm the signal range is restored.
- If the door does not respond, proceed to the troubleshooting steps below before assuming the battery is the issue.
How to Replace a Battery in a Garage Door Opener Keypad
Wall-mounted keypads use batteries too, and the replacement process is slightly different from a handheld remote. Knowing how to replace a battery in a garage door opener keypad keeps your backup entry method working at all times.
- Locate the battery compartment on the back or underside of the keypad unit.
- Open the compartment cover by sliding, lifting, or pressing the release tab.
- Remove the old batteries and note the orientation before discarding.
- Insert fresh batteries in the correct orientation, matching positive to positive and negative to negative.
- Replace the compartment cover and test the keypad by entering your access code.
Keeping your keypad and full garage door system in top condition goes beyond battery replacement, and the IDA garage door care and maintenance guidelines provide a comprehensive overview of what regular upkeep should include.
What to Do When a New Battery Does Not Solve the Problem
If the remote still does not work after replacing the battery, the issue may not be the battery at all. Work through these common causes before concluding that the remote needs to be replaced.
- The contacts are still corroded. If corrosion was present and was not fully cleaned, the new battery may not make solid contact. Remove the battery, clean the contacts more thoroughly, and reinsert.
- The battery type is incorrect. Confirm the voltage and size match exactly what the remote requires. A similar-looking battery with a different voltage will not power the remote correctly.
- The remote casing is damaged. Cracks, water damage, or a broken contact spring inside the remote can prevent it from working, regardless of battery condition. Inspect the remote carefully for visible damage.
- The opener itself has an issue. If the wall button still operates the door but the remote does not, the problem is isolated to the remote. If neither works, the opener motor unit or wiring may need attention from a technician.
- The remote has lost its programming. Replacing a battery can occasionally cause some remotes to lose their stored pairing with the opener.
Reprogram the remote by following the steps in our guide on How to Program Genie Garage Door Opener to Car Without Remote: A Step-by-Step Guide if you have a Genie system.
How Often Should You Replace Your Garage Door Opener Battery?
Building a simple maintenance schedule helps prevent unexpected remote failures at inconvenient times. Staying on top of battery replacement is also an easy way to avoid bigger residential garage door issues that can develop when a malfunctioning remote is left unaddressed for too long.
- Replace the battery in your handheld remote every one to two years as a general rule, even if it is still working. Proactive replacement prevents unexpected failures.
- Replace keypad batteries every two to three years, as keypads are used less frequently than handheld remotes in most households.
- Replace the battery immediately if the remote starts requiring multiple presses to activate the door, as this is the clearest sign that power is running low.
- Consider replacing batteries at the start of each fall season before winter temperatures begin to accelerate battery drain in garage environments.
Keep Your Garage Door Remote Working All Year Long
Replacing a garage door opener battery is one of the quickest and most affordable maintenance tasks a homeowner can take care of on their own. Catching the warning signs early, using the correct battery type, and taking a moment to clean the contacts before inserting the replacement all add up to a remote that performs reliably through every season. A small amount of attention goes a long way toward preventing the frustration of a non-responsive remote at the worst possible time.
All About Doors has been serving homeowners across Glen Burnie, MD with reliable, professional garage door services they can count on. If your remote issues turn out to be something more than a battery swap, or if your opener needs a closer inspection, do not hesitate to contact us or give us a call. Our team is ready to help you get your garage door working the way it should.
Frequently Asked Questions
How to change battery in remote garage door opener?
Locate the battery compartment on your remote, which is usually on the back and secured by a tab, screw, or snap closure, then swap the old battery for a fresh one of the same type and voltage.
How to replace battery in garage door opener?
Open the compartment on the back or underside of the remote or keypad, note the battery orientation, remove the old battery, clean the contacts if needed, and insert a new battery of the correct type before closing the compartment.
How to replace a garage door opener battery?
Check the inside of your remote's battery compartment for the correct battery type, purchase a fresh replacement, and follow the compartment-specific opening method, either snap, screw, or coin slot, to complete the swap in just a few minutes.
What type of battery does a garage door opener remote use?
Most modern remotes use a CR2032 coin cell battery, though some models use AA, AAA, or 9-volt batteries depending on the brand and design. Always check the compartment label or your remote's manual to confirm the correct type before purchasing.
How do I know when my garage door opener battery needs to be replaced?
The clearest sign is when the remote requires multiple presses to activate the door or only works from very close range. Replacing the battery at the first sign of reduced performance prevents being locked out unexpectedly.
Can a weak battery affect the range of my garage door remote?
Yes, a low battery reduces the strength of the signal the remote sends, which shortens its effective operating range noticeably. Replacing the battery usually restores the full range immediately.
Will replacing the battery erase my remote's programming?
In most cases, no. The majority of garage door remotes retain their programmed pairing with the opener after a battery swap. However, some older or budget models may lose their settings, so it is worth testing after replacement and reprogramming if needed.
How long do garage door opener batteries typically last?
Most handheld remote batteries last one to two years with average daily use, while keypad batteries can last two to three years. Extreme temperatures in the garage environment can shorten battery life considerably.
Can I use rechargeable batteries in my garage door opener remote?
Rechargeable AA or AAA batteries can work in remotes that use those sizes, but they often operate at a slightly lower voltage than standard alkaline batteries, which can reduce performance or range. For coin cell remotes, rechargeable options are not widely available, and standard disposable batteries are recommended.