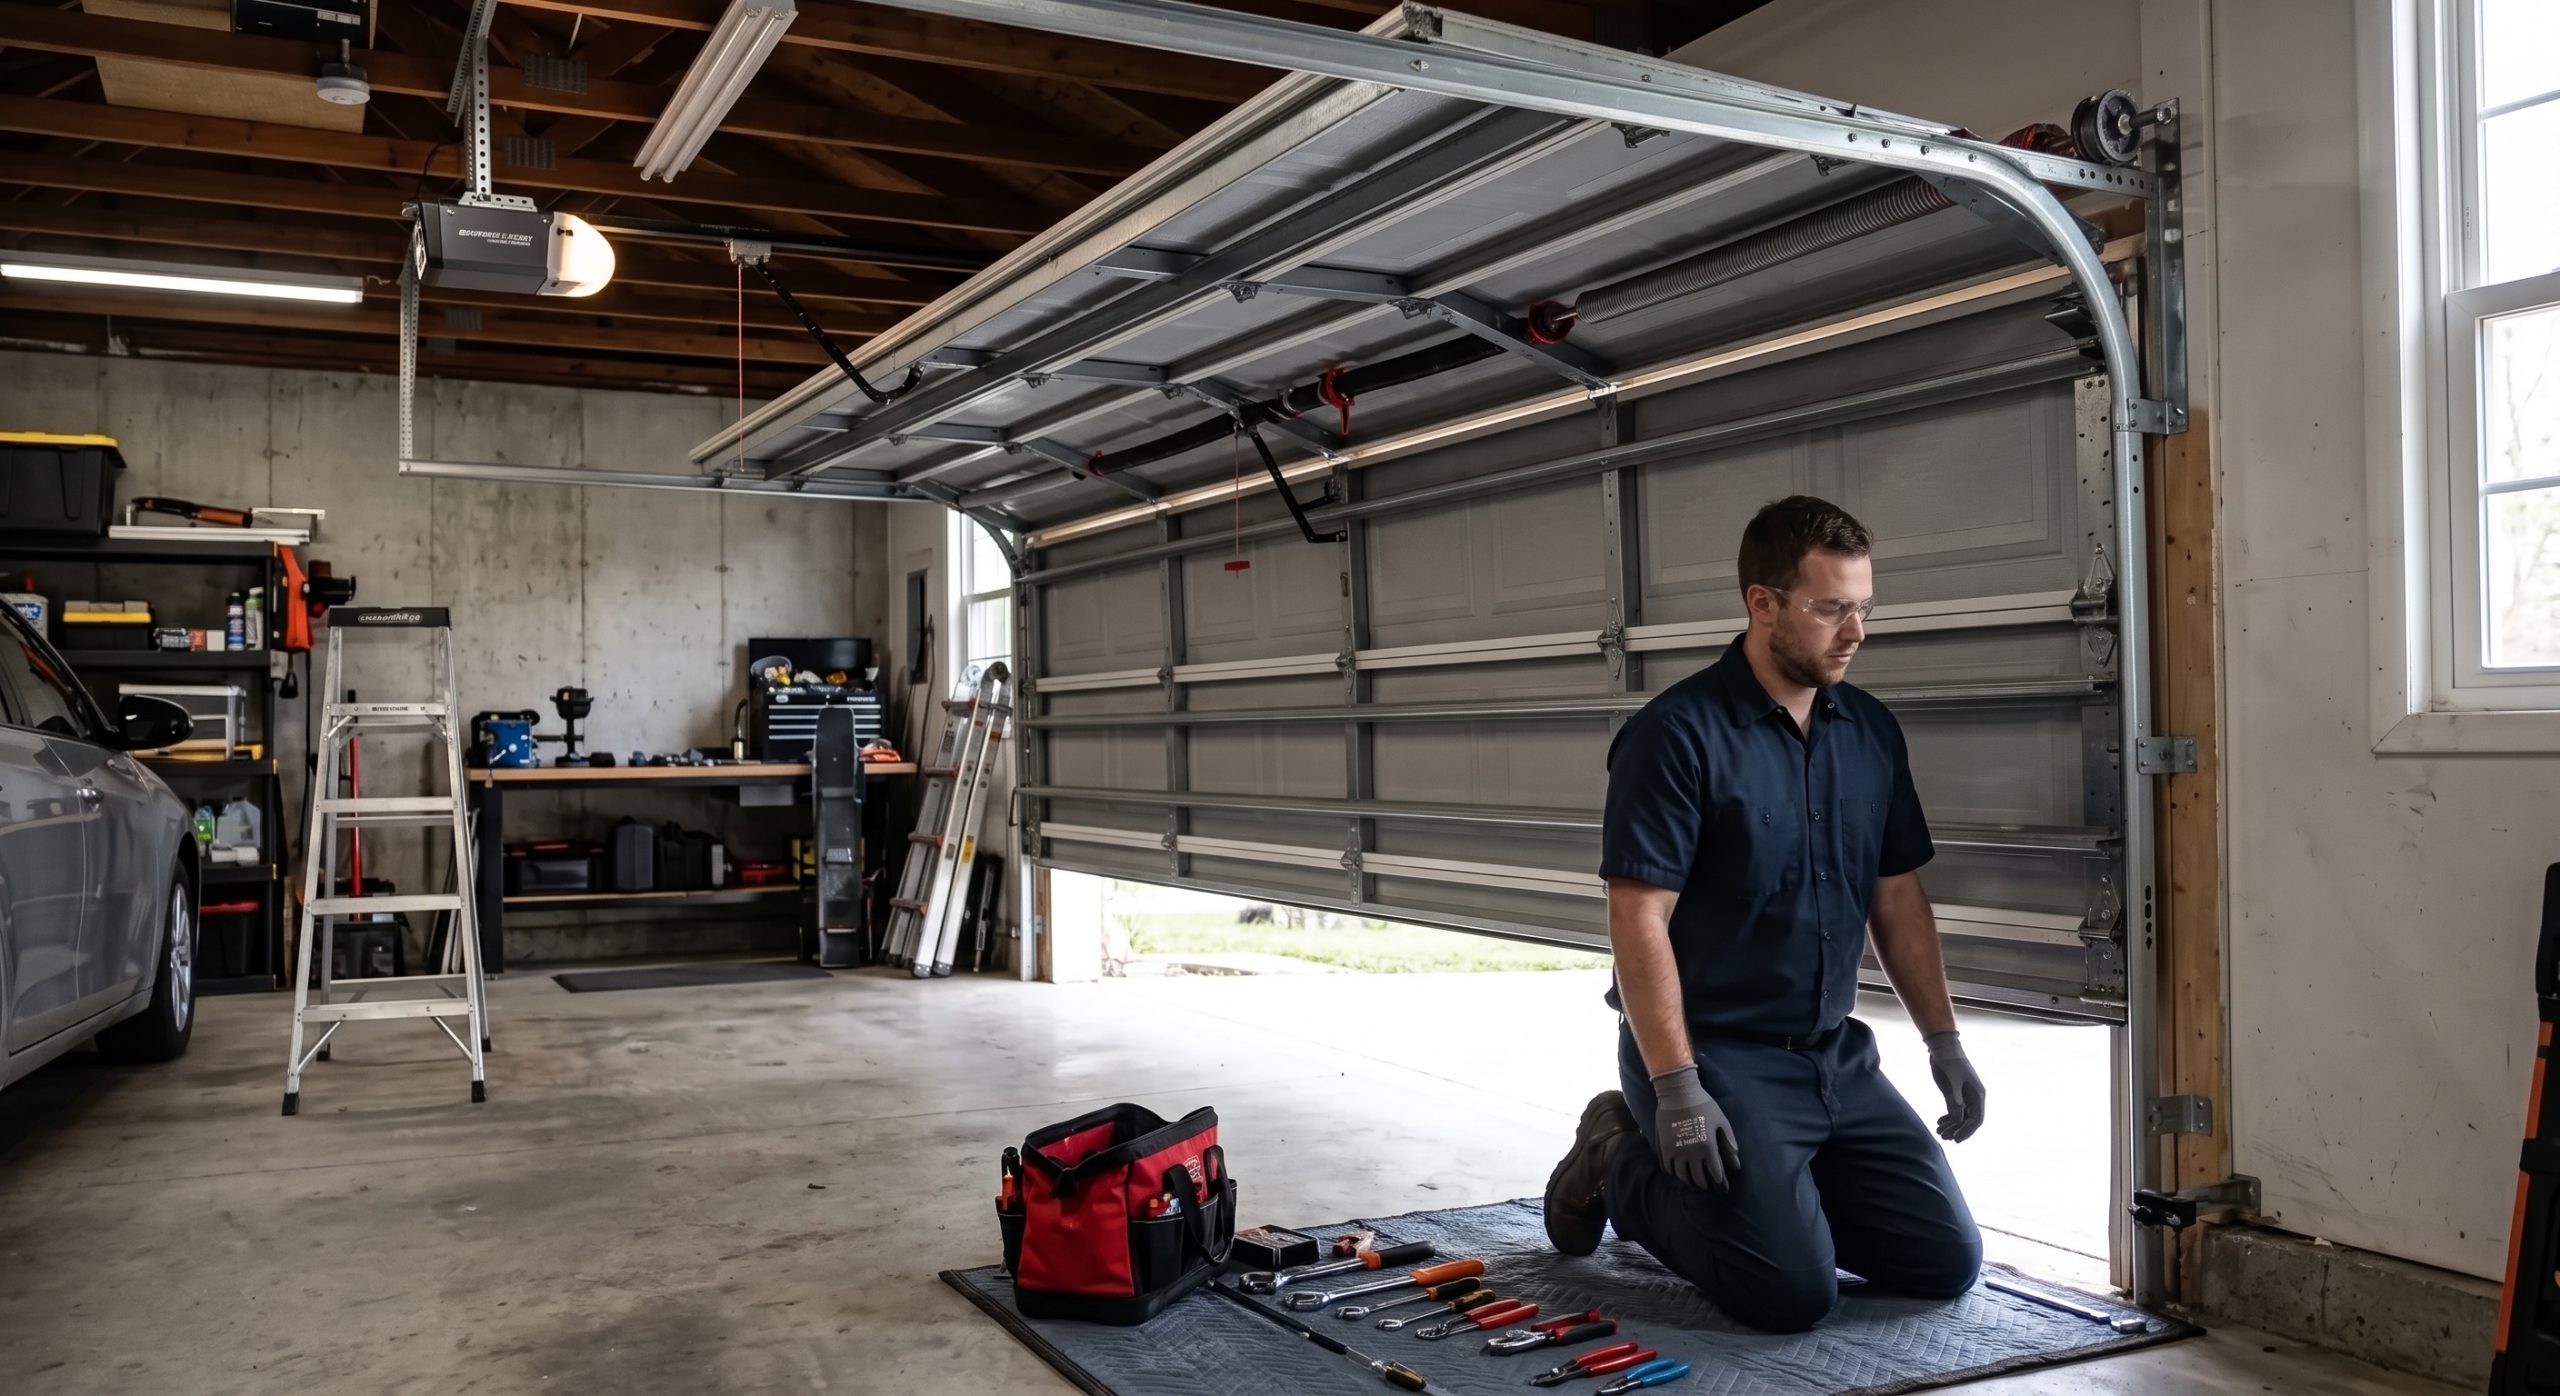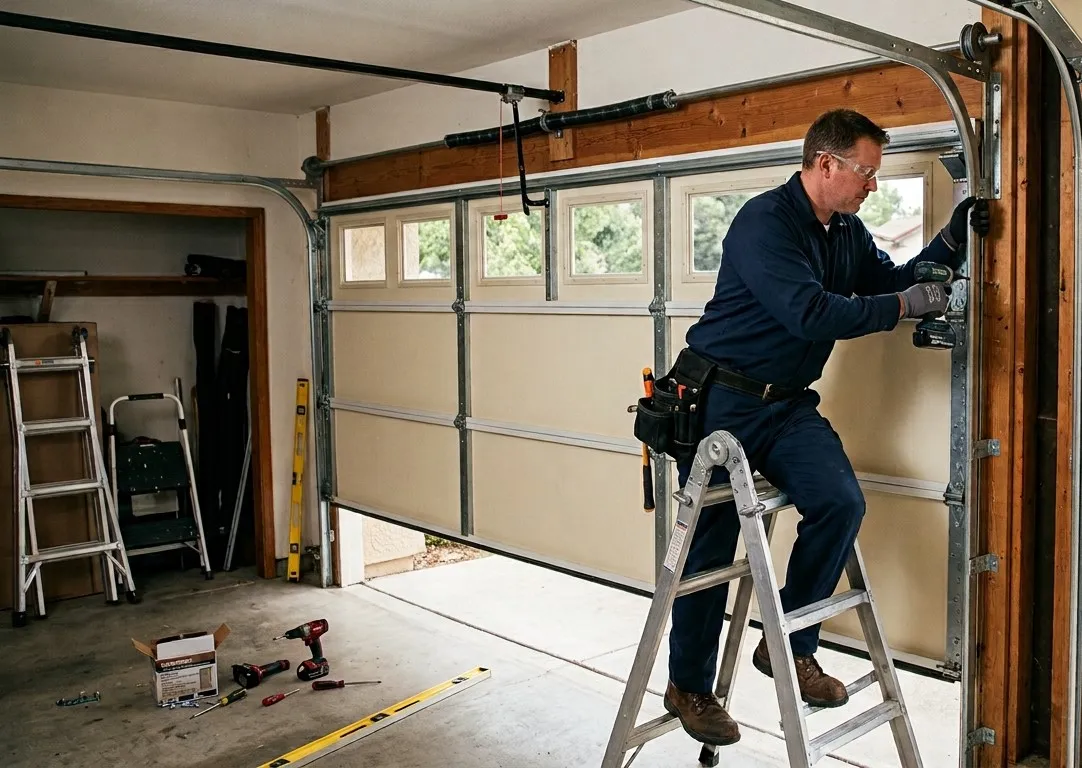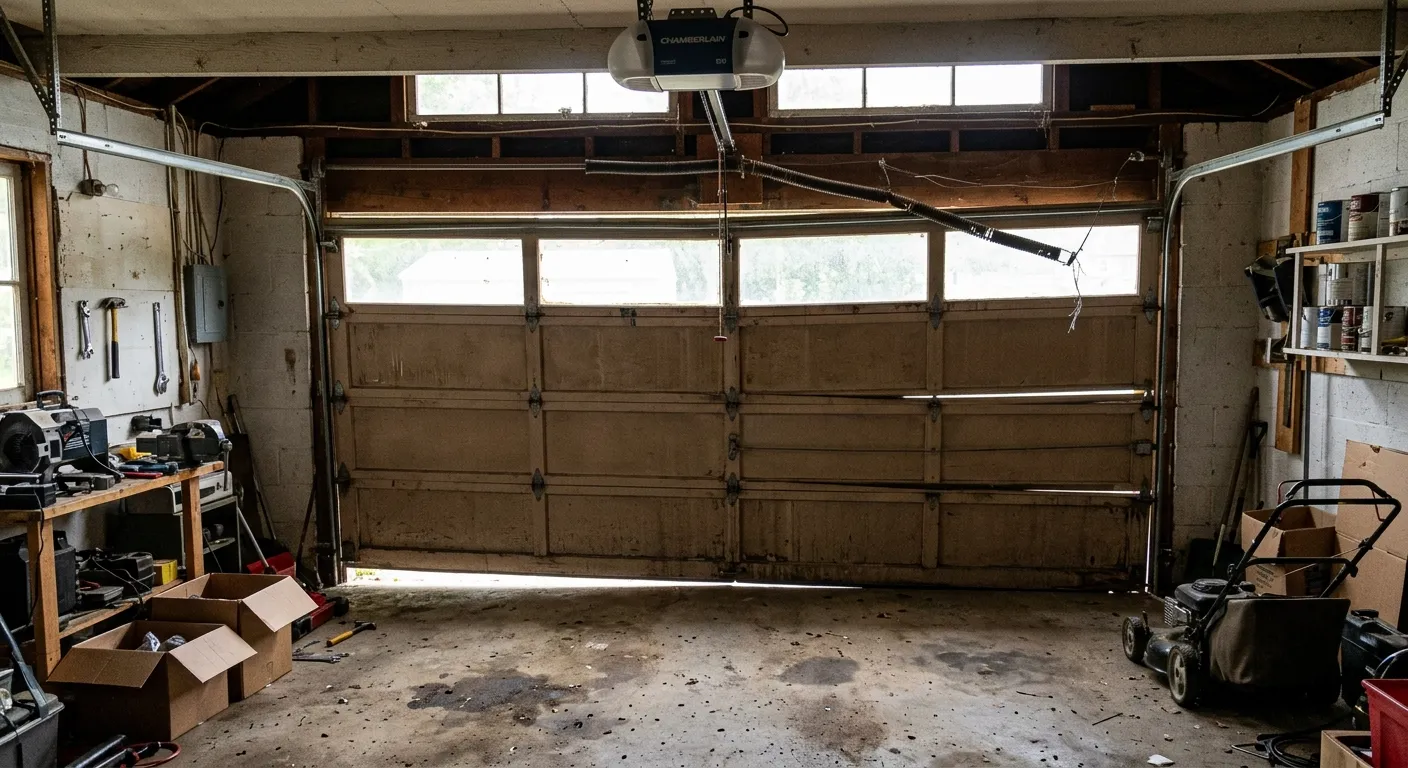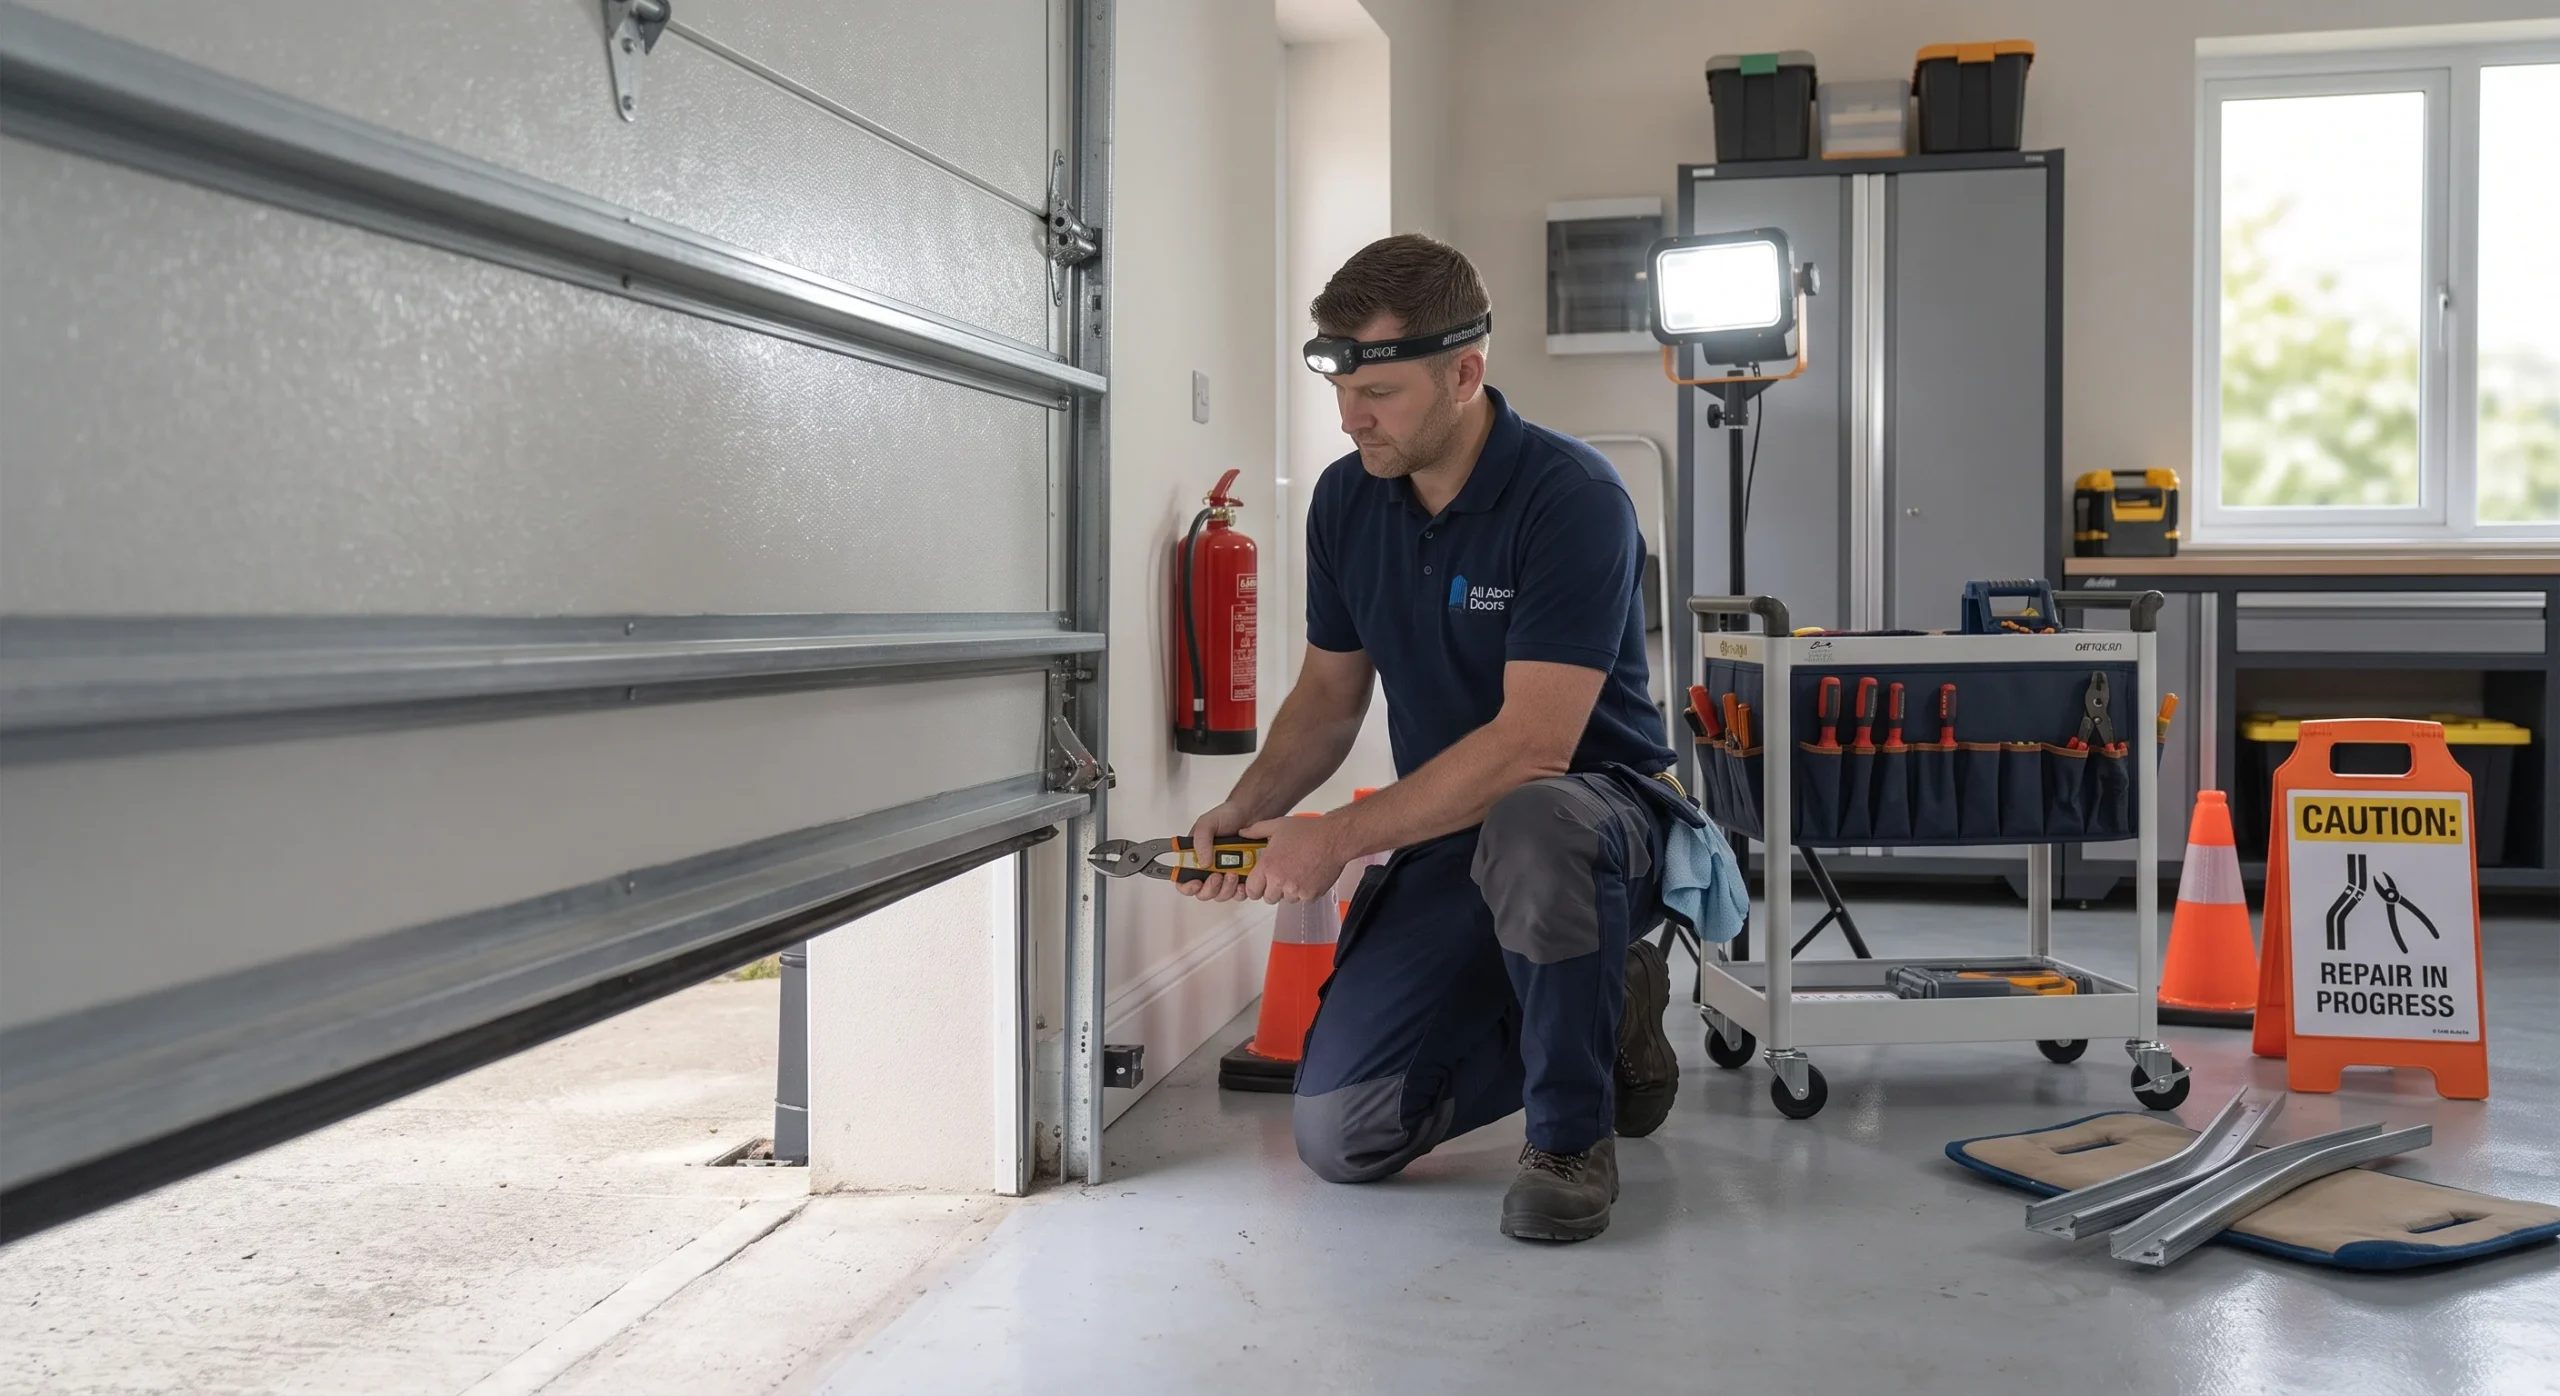
Adjusting a garage door starts with checking the balance, inspecting the tracks, and fine-tuning the opener settings until the door moves smoothly from open to close. Getting each of these steps right protects the entire system and keeps residential garage doors running without interruption.
A door that skips any part of that process will continue to show the same problems, whether it stops short, reverses unexpectedly, or grinds through every cycle. This guide covers every adjustment step in the correct order, so every component works together, and the door holds its adjustment long term.
Why Adjusting a Garage Door the Right Way Matters

Proper garage door adjustment keeps every component working in sync, and ignoring even one part of the process puts the entire system under stress that compounds into bigger, costlier problems with every cycle.
A poorly adjusted door creates a chain of problems across the entire system:
- Rollers and hinges wear down faster due to uneven movement during every cycle.
- Gaps from poor adjustment reduce energy efficiency and let outside air in.
- The opener motor burns out ahead of schedule from added strain.
- Steel doors and black finishes warp or crack from constant misalignment.
- A door that does not seal flush exposes the home’s exterior to outside elements.
To understand why adjusting a garage door the right way matters for a black garage door investment, read our guide on Why Black Garage Doors on a White House Are Trending, which covers every factor homeowners consider before upgrading.
How to Tell If a Garage Door Needs Adjusting
A garage door rarely fails all at once, and catching the warning signs early prevents a simple fix from turning into a full garage door repair job.
Here are the most common signs a garage door needs adjusting:
- The door stops short or extends beyond the floor, indicating travel-limit issues.
- Uneven or jerky movement signals track misalignment or worn rollers.
- Visible gaps along the bottom or sides let in cold weather air and moisture.
- The door reverses before hitting the ground, meaning force sensitivity is off.
- Grinding or scraping sounds indicate something is rubbing where it should not be.
A door showing any of these signs needs attention before the issue puts added strain on the opener, tracks, and hardware.
What to Gather Before Starting a Garage Door Adjustment
Having the right tools and safety measures in place before starting a garage door adjustment makes the entire process faster and less likely to cause additional damage.
Here is what to gather before starting:
- A flathead and Phillips screwdriver for accessing adjustment screws and tightening hardware.
- A level to confirm tracks are plumb and even on both sides.
- Silicone-based lubricant spray to keep rollers, hinges, and tracks moving cleanly.
- Locking pliers or C-clamps to secure the door in place during adjustment.
- Safety glasses and work gloves to protect against metal edges and spring tension.
Going in prepared with the right tools reduces the risk of mid-adjustment problems and keeps the process moving without unnecessary stops.
Step-by-Step Guide on How to Adjust a Garage Door
Step 1 — Checking the Balance of the Garage Door
Balance is the foundation of every other adjustment, and a door that is off-balance will continue showing problems regardless of what else gets fixed.
Check the balance using these steps:
- Pull the emergency release cord to disconnect the opener.
- Lift the door to waist height and let go carefully.
- A balanced door stays in place, while one that drops or shoots up has a spring tension issue.
- Check both sides for cables or springs that look uneven or worn.
- Tilting to one side points to uneven spring or cable tension.
Garage door balance directly affects how long the opener motor, cables, and hardware last under daily use.
Step 2 — Adjusting Tracks and Rollers
Proper track alignment determines how smoothly the door travels through every open and close cycle.
Follow these steps to align tracks and rollers:
- Loosen the bracket bolts just enough to allow the track to shift.
- Tap the track with a rubber mallet until it runs parallel to the door panel.
- Maintain an even gap, the width of a roller, between the track and door.
- Hold a level against the vertical section to confirm the track is plumb.
- Tighten all bracket bolts firmly and test the door manually.
Even a slight bend in a track forces rollers to work against the frame rather than roll through cleanly.
Step 3 — Adjusting Travel Limits
Travel limits control exactly how far the door moves in each direction, and getting them right means the door opens fully and closes flush every time.
Adjust travel limits using these steps:
- Locate the Up and Down limit screws or buttons on the opener motor.
- Turn the Down screw counterclockwise to reduce the gap at the bottom.
- Turn the Up screw clockwise when the door does not open fully.
- Make quarter-turn adjustments only and run a full cycle after each change.
- Repeat until the door closes flush with no light visible underneath.
Incremental changes during travel limit adjustment prevent overshooting the target and keep the process straightforward.
Step 4 — Adjusting Force Sensitivity
Force-sensitivity settings determine how much power the opener uses to move the door, and incorrect settings can affect both performance and safety.
Adjust force sensitivity with these steps:
- Find the Force or Sensitivity dials on the motor unit near the limit screws.
- Turn the dial clockwise if the door reverses before reaching the ground.
- Turn counterclockwise if the door keeps pushing without reversing on contact.
- Place a flat board on the ground and close the door to test auto-reverse.
- Confirm the door reverses immediately upon contact before finishing.
Force settings that are too high place unnecessary load on the motor, cables, and all connected hardware.
Step 5 — Torsion Spring Adjustments
Torsion springs carry the full weight of the door and maintain tension levels that make them among the most hazardous components in the system.
What every homeowner should know about torsion spring adjustment:
- An extremely heavy door points to a loss of spring tension.
- Never wind or adjust torsion springs without professional training.
- Extension springs can be adjusted by moving the tension hook to a different hole.
- Damaged spring tension accelerates wear on every connected component.
- Torsion spring work requires proper winding bars and hands-on experience to handle without incident.
Torsion spring work carries a real risk of injury at any experience level, and calling a professional is always the recommended course of action.
Step 6 — Lubricating the Garage Door Components
Lubrication reduces friction across every moving part and is the final step that ties the entire adjustment process together.
Lubricate garage door components using these steps:
- Apply silicone-based lubricant evenly to rollers, hinges, and spring coils.
- Wipe tracks clean before applying a thin layer to prevent buildup.
- Work from top to bottom, hitting every hinge point along the door.
- Avoid petroleum-based products that attract dirt to black finishes and metal surfaces.
- Wipe away excess with a clean rag after applying to every component.
Consistent lubrication after every adjustment keeps quiet operation intact and extends the service life of every component.
What to Check After Adjusting a Garage Door
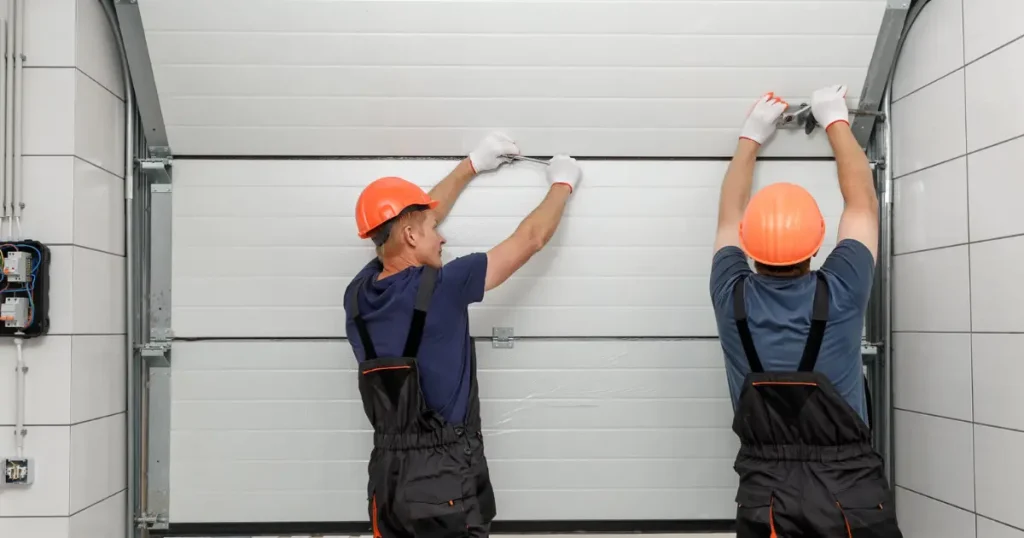
Every adjustment means nothing without a thorough post-check to confirm the door is operating exactly as it should.
Run through these checks after every garage door adjustment:
- Run five full cycles and watch for hesitation or uneven movement.
- Place a flat board on the ground and confirm the door reverses on contact.
- Check for gaps between the bottom seal and the ground.
- Listen for grinding, squeaking, or popping during operation.
- Confirm sensors are aligned, and the opener responds to both controls.
To keep the opener fully responsive after every adjustment, read our guide on How to Replace Battery in Garage Door Opener: A Simple Guide, which walks through every step homeowners need to maintain consistent opener performance.
Common Mistakes to Avoid When Adjusting a Garage Door
Avoiding the most common adjustment errors keeps the process efficient and protects every component from unnecessary damage.
Watch out for these mistakes:
- Skipping the balance check and working on symptoms instead of the root problem.
- Over-tightening track bolts warps the track and causes binding.
- Large adjustments at once make it harder to land on the correct setting.
- Wrong lubricant attracts dirt and breaks down quickly on metal components.
- Travel limits and force settings need to be rechecked after every track realignment.
To keep the opener keypad working properly after every adjustment, read our guide on Reset the LiftMaster Garage Door Opener Keypad in a Few Simple Steps, which covers every step homeowners need to restore full keypad functionality.
When to Call a Pro Instead of Adjusting It Yourself
Recognizing when a garage door problem requires more than basic adjustment saves time, prevents further damage, and keeps the entire system protected.
Here are the situations that call for a professional:
- Torsion spring issues always require a trained technician.
- Bent or damaged tracks need full replacement, not realignment.
- Frayed or snapped cables are dangerous to handle without training.
- A struggling opener after manual adjustment points to a motor issue.
- Repeated misalignment signals an underlying structural problem.
Calling a garage door pro in Glen Burnie at the first sign of these issues protects the entire system and keeps every component working as built.
Follow Every Step and Adjust Your Garage Door the Right Way
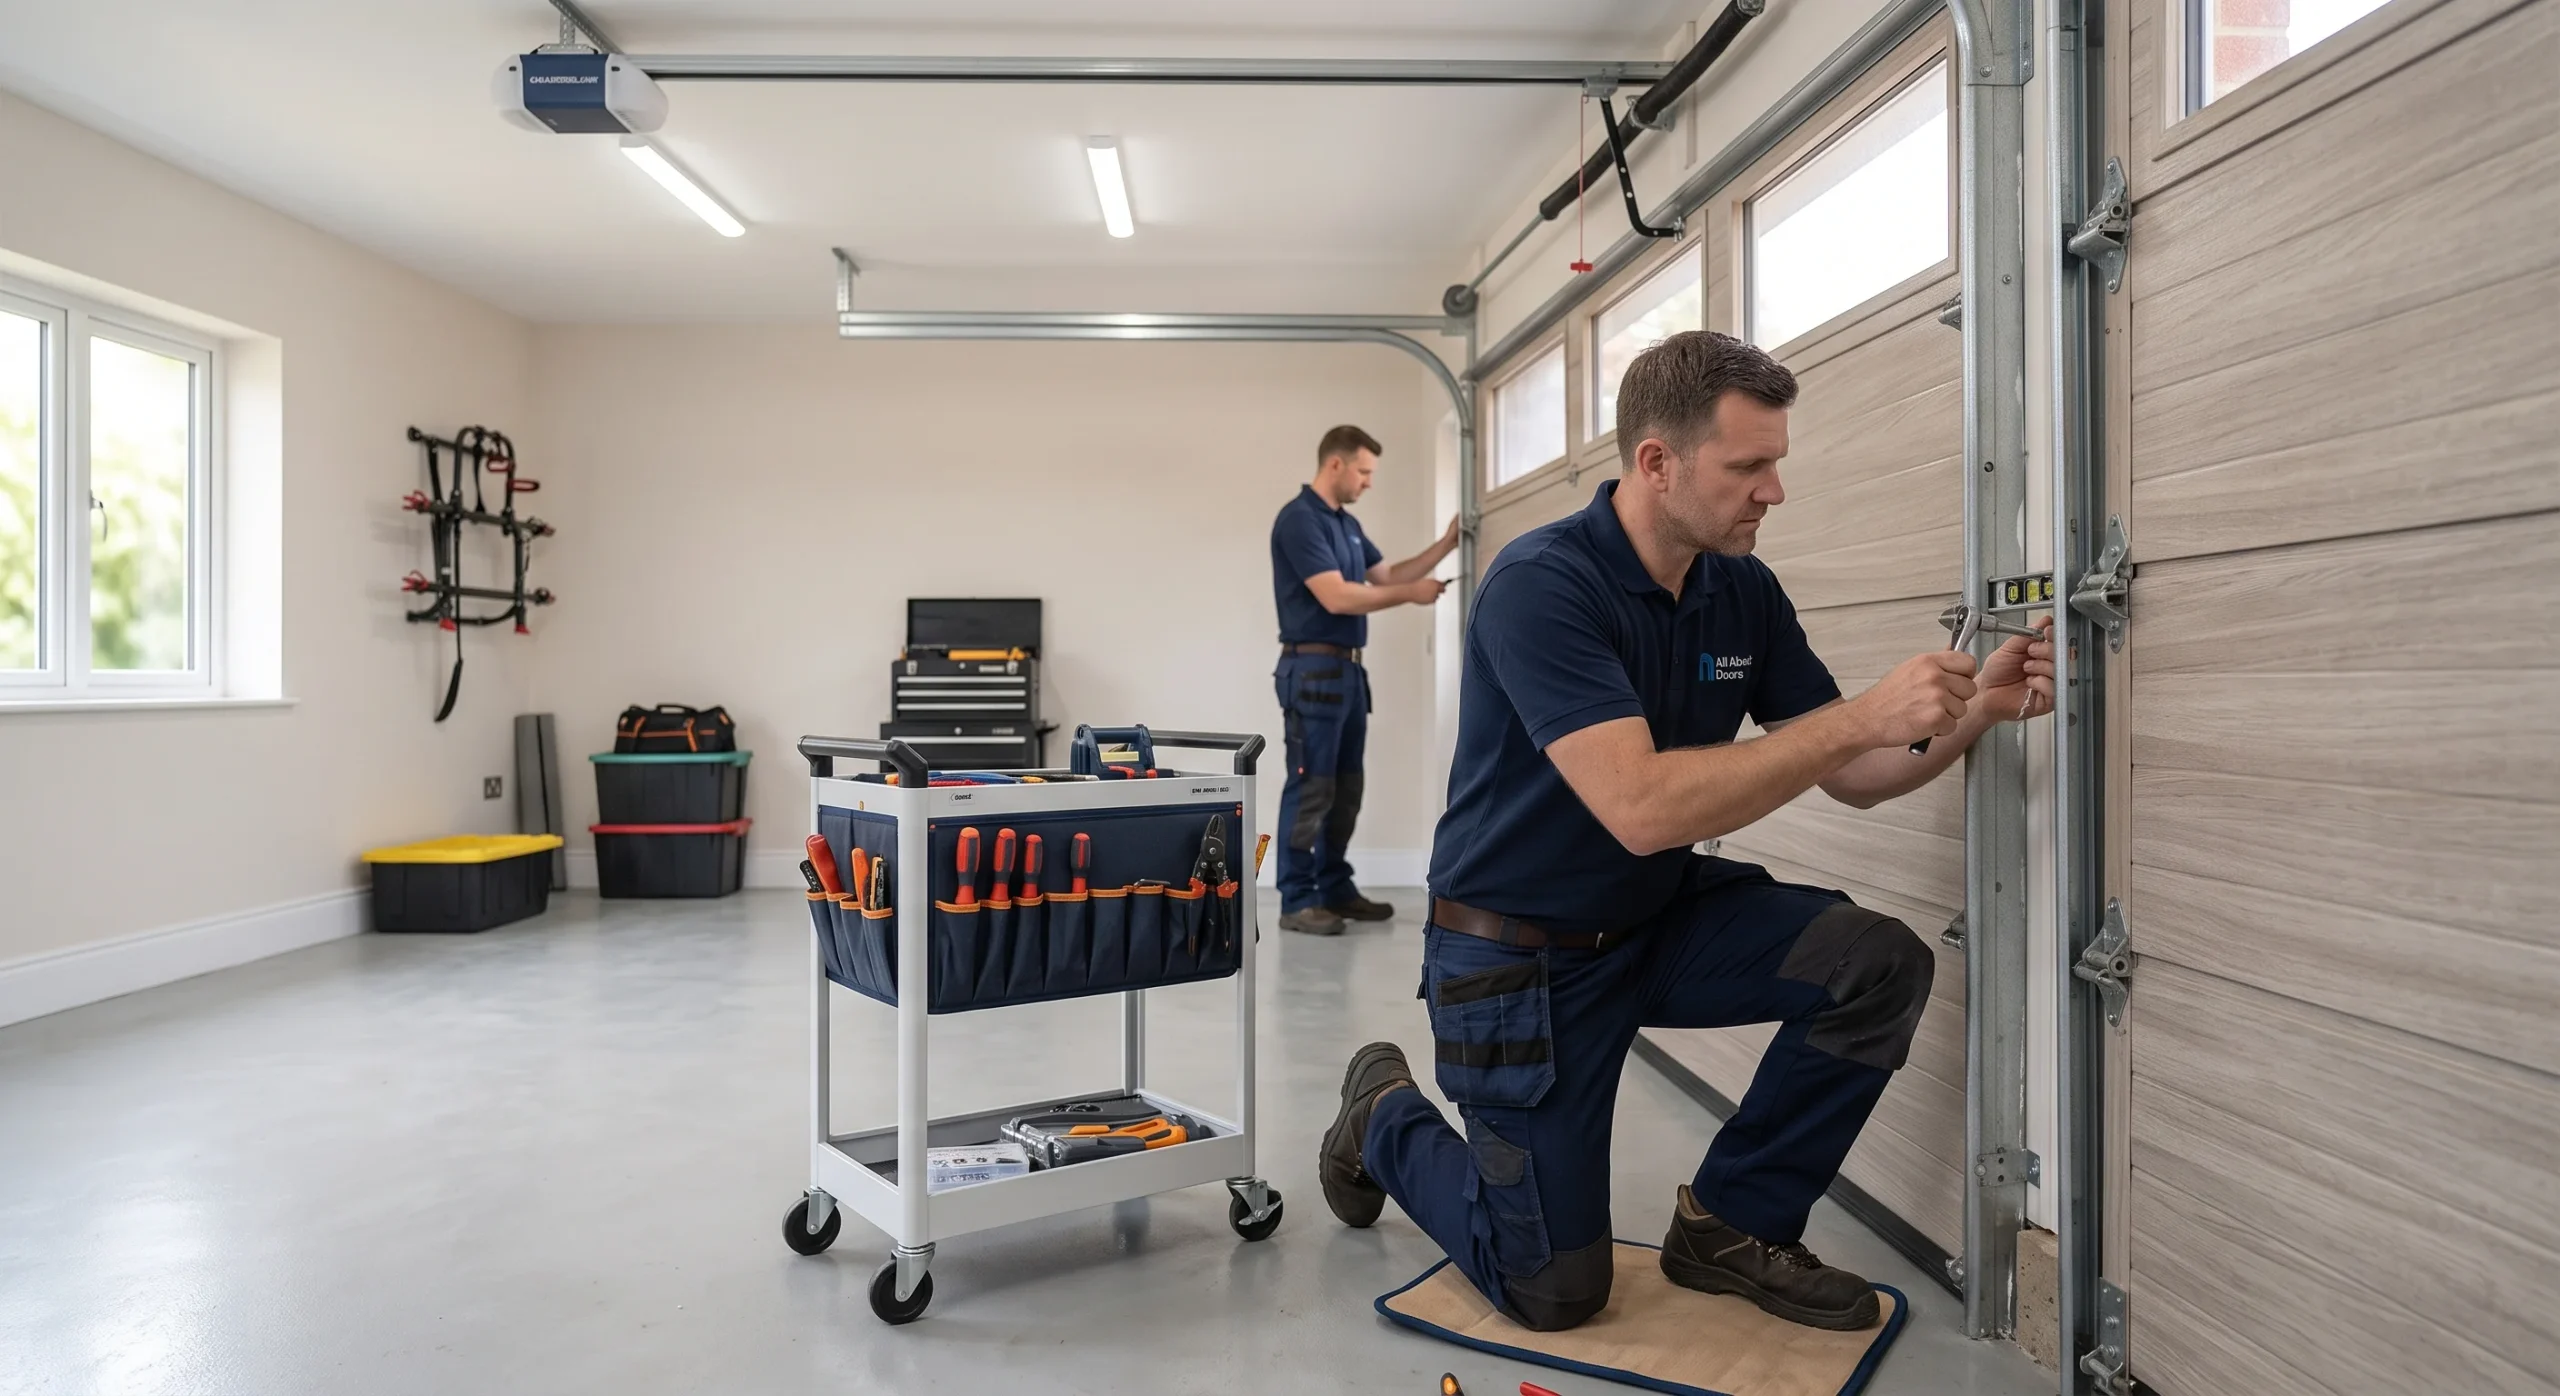
Adjusting a garage door correctly means working through each step in the right order, using the proper tools, and knowing exactly when a problem requires professional attention. Glen Burnie homeowners who follow this process protect every component in the system and keep the door performing at its best through every season.
All About Doors brings the expertise and local knowledge that Glen Burnie homeowners count on for every garage door adjustment, repair, and maintenance need. Contact us or give us a call today, and let our team work through every adjustment your system needs to keep every component running at its best.
Frequently Asked Questions
Can I adjust a garage door opener without adjusting the door itself?
Yes. Opener settings like travel limits and force sensitivity can be adjusted independently without touching the door hardware. Addressing both together, however, yields the most consistent results across all cycles.
How do modern black garage doors affect the adjustment process compared to other colors?
Modern black garage doors follow the same adjustment process as any other door, regardless of color or finish. Black finishes on steel doors and black aluminum options are built from durable materials that hold alignment well under regular use.
Is a black garage door a good idea for homes with existing hardware and track systems?
Yes. A black garage door works with existing hardware and track systems in most residential installations without requiring significant modifications. Clean lines and contemporary design make it a popular choice that complements a variety of styles without demanding a full system overhaul.
Does a glass garage door require different adjustments than a standard panel door?
Yes. A black glass garage door carries more weight than a standard panel door, which affects spring tension, balance, and force sensitivity settings. Checking the balance first is especially important on glass panel doors before making any other adjustments.
How does garage door color affect heat absorption and adjustment frequency?
Dark colors like black absorb more heat from direct sunlight, which causes metal components to expand and contract more noticeably than lighter colors. Reflective coatings on black surfaces help reduce heat absorption and minimize the need for adjustments during warmer months.
Are black garage doors more expensive to adjust or maintain than other options?
No. Black garage doors with windows or standard panels follow the same maintenance and adjustment process as any other door. Low-maintenance finishes on black doors mean that regular cleaning and periodic lubrication are all that is needed to keep the system performing well.
What role does decorative hardware play in garage door adjustment?
Decorative hardware adds weight to the door panels, which can affect balance and spring tension over time. Checking the balance after installing new decorative hardware ensures that the added load does not interfere with quiet operation or the opener's performance.
How do black garage doors with windows affect natural light and garage space?
Black garage doors with windows allow natural light into the garage space without compromising the bold statement the door makes from the street. Window frames and glass panels enhance aesthetic appeal while maintaining the contemporary look throughout the home's exterior.
Can adjusting a garage door improve a home's overall value and curb appeal?
Yes. A properly adjusted garage door operates smoothly, seals flush, and makes a lasting impression that potential buyers notice immediately. Keeping the system in good working order supports home value and strengthens the home's curb appeal without requiring a full door replacement.