A garage door opener that will not respond to your remote is a clear sign that the programming has been lost, and knowing how to program a LiftMaster garage door opener will get your system back to working order. The process requires understanding how the Learn button and pairing process work before you start.
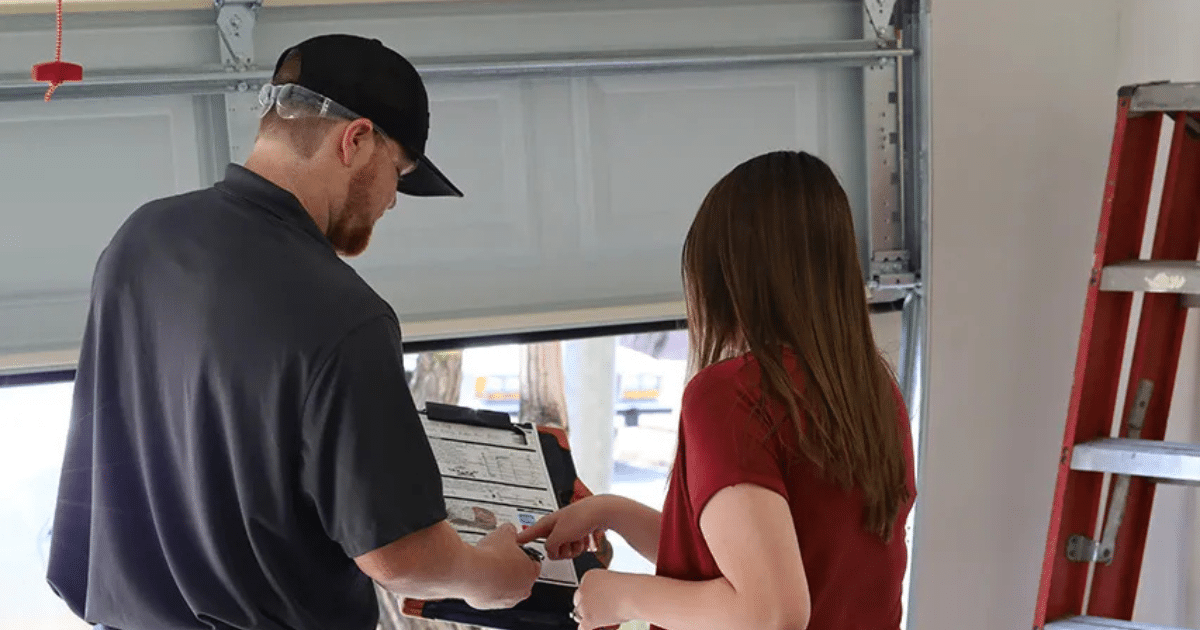
Programming a LiftMaster garage door opener involves more than just pressing a button, and getting the steps wrong can cause damage that ends up requiring a garage door repair. This guide walks you through resetting the memory and pairing your remote, keypad, and car system so you can get it done correctly the first time.
Why Your LiftMaster Garage Door Opener Needs to Be Programmed?
A LiftMaster garage door opener relies on a rolling code system that generates a new code every single time it is used, and every remote or keypad must be properly configured to that system before it can communicate with the opener.
Common reasons why programming is needed:
- A new remote was purchased and has not yet been paired to the opener’s memory.
- The opener’s memory was cleared, and all previously stored codes were wiped out.
- A new opener was installed, and no remotes or keypads have been configured yet.
- The previous owner’s codes are still active and need to be replaced with new ones for security.
- The remote lost its signal, and the pairing between the device and the opener was broken.
To understand how clearing the opener’s memory affects the programming outcome, read our guide on Reset Your LiftMaster Garage Door Opener Before Programming, which covers the full reset process step by step.
How to Reset LiftMaster Garage Door Opener Before Programming
Resetting your LiftMaster garage door opener clears all stored codes from its memory, giving you a clean starting point before any new programming begins.
Steps to reset your LiftMaster garage door opener:
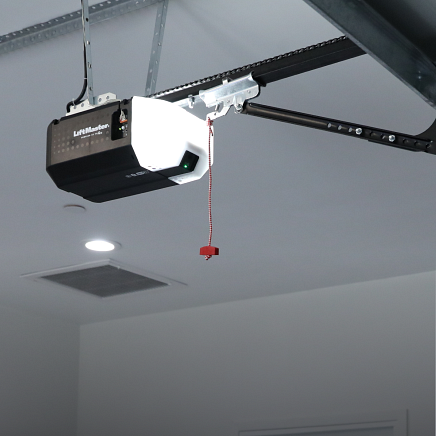
- Locate the Learn button on the back or side of the motor unit.
- Press and hold the Learn button for six seconds until the LED indicator light turns off.
- Release the button once the light goes out to confirm that all codes have been erased.
- Test an old remote to verify that the opener no longer responds to stored codes.
- Wait a few seconds before starting to allow the system to fully reset.
- Check the antenna wire to confirm it is straight and undamaged before pairing new devices.
With the memory completely cleared, your opener is now ready to accept new remotes, keypads, and car systems without any interference from old codes.
How to Program a LiftMaster Garage Door Opener
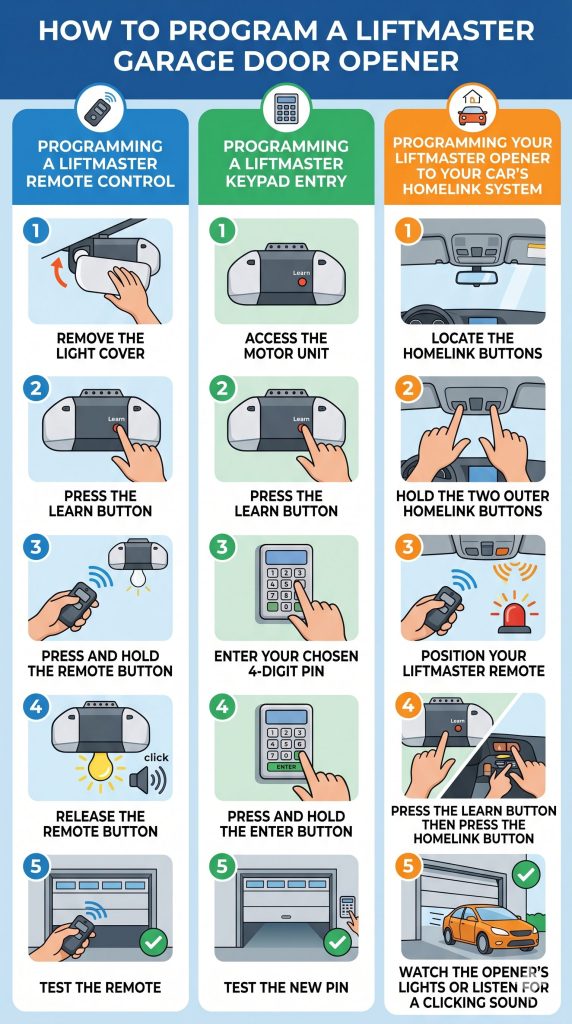
Programming a LiftMaster Remote Control
Pairing a LiftMaster remote to your opener takes less than a minute when the steps are followed in the correct order.
Steps to program a LiftMaster remote control:
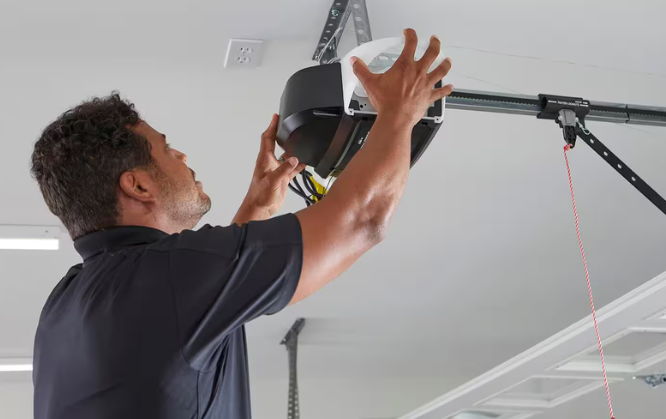
- Find the Learn button on the back or side of the motor unit and remove the light cover if needed.
- Press the Learn button once to open a 30-second programming window.
- Press and hold the remote button until the opener’s lights flash or a clicking sound is heard.
- Release the remote button once the opener confirms the pairing.
- Test the remote to confirm the garage door responds correctly.
LiftMaster Max remotes and older units with a wall-mounted program button may follow slightly different pairing steps depending on the model.
Programming a LiftMaster Keypad Entry
Keyless entry gives every household member a way to access the garage without a remote.
Steps to program a LiftMaster keypad:
- Access the motor unit and locate the Learn button as you did for remote programming.
- Press the Learn button once to activate the 30-second programming window.
- Enter your chosen 4-digit PIN on the keypad right after the LED turns on.
- Press and hold the ENTER button until the opener’s lights flash or two clicks are heard.
- Test the new PIN on the keypad to confirm the door responds.
Keypads exposed to moisture or mounted too far from the motor unit can lose signal strength, causing programming failures even when every step is performed correctly.
Programming Your LiftMaster Opener to Your Car’s HomeLink System
Many modern vehicles include a built-in HomeLink system that can be paired directly with a LiftMaster opener, eliminating the need for a separate remote.
Steps to sync your car’s HomeLink button to your LiftMaster opener:
- Locate the HomeLink buttons on the overhead console or sun visor inside your car.
- Hold the two outer HomeLink buttons until the indicator light flashes rapidly to clear its memory.
- Position your LiftMaster remote one to three inches from the HomeLink button, then press both simultaneously until the light changes from a slow to a rapid flash.
- Press the Learn button once on the opener, then return to your car and press the HomeLink button three times, each for 2 seconds.
- Watch the opener’s lights or listen for a clicking sound to confirm the pairing was successful.
Rolling code technology enables the HomeLink system and the LiftMaster opener to establish a secure, stable connection during the pairing process.
Common LiftMaster Garage Door Opener Programming Issues
Programming failures rarely happen without a cause, and identifying the right one saves time and prevents repeated attempts.
Common LiftMaster garage door opener programming issues include:
- A weak remote battery blocks the signal during pairing.
- Exceeding the 30-second window closes programming mode too early.
- A damaged antenna wire cuts off communication with the opener.
- An incompatible remote will not pair regardless of how many attempts are made.
- Keypad moisture or damage disrupts the keypad connection.
- An incomplete memory reset leaves old codes that interfere with new programming.
To find out what drives each of these issues and how to address them, read our guide on Why Won’t My LiftMaster Garage Door Opener Program?, which breaks down each cause and walks through the most effective fixes.
Troubleshooting Your LiftMaster Garage Door Opener Programming
When programming fails after multiple attempts, running through a structured checklist helps pinpoint the problem before calling in a professional.
Troubleshooting steps for LiftMaster garage door opener programming:
- Confirm the remote is compatible with your specific LiftMaster model before attempting again.
- Check the MyQ control panel on Wi-Fi-enabled models, as some require app-based setup in addition to the Learn-button steps.
- Inspect the side of the opener unit for blinking error codes or warning lights.
- Examine the residential garage door itself for track misalignment or broken springs that may be preventing it from operating fully.
- Reset the opener completely and test with a different remote to rule out a faulty device.
To go beyond these steps and tackle more complex opener problems, read our guide on LiftMaster Garage Door Opener Troubleshooting Guide, which covers a wider range of issues and how professionals approach each one.

Preventive Tips to Keep Your LiftMaster Garage Door Opener Working
Regular maintenance prevents minor issues from building up into problems that require a full reprogramming or system replacement.
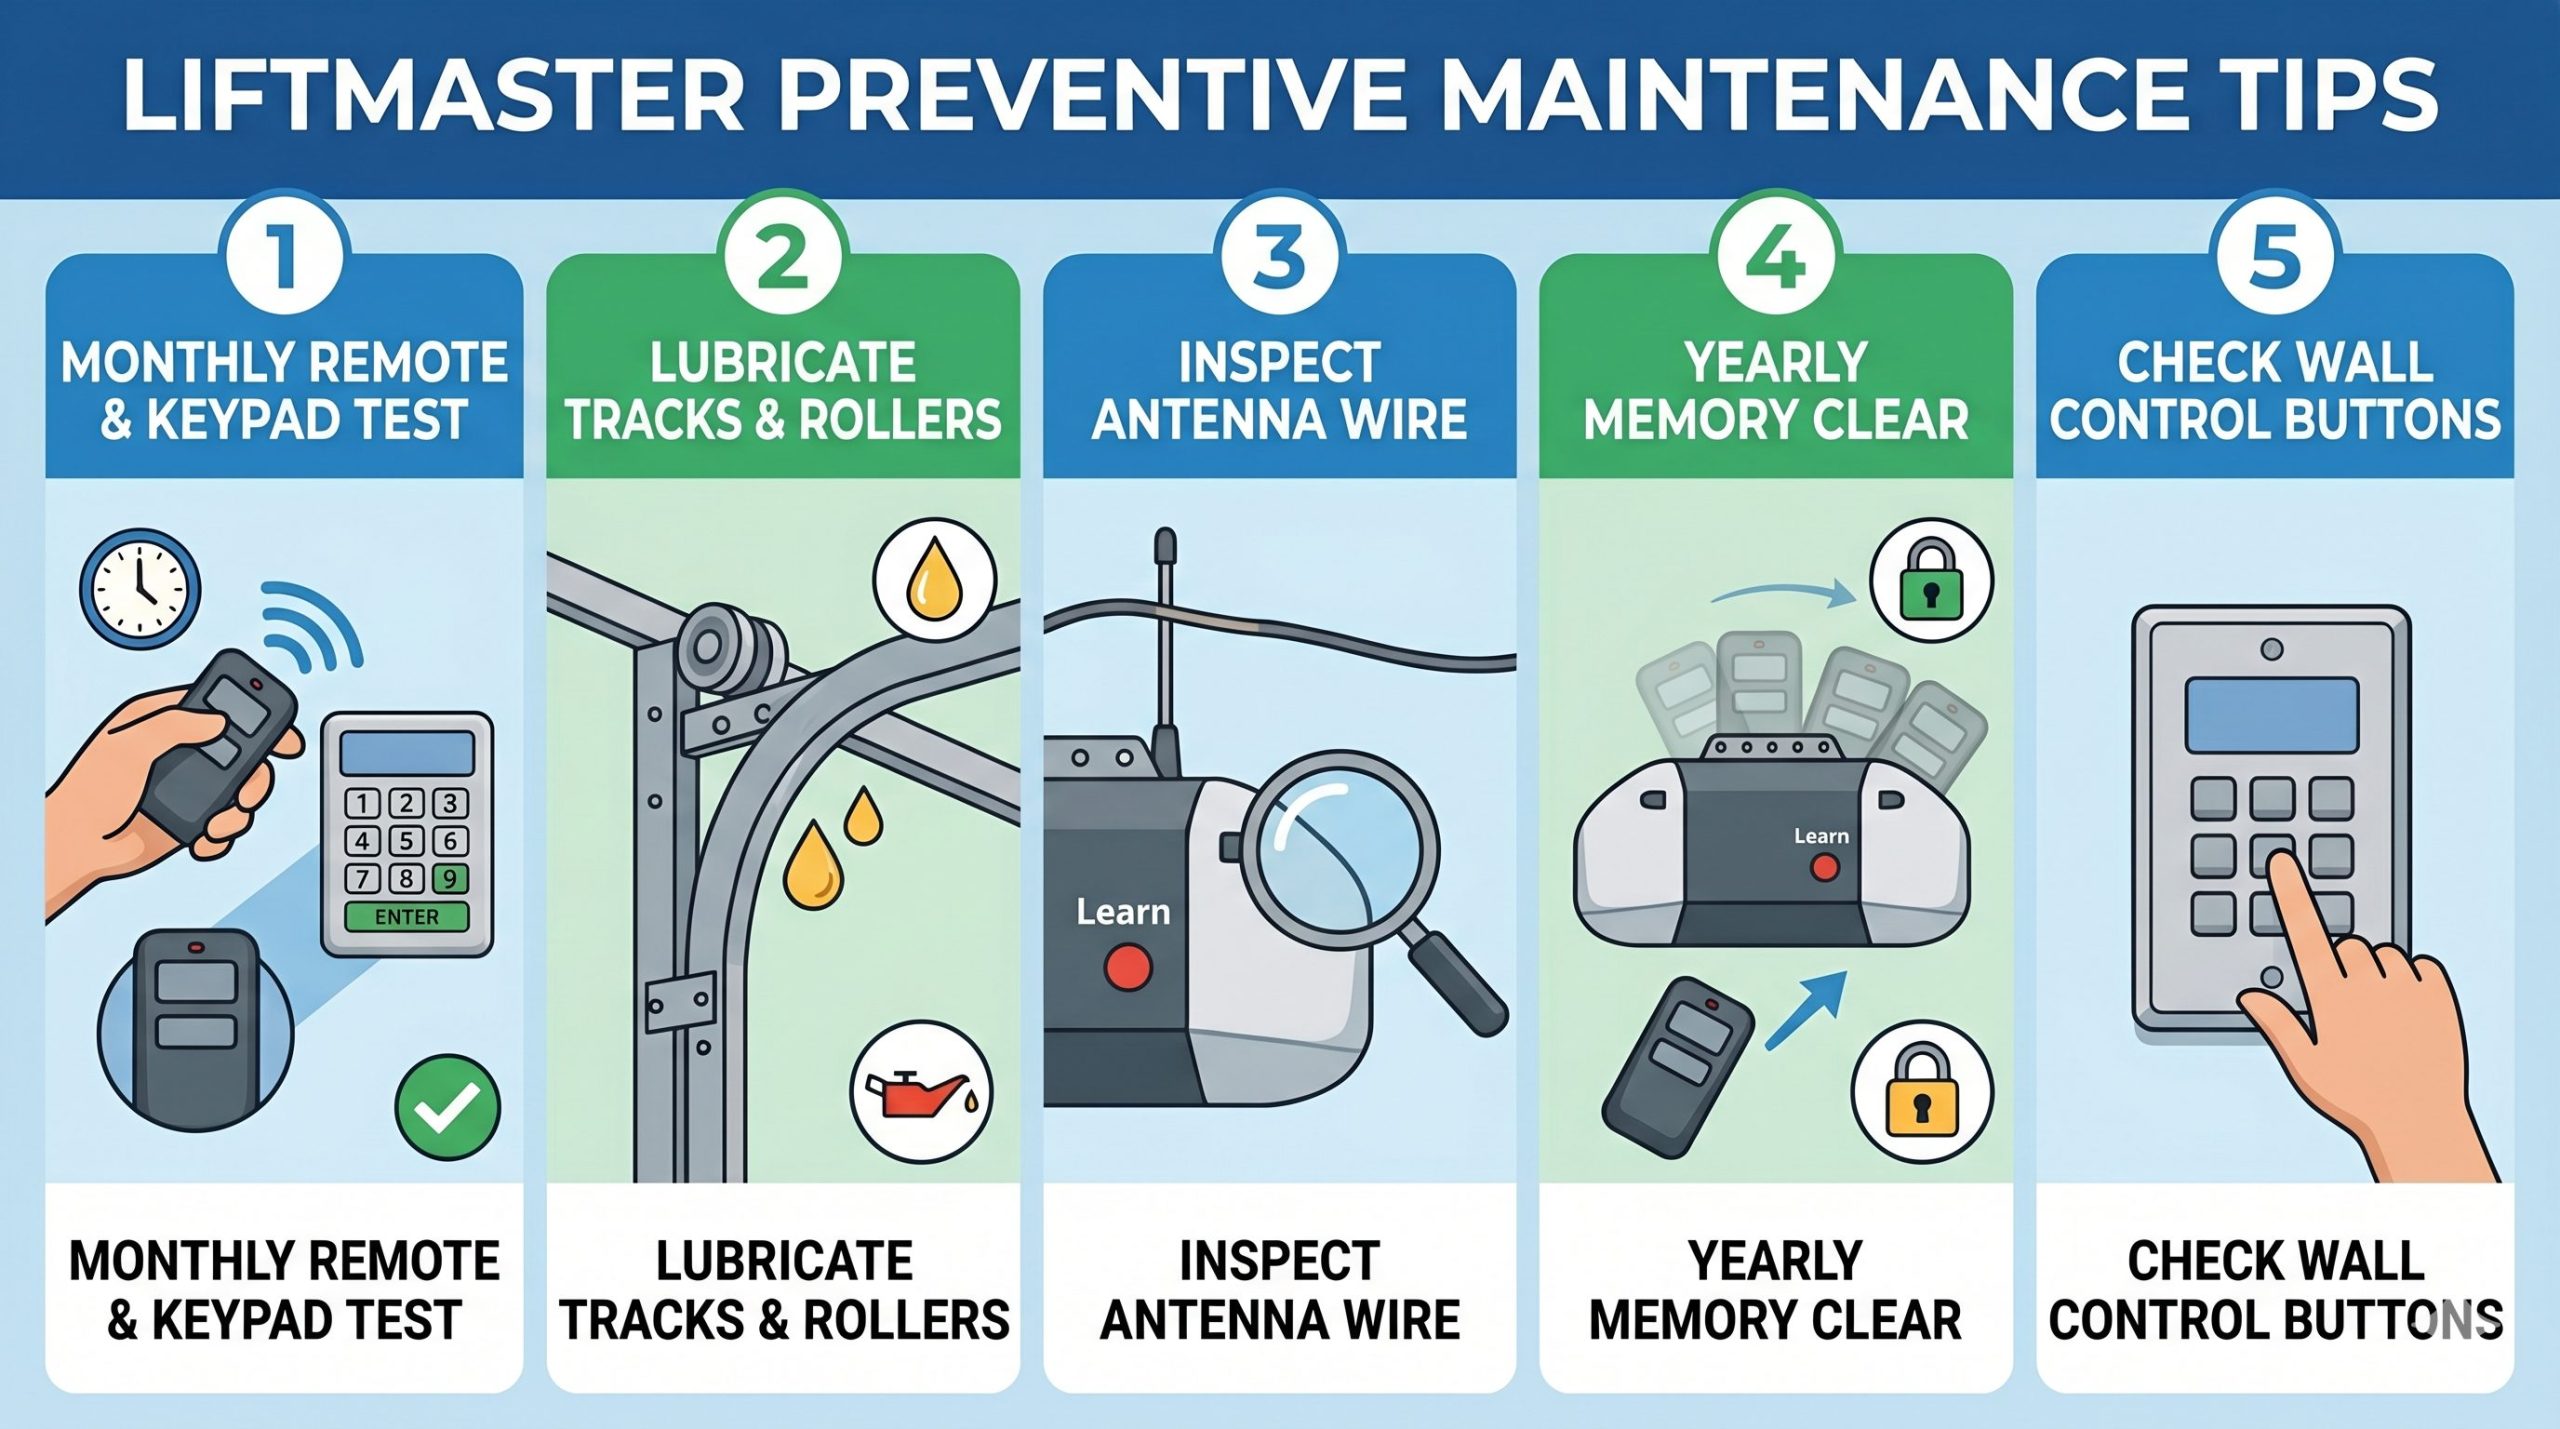
Preventive tips to keep your LiftMaster garage door opener working:
- Test your remote and keypad monthly to catch signal or battery issues early.
- Lubricate the tracks and rollers every three to six months to reduce motor strain.
- Inspect the antenna wire for fraying, bending, or obstruction that affects signal strength.
- Clear outdated remotes from the opener’s memory once a year to keep the system secure.
- Check the wall control buttons periodically for wear or unresponsiveness.
Keeping up with these habits reduces the likelihood of facing a full reprogramming or system replacement down the line.
Program Your LiftMaster Garage Door Opener Correctly and Keep It Working for Years
Understanding the correct programming sequence is the foundation of a fully functional LiftMaster garage door opener, and following each step in the correct order prevents repeated failures and unnecessary service calls. Getting the programming done the first time correctly is what keeps your entire garage door system running the way it should.
All About Doors proudly serves homeowners across Glen Burnie, MD, with professional garage door programming, repair, and installation services. Contact us or give us a call today so our experienced technicians can help you program your LiftMaster garage door opener correctly and get your system working exactly the way it should.