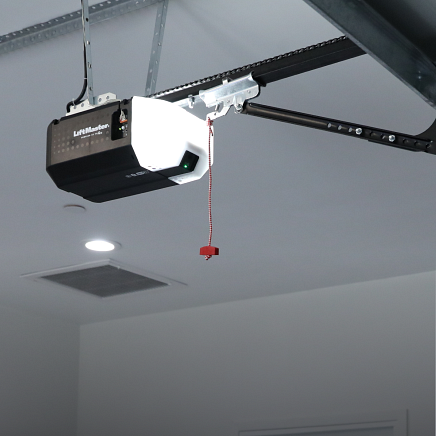
A LiftMaster garage door opener that stops responding, loses its programming, or fails mid-cycle is a sign that something in the system needs to be properly diagnosed before the problem gets worse. Jumping straight to fixes without identifying the root cause is what makes a simple problem harder to solve.
Working through a LiftMaster garage door opener troubleshooting guide in the correct order is what helps you pinpoint the issue fast, whether it is a power fault, a sensor problem, or a programming failure. This guide covers every common cause and walks you through exactly what to do and when to call a professional for a garage door repair.
What Are the Common LiftMaster Garage Door Opener Programming Issues?
A LiftMaster garage door opener that refuses to program is a sign that something is disrupting the connection between the remote control and the motor unit, preventing any wireless device from communicating with the opener.
Common LiftMaster garage door opener programming issues include:
- Pressing the remote button gets no response from the opener whatsoever.
- Newly added devices fail to register even after following all programming steps.
- Keyless entry pads stop responding even after the correct code is entered multiple times.
- The opener lights flash repeatedly without completing the programming cycle.
- Wall control operates normally while every wireless device remains completely unresponsive.
To understand what is causing these failures and how to fix them, read our guide on Why Won’t My LiftMaster Garage Door Opener Program?, which covers every cause and the most effective solution for each.
What to Check Before You Start Troubleshooting Your LiftMaster Garage Door Opener
Running through a few basic checks before troubleshooting confirms whether the issue is a simple oversight or an actual problem that needs a fix.
What to check before troubleshooting your LiftMaster garage door opener:
- The opener unit is plugged in, and the circuit breaker has not been tripped
- Safety sensors on both sides of the garage door are aligned with steady lights
- The wall control panel is functional, and the lock mode is not active
- Remote and keypad batteries have been replaced with fresh ones
- Antenna wire on the motor unit is hanging straight with no visible damage
Skipping these checks before troubleshooting is what turns a minor oversight into a misdiagnosed repair.
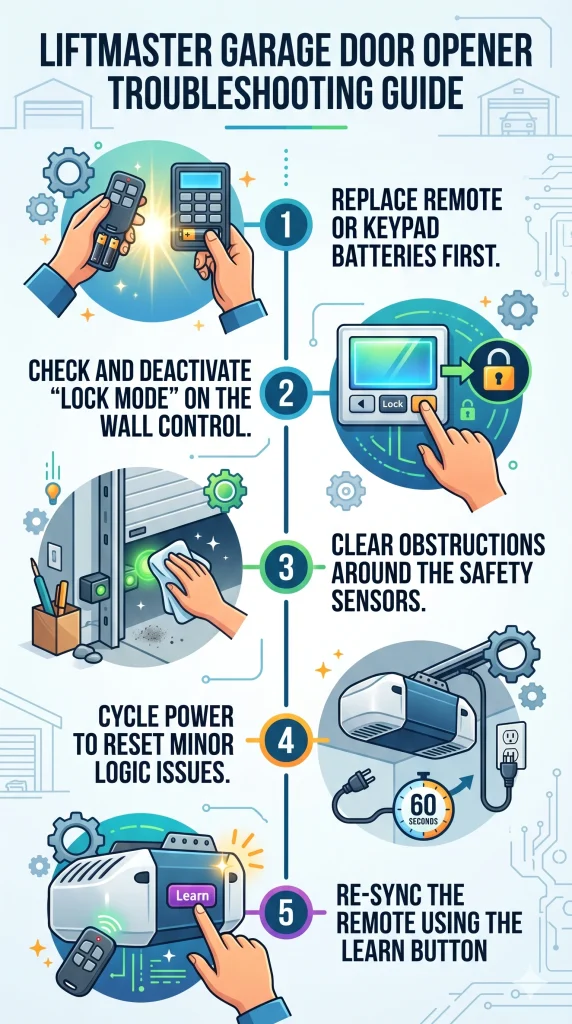
LiftMaster Garage Door Opener Troubleshooting Steps
Replace Remote or Keypad Batteries First
Weak batteries prevent the remote from sending a signal strong enough for the opener to register any command or complete a programming cycle.
How to replace the batteries on your remote or keypad:
- Pop open the battery cover on the back of the remote or keypad
- Remove the old batteries and check the contacts for corrosion or buildup
- Insert fresh batteries according to the correct polarity marked inside the compartment
- Close the battery cover and test the remote from different distances
- Attempt programming again once the new batteries are confirmed to be working
Fresh batteries should always be installed before attempting any other troubleshooting step on your LiftMaster garage door opener.
Check and Deactivate “Lock Mode” on the Wall Control
An active lock mode on the wall control disables all remote signals to the opener, making every wireless device appear broken when the unit itself is functioning normally.
What to do when lock mode is blocking your remote signals:
- Walk over to the wall control panel inside the garage
- Look for a lock button or a padlock icon on the control panel face
- Press and hold the lock button for a few seconds until the indicator light changes
- Test the remote immediately after deactivating lock mode
- Confirm all wireless devices are responding normally before moving on
Pressing the lock button on the wall control panel is all it takes to bring every wireless device back online instantly.
Clear Obstructions Around the Safety Sensors
Blocked or misaligned safety sensors are a leading cause of garage door closing failures, often due to as minor as dust on the lens or a small object in the sensor path.
How to clear and realign the safety sensors on your LiftMaster opener:
- Walk along both sides of the garage door and remove any objects near the sensors
- Wipe each sensor lens with a clean, dry cloth to remove dust and moisture
- Loosen the sensor bracket screws and adjust the angle until both indicator lights glow steadily
- Tighten the brackets back into position once both sensors show solid lights
- Test the garage door by pressing the remote to confirm the door closes without reversing
Wiping the sensor lenses and adjusting the brackets until both lights glow steadily resolves most closing failures without any additional repairs.
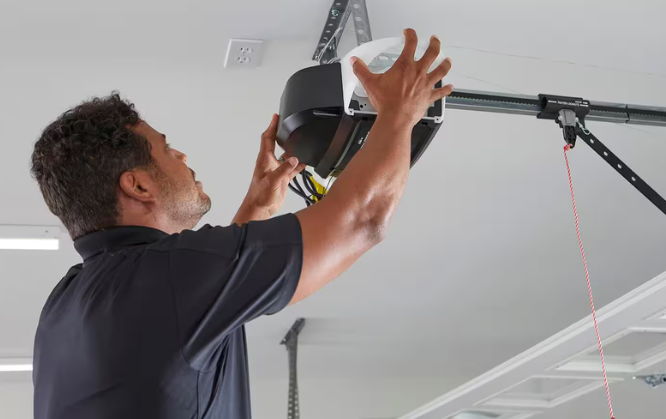
Cycle Power to Reset Minor Logic Issues
Power cycling the opener clears minor logic errors stored in the motor unit without erasing any programmed remotes, keypads, or access codes.
What power cycling your LiftMaster opener looks like in practice:
- Locate the power cord running from the motor unit to the outlet
- Unplug the cord from the outlet completely and wait a full 60 seconds
- Plug the unit back in and allow it to fully restart before testing
- Press the wall control button to confirm the opener is responding normally
- Test all remotes and keypads to make sure every device is working correctly
Unplugging the motor unit for a full 60 seconds and plugging it back in is one of the most effective ways to resolve unexplained LiftMaster opener behavior.
Re-Sync the Remote Using the Learn Button
Pressing the learn button opens a short pairing window that allows the opener to register a remote back into its memory after a reset or programming failure.
How to re-sync a remote using the learn button on the motor unit:
- Locate the learn button on the side of the opener unit near the antenna wire
- Press and release the learn button once until the learn LED lights up
- Press the remote button once within the 30-second pairing window
- Wait for the opener lights to flash or a clicking sound to confirm the sync
- Test the remote from inside and outside the garage to confirm full signal range
Completing the learn button pairing sequence correctly determines whether the remote successfully registers with the opener’s memory.
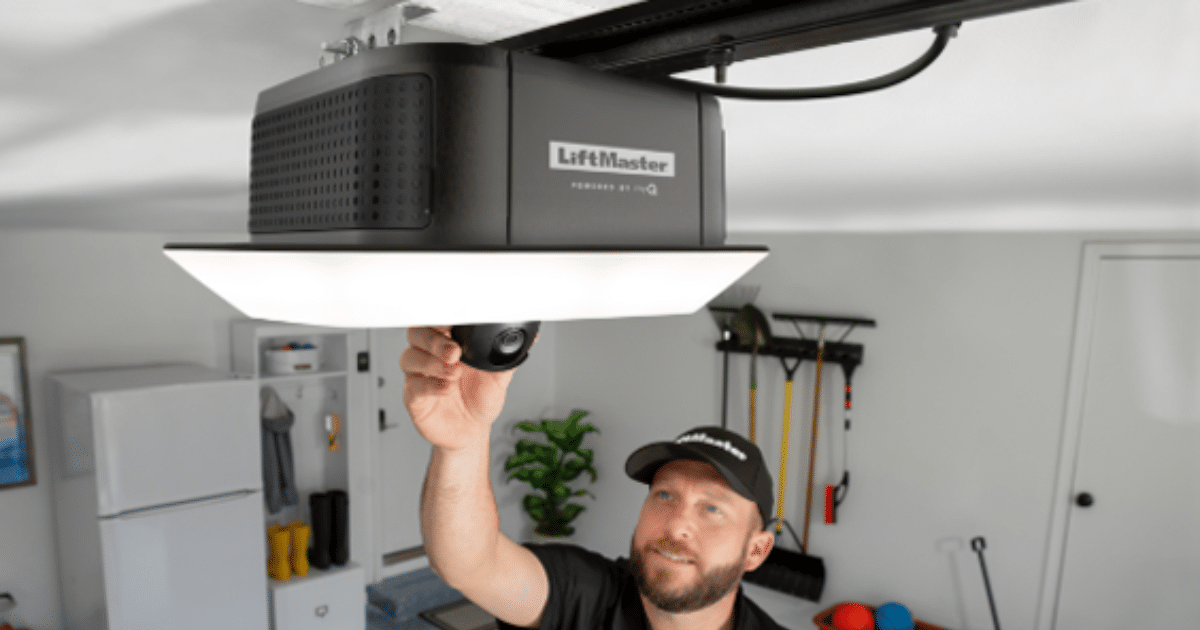
How to Reset LiftMaster Garage Door Opener to Fix Minor Issues
Resetting a LiftMaster garage door opener is what clears minor communication errors and restores normal function without requiring a full repair.
How to reset your LiftMaster garage door opener:
- Locate the learn button on the side of the motor unit
- Press and hold the learn button until the LED light turns off completely
- Unplug the motor unit from the outlet and wait a full 60 seconds
- Plug the unit back in and wait for it to fully restart before testing
- Reprogram all remotes and keypads from scratch once the reset is complete
To learn more about each reset method and what to do after the reset is complete, read our guide on Reset Your LiftMaster Garage Door Opener Before Programming, which covers the full preparation process before programming your opener.
How to Program a LiftMaster Garage Door Opener After Troubleshooting
Reprogramming a LiftMaster garage door opener after a reset ensures every remote, keypad, and access device syncs back to the opener correctly.
How to program your LiftMaster garage door opener after troubleshooting:
- Locate the learn button on the side of the motor unit and press it once to open the pairing window
- Press the remote button once within the 30-second window until the opener lights flash
- Enter the keyless entry code on the keypad and press the enter button to complete the sync
- Re-link the myQ control panel or HomeLink system if either was previously connected
- Test every device from inside and outside the garage to confirm all programming was successful
To get the complete breakdown of every programming method and how each one works, read our guide on How to Program a LiftMaster Garage Door Opener, which walks through the full process from start to finish.
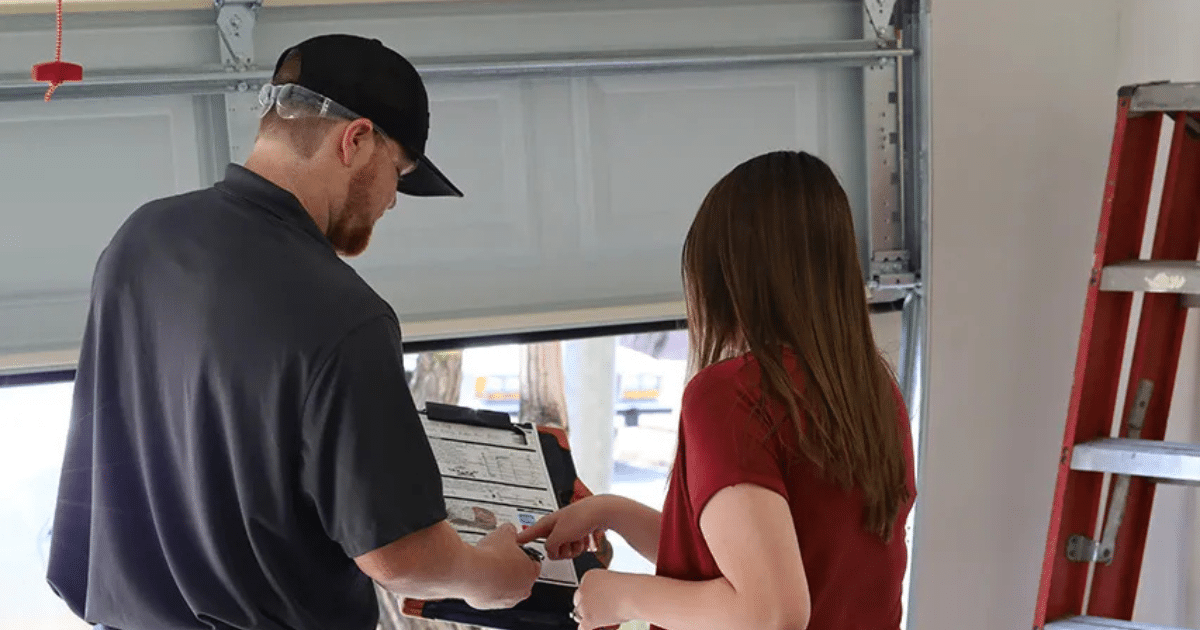
When to Call a Professional for LiftMaster Garage Door Opener Repair
Persistent LiftMaster garage door opener problems that survive every troubleshooting step are a sign that a trained technician needs to diagnose and repair the issue correctly.
Call a professional for LiftMaster garage door opener repair when:
- The motor unit makes grinding or burning sounds even after a full power cycle
- Opener fails to respond to any input after a reset and full reprogramming
- Safety sensors stay misaligned despite multiple adjustment attempts
- The residential garage door moves unevenly or comes off its tracks during operation
- Wiring connections between the motor unit and the wall control are visibly damaged or loose
Knowing when to call a professional for LiftMaster garage door opener repair is what prevents further damage and ensures the job is done correctly.
Finish Your LiftMaster Garage Door Opener Troubleshooting With Professional Help
A LiftMaster garage door opener that still does not work after going through every troubleshooting step indicates the issue runs deeper than a homeowner can resolve without the right tools and training. Getting a professional involved at that point ensures the problem is diagnosed accurately and fixed correctly the first time.
All About Doors brings decades of experience serving homeowners in Glen Burnie, MD, with expert LiftMaster garage door opener repair, diagnostics, and installation. Contact us or give us a call today so our licensed technicians can pinpoint exactly what your opener needs and have it running properly again.