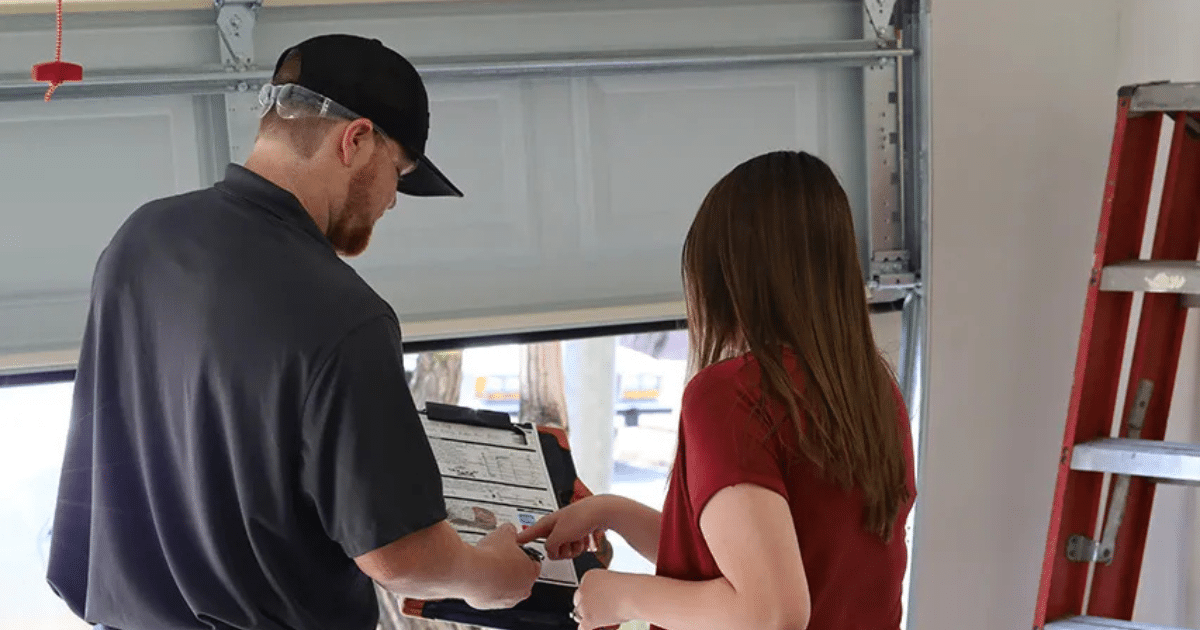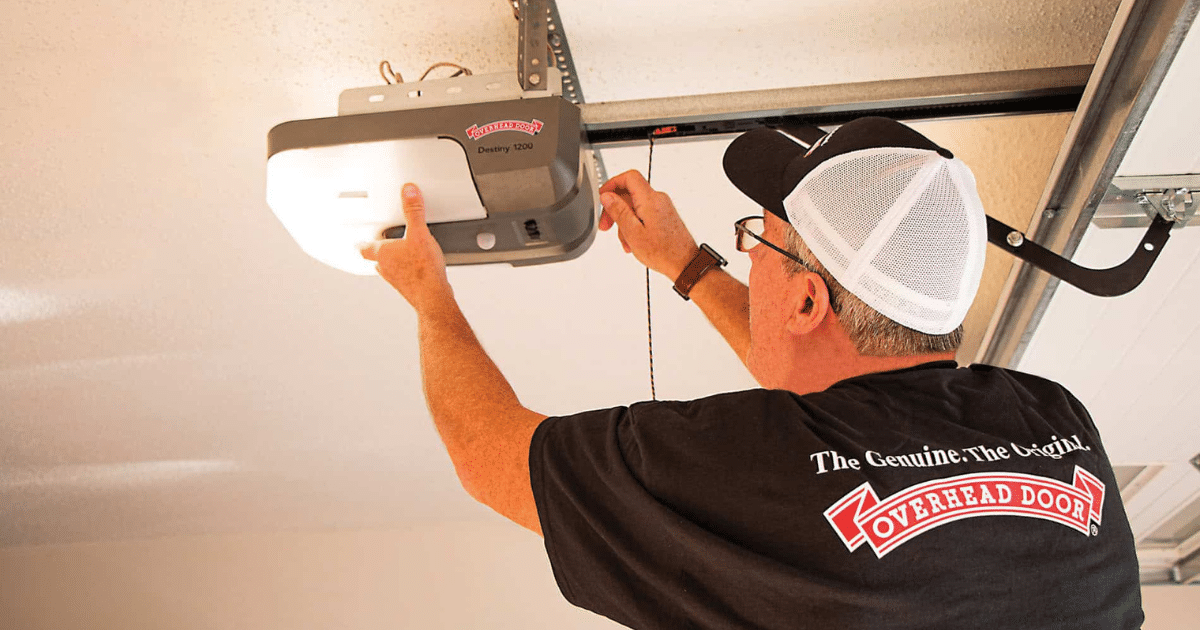
Getting a LiftMaster garage door opener to program correctly depends on several factors working together, and when one of those factors fails, the entire programming process stops. Why your LiftMaster garage door opener won’t program is always a specific issue in the system that needs to be addressed.
Programming failures never happen without a reason, and finding that reason prevents the issue from becoming a full garage door repair. This guide covers every possible cause of a LiftMaster that refuses to program and what needs to happen before the process succeeds.
What Happens When Your LiftMaster Opener Has a Programming Issue?
A programming issue creates a communication breakdown between your remote control and the motor unit, affecting every wireless device connected to the system and leaving you unable to access your garage door as you normally would.
Common ways a programming issue affects your LiftMaster opener include:
- Remote signals are sent but never acknowledged by the opener.
- Newly programmed devices fail to register in the opener’s memory.
- Keyless entry pads stop responding even after the correct code is entered.
- Opener lights flash without completing the programming cycle.
- Wall control works normally while all wireless devices remain unresponsive.
To understand what causes these communication failures, read our guide on How to Program a LiftMaster Garage Door Opener, which walks through the complete programming process and explains where most homeowners go wrong.
Common Reasons Your LiftMaster Garage Door Opener Won’t Program
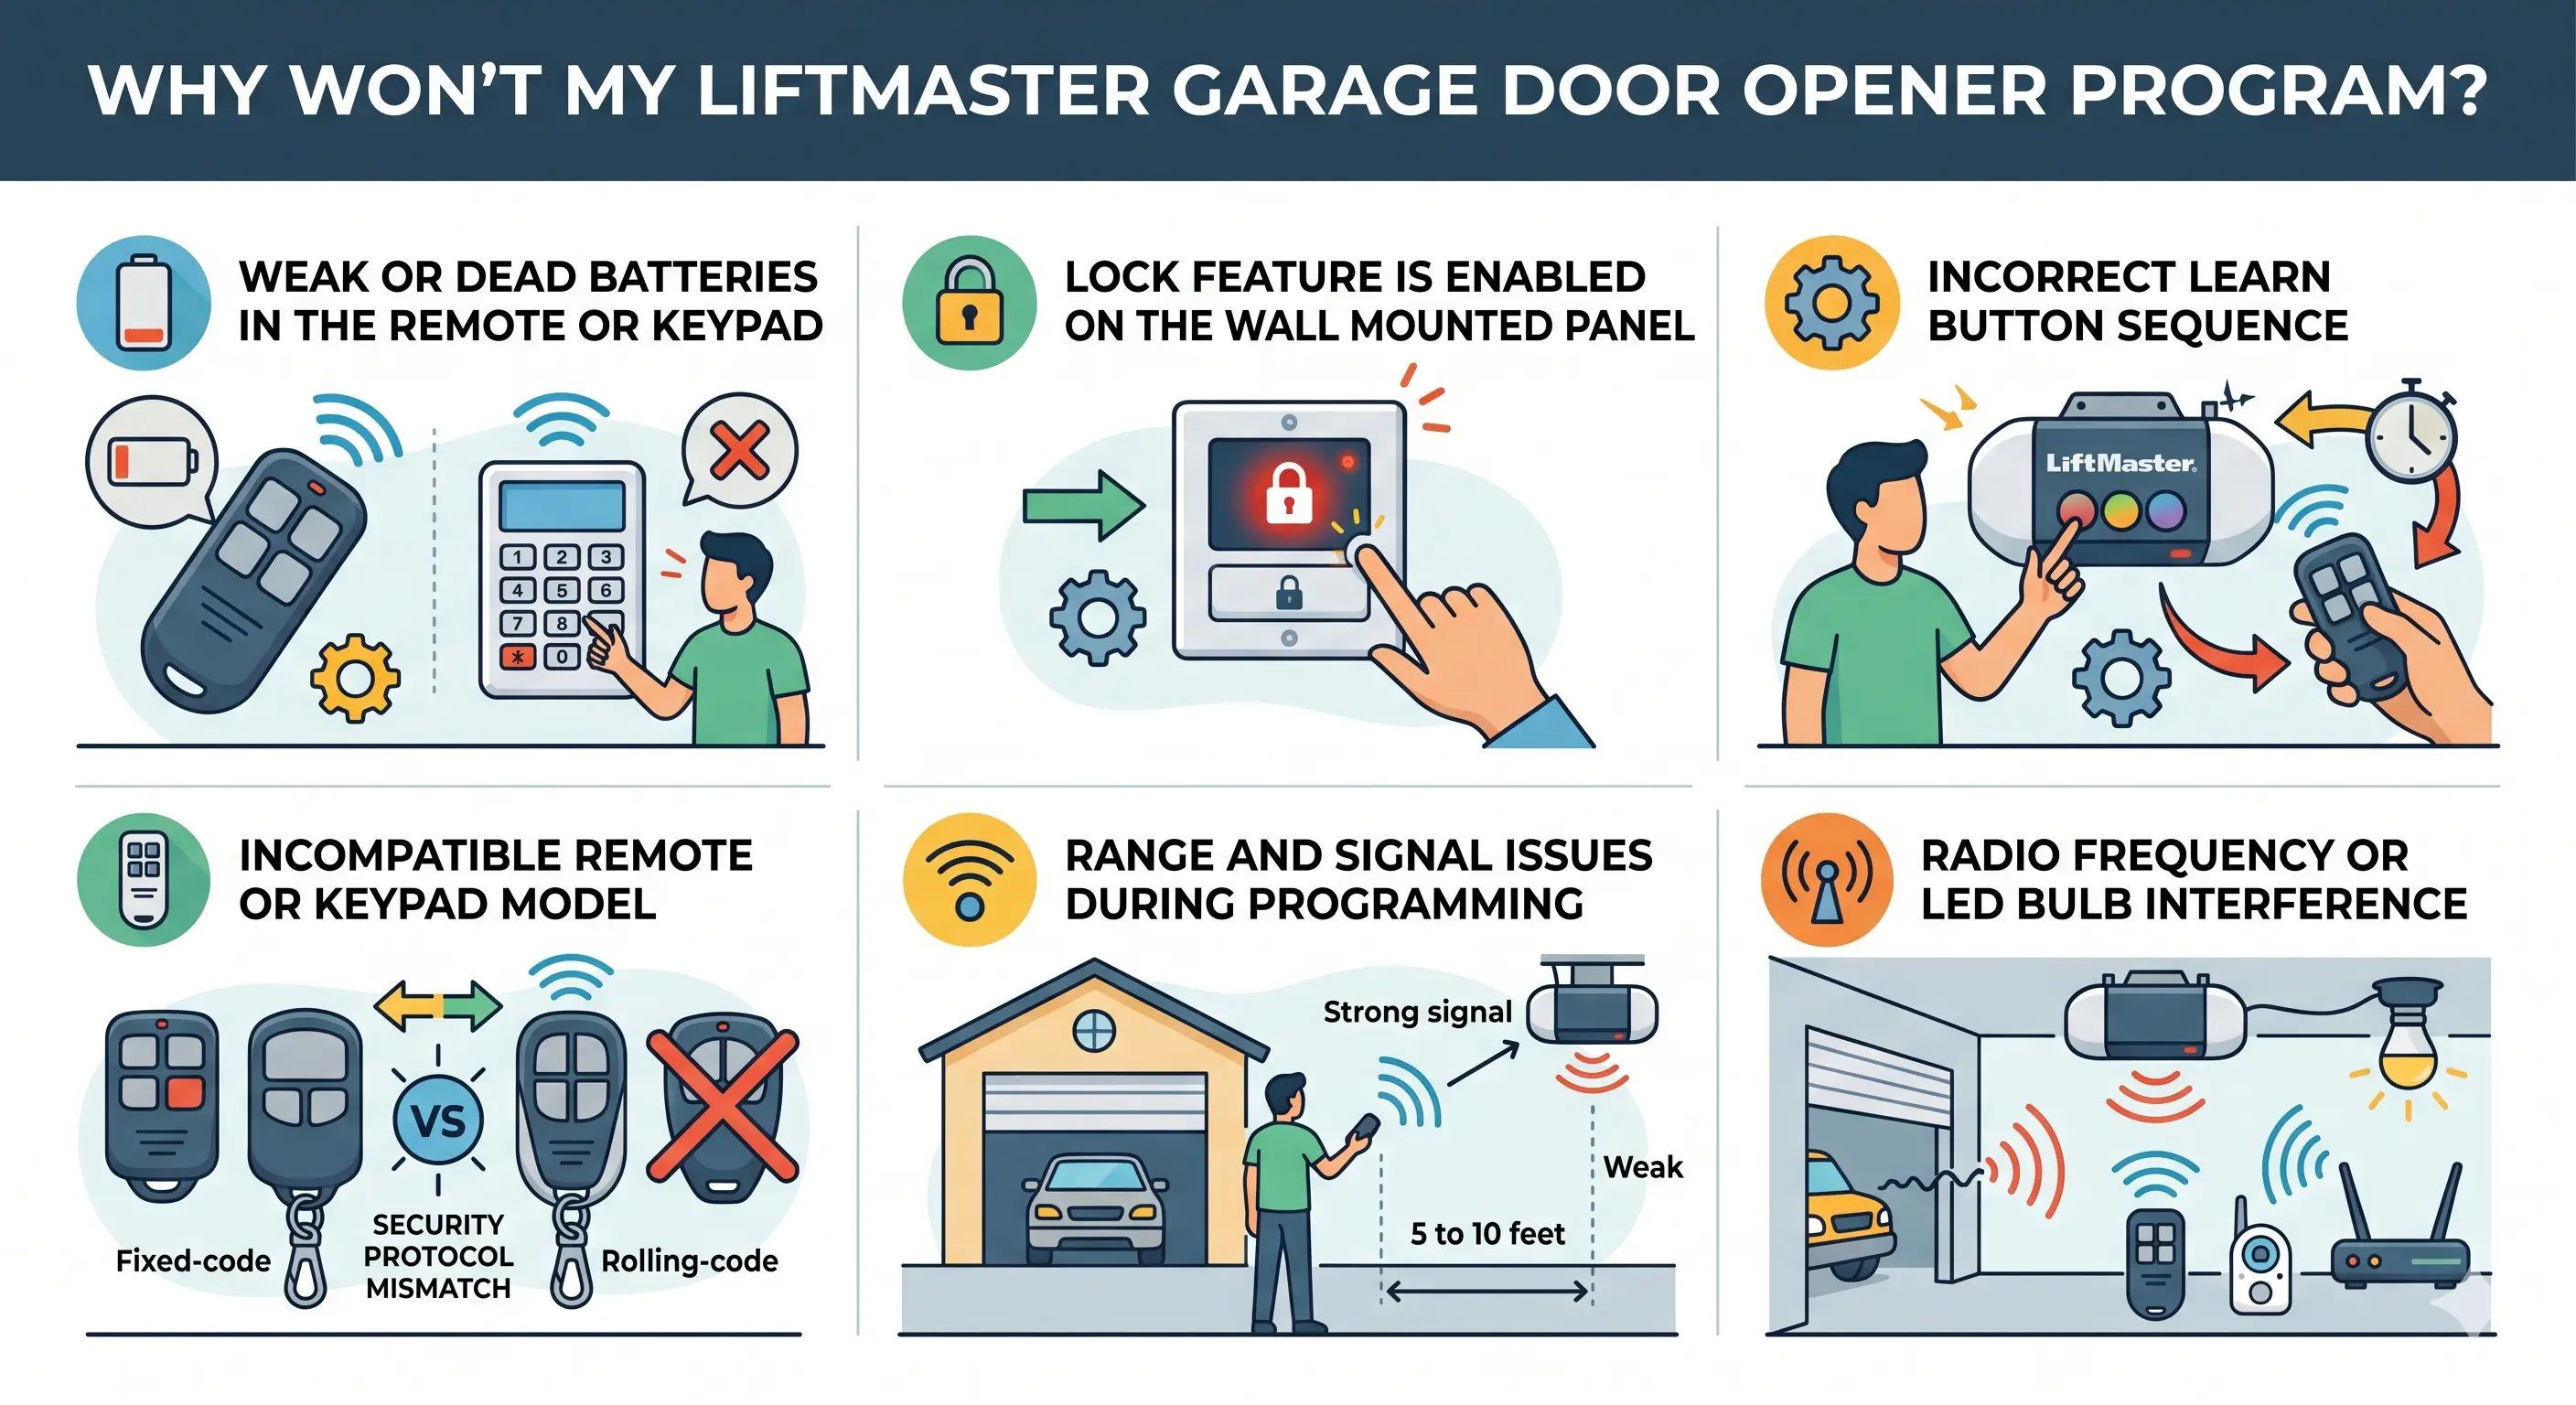
Weak or Dead Batteries in the Remote or Keypad
Low battery power prevents the remote from sending a signal strong enough for the opener to register a new device during programming.
Signs that weak or dead batteries are causing the programming failure:
- Remote buttons feel responsive, but the opener never reacts
- Battery contacts inside the remote show corrosion or leakage
- Programming attempts fail even when standing close to the opener
- Keypad entries go unrecognized even after inputting the correct code
- Replacing batteries restores normal operation immediately
Fresh batteries should always be installed before attempting any other fix on your LiftMaster garage door opener remote.
Lock Feature Is Enabled on the Wall-Mounted Panel
An active lock feature on the wall control blocks every wireless device from communicating with the opener without any visible warning.
Indicators that the lock feature is behind the programming problem:
- The LED indicator light on the wall panel blinks without any remote activity
- Remote buttons produce no response despite being in range
- Keyless entry codes are entered correctly, but the opener does not react
- Wall control operates the door normally, while all remotes stay unresponsive
- The lock feature was likely activated accidentally by someone in the household
Pressing and holding the lock button for two to three seconds disables the feature and restores normal communication between the opener and all wireless devices.
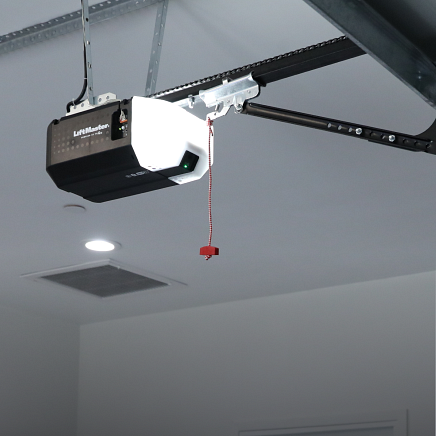
Incorrect Learn Button Sequence
Pressing the learn button incorrectly either prevents the opener from entering programming mode or erases every device already stored in its memory.
Mistakes during the learn button sequence that cause programming to fail:
- The learn button is held too long, wiping all previously programmed remotes from memory
- The remote button is pressed too late after the learn LED turns off
- Programming mode expires before the remote button is pressed within the 30-second window
- The learn button is pressed multiple times quickly, confusing the system
- The remote is held too far from the opener during the pairing attempt
Press and release the learn button once, then press the remote button within 30 seconds to complete the sequence.
Incompatible Remote or Keypad Model
A remote that does not match your LiftMaster model’s security protocol will cause programming to fail regardless of the number of attempts.
Compatibility problems that prevent successful programming:
- Older fixed-code remotes no longer work with newer LiftMaster openers
- LiftMaster Max remotes do not pair with older opener models
- Keypads without rolling code technology fail on newer openers
- Universal remotes used without confirming compatibility will not program
- A remote model not listed in the LiftMaster manual will not sync
Checking the LiftMaster manual for confirmed-compatible remote and keypad models before programming prevents repeated failures.
Range and Signal Issues During Programming
Standing too far from the motor unit weakens the signal enough to stop the opener from recognizing the remote.
Positioning and range problems that affect programming success:
- Remote is used from inside the car instead of directly in front of the opener
- Signal travels through walls or obstructions that weaken the transmission
- Programming is attempted from a different location each time without moving closer
- Antenna wire on the opener unit cannot receive a direct signal from that distance
- The distance between the remote and the motor unit exceeds the effective pairing range
Moving within five to ten feet of the opener and pointing the remote at the antenna wire gives the best chance of a successful pairing.
Radio Frequency or LED Bulb Interference
Wrong bulbs and nearby electronics can disrupt the signal between the remote and the opener during programming.
Interference sources in residential garages that block programming:
- LED bulbs inside the opener conflict with remote signal frequencies
- Wireless routers and baby monitors operate on overlapping frequencies
- Neighboring garage door systems on the same frequency cause signal disruption
- Damaged or coiled antenna wire reduces the opener’s ability to receive signals
- Multiple electronics running simultaneously amplify interference in the space
Removing interference sources one at a time and testing after each removal isolates the exact cause.
How to Troubleshoot These LiftMaster Garage Door Opener Programming Problems
Working through each possible cause one at a time is the most effective way to identify what is stopping your LiftMaster garage door opener from programming.
Troubleshooting steps to work through before calling a professional:
- Check the remote batteries first and replace them even if they look fine
- Look at the LED indicator light on the wall control to confirm the lock feature is off
- Verify the remote model is listed as compatible in the LiftMaster manual
- Stand within five to ten feet of the opener and point the remote at the antenna wire
- Replace any LED bulb inside the opener housing with a garage-door-rated bulb
- Unplug nearby electronics one at a time and test the programming process after each removal
To go beyond programming problems and tackle a wider range of opener issues, read our guide on LiftMaster Garage Door Opener Troubleshooting Guide, which covers how professionals diagnose and resolve the most common LiftMaster system failures.
What to Do When Your LiftMaster Garage Door Opener Still Won’t Program
When troubleshooting does not resolve the issue, the problem likely points to a hardware or internal component that needs professional attention.
What to do when your LiftMaster opener still refuses to program:
- Contact a licensed residential garage door professional for a full system inspection
- Ask about repair costs, since the average cost may depend on parts and labor
- Avoid repeated programming attempts that could cause further damage
- Request a diagnostic to confirm if the logic board or receiver is the issue
- Never open the opener housing without proper training or tools
- Ask the technician whether repair or full replacement is the better option
A persistent programming failure is a sign that the opener needs hands-on professional service rather than another reprogramming attempt.
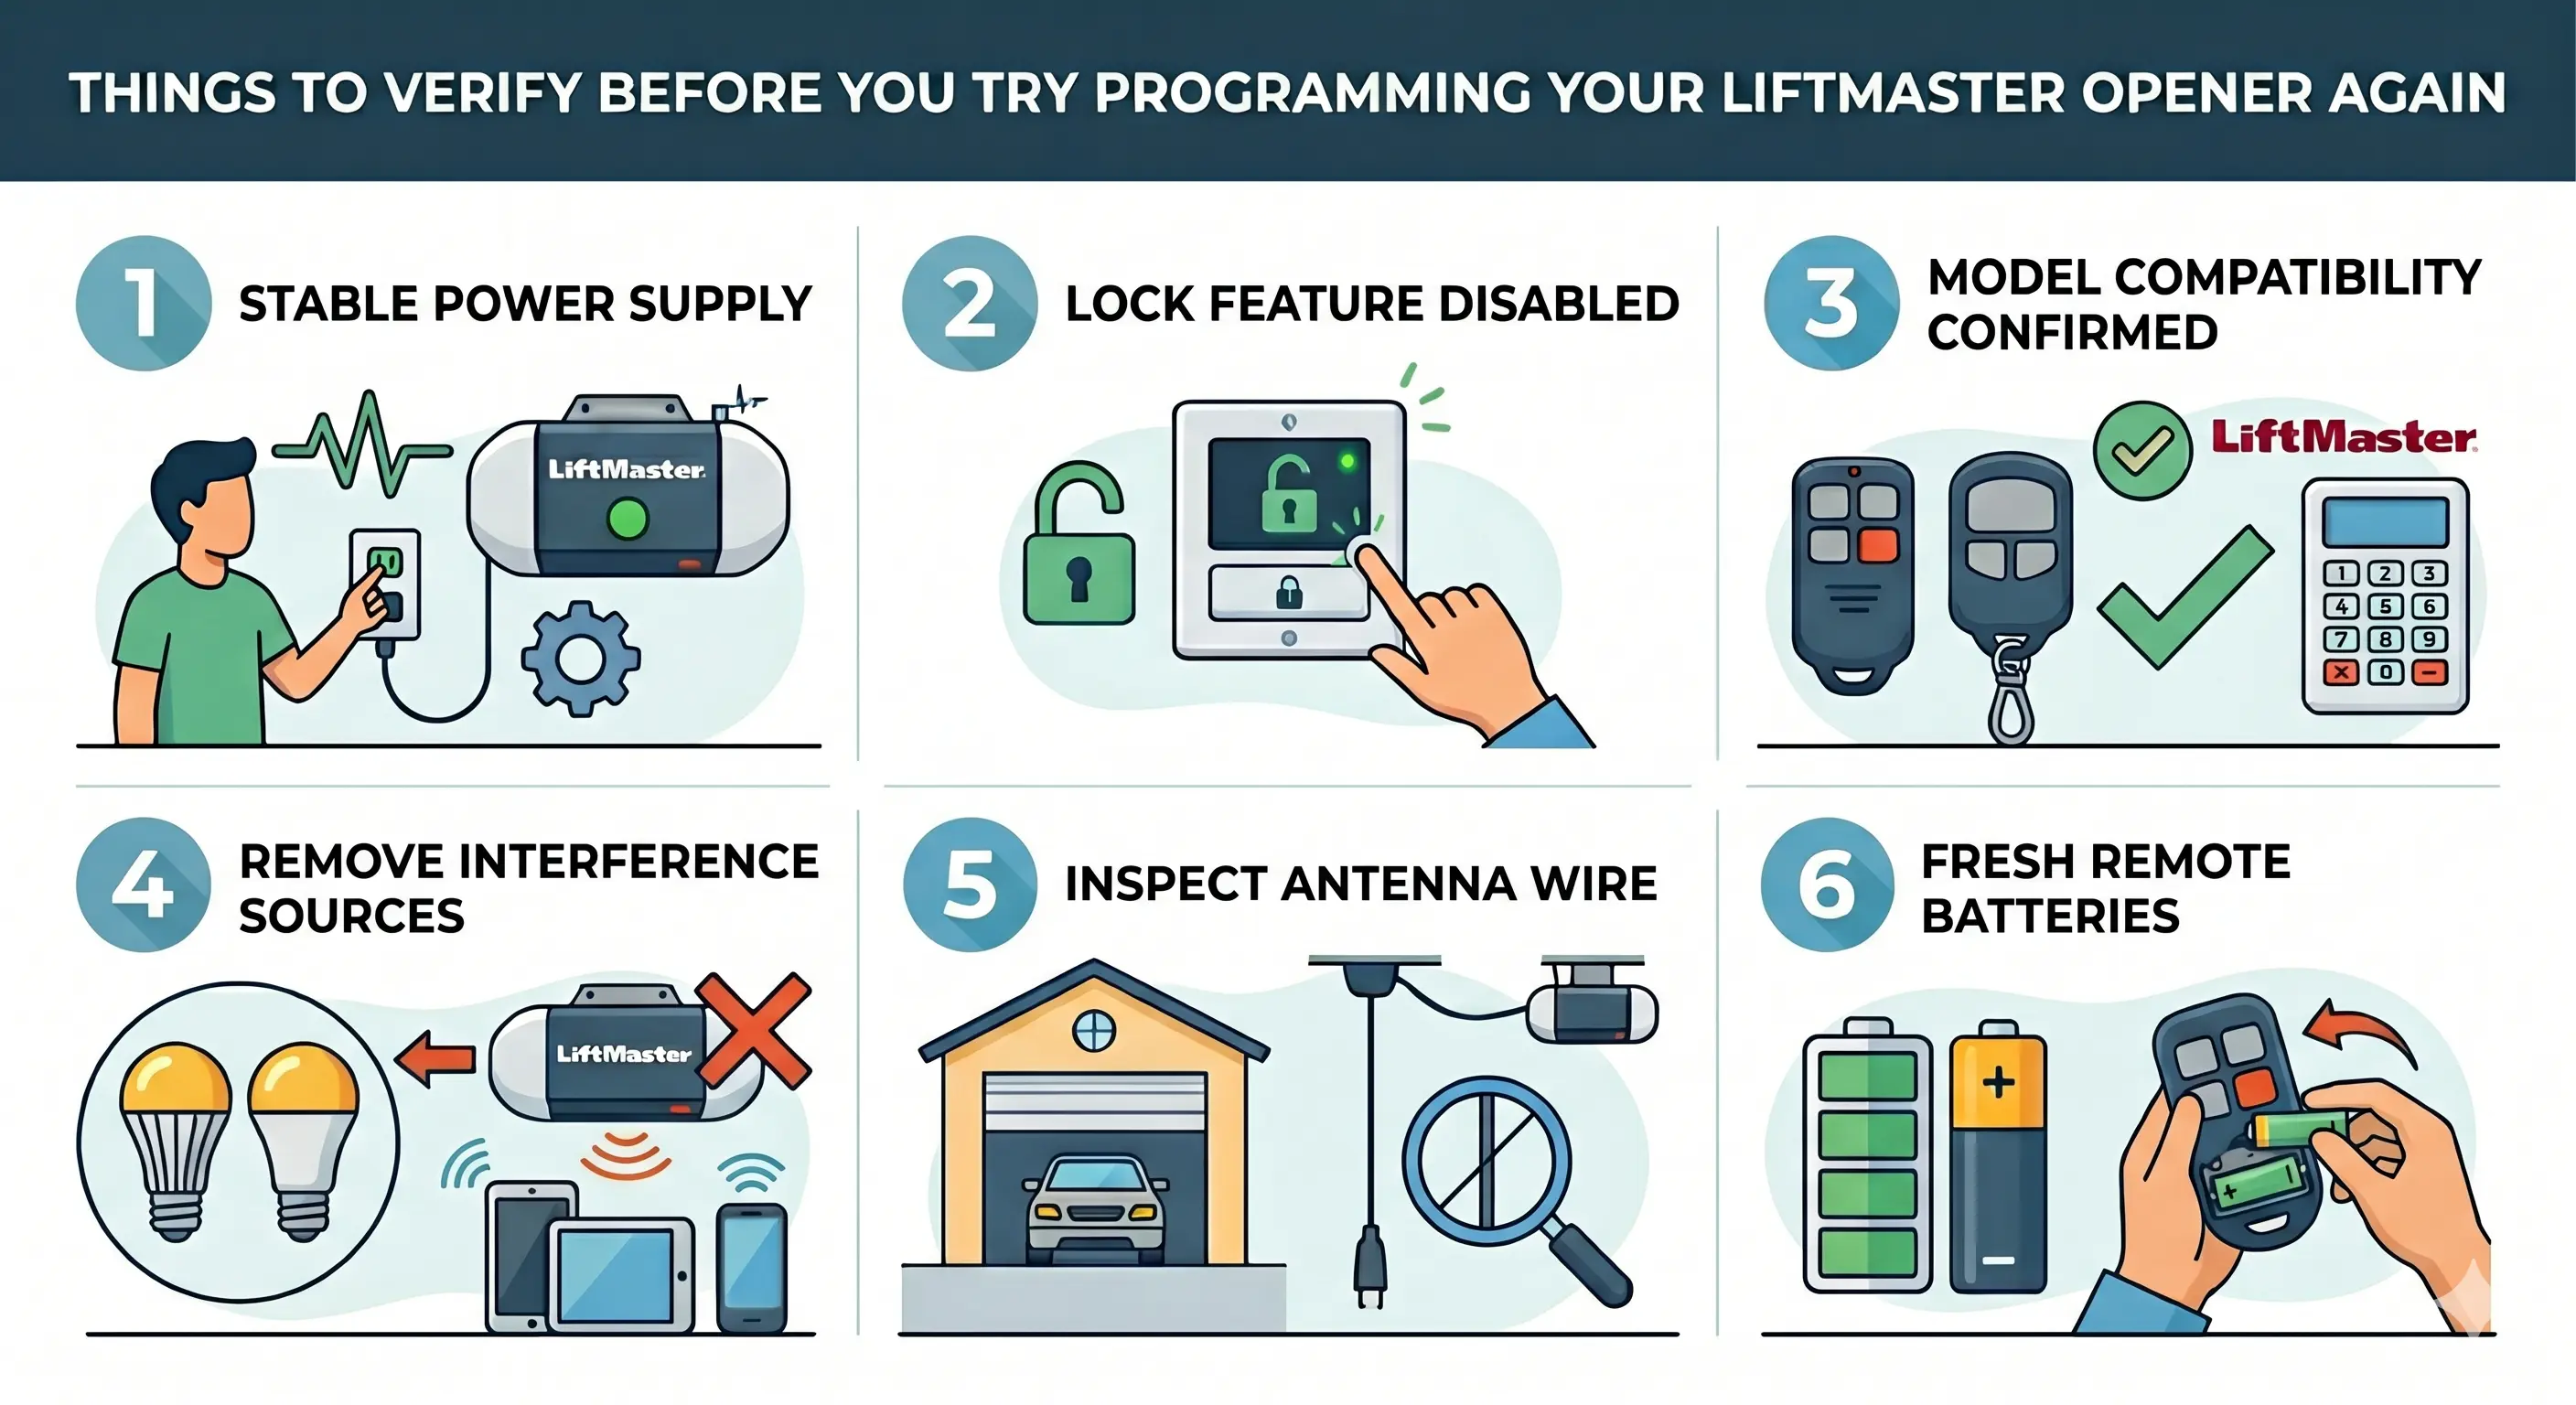
Things to Verify Before You Try Programming Your LiftMaster Opener Again
Confirming that every possible issue has been resolved before attempting to program again prevents the same failure from repeating.
Things to verify before starting the programming process:
- Power source is stable, and the opener unit is fully operational
- The lock feature on the wall control is completely disabled
- The remote or keypad model is confirmed to be compatible with the opener
- Interference sources like LED bulbs and nearby electronics have been removed
- Antenna wire is hanging freely and is not damaged or coiled
- Remote batteries are fresh, and the battery contacts are clean
Skipping this verification step is what leads most homeowners to run into the same programming problem all over again.
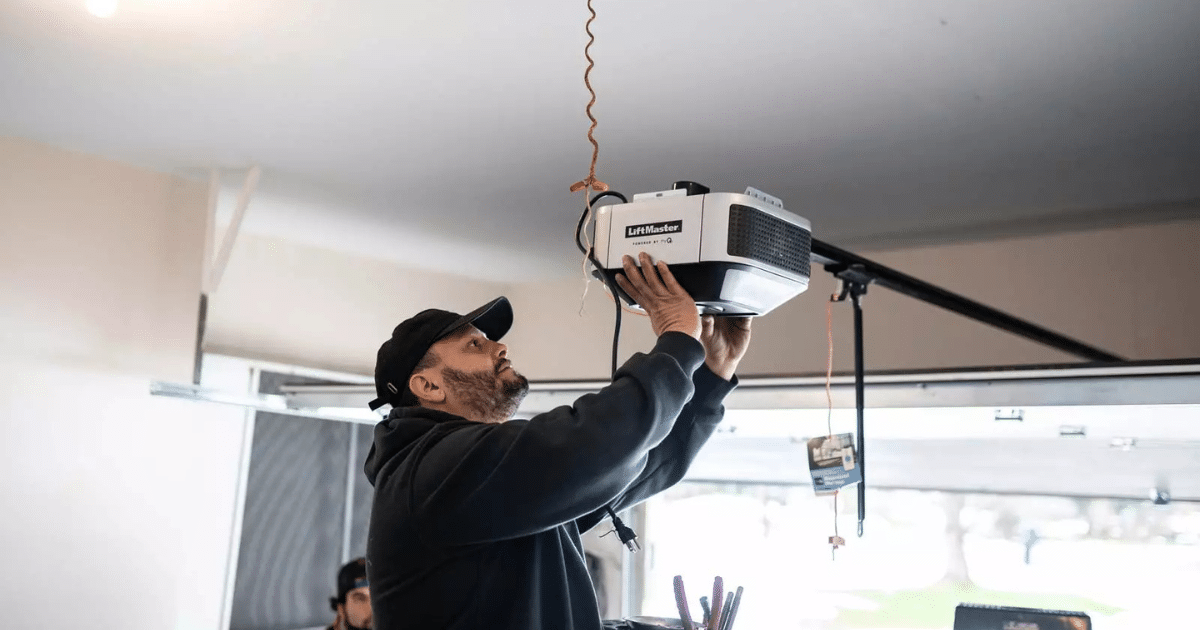
Next Steps After Resolving Your LiftMaster Programming Issues
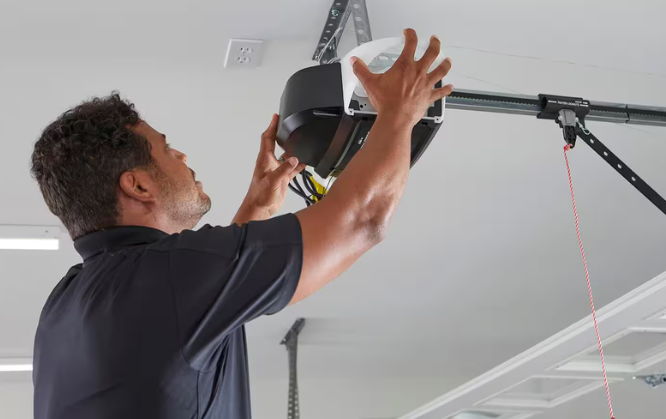
How to Reset LiftMaster Garage Door Opener Before Reprogramming
Resetting the opener’s memory before adding new devices removes any conflicting data that could block programming.
Steps to reset your LiftMaster garage door opener before reprogramming:
- Locate the learn button on the side of the opener unit
- Press and hold the learn button until the LED light turns off completely
- Watch for the opener lights to flash, confirming all devices have been cleared
- Release the learn button once the memory wipe is confirmed
- Give the opener a few seconds to fully reset before attempting to reprogram
To walk through the full reset process in detail, read our guide on Reset Your LiftMaster Garage Door Opener Before Programming, which covers what to do after the memory is cleared and the opener is ready for new devices.
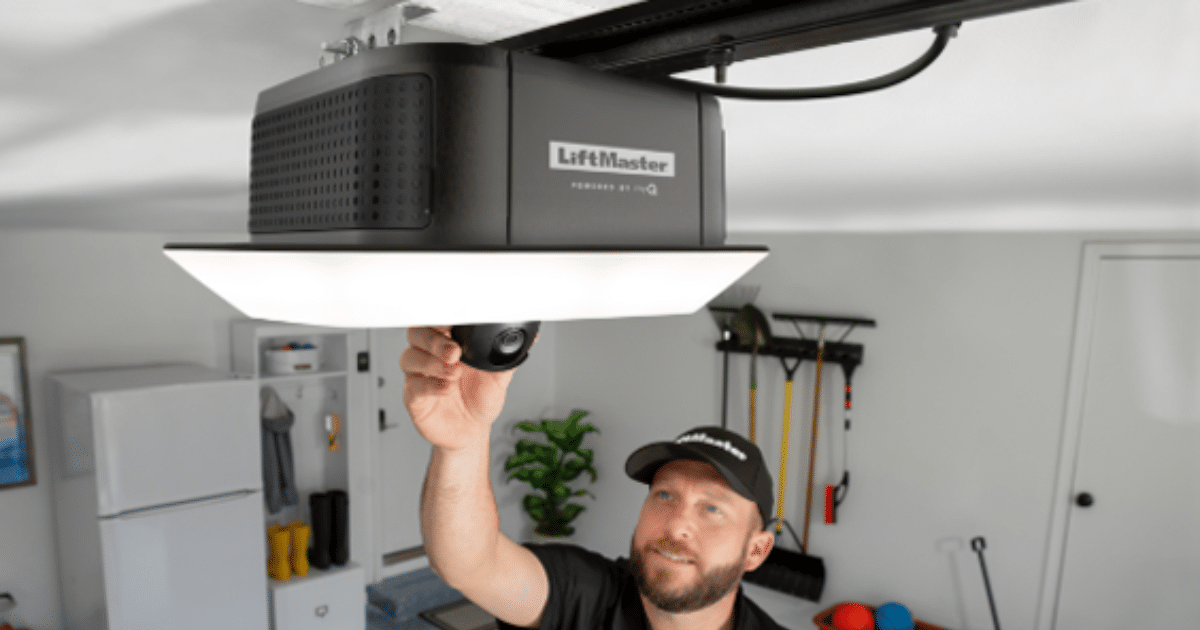
How to Program a LiftMaster Garage Door Opener After a Reset
Programming every access device after a reset completes the process and restores full access to the garage door system.
Steps to program your LiftMaster opener after completing the reset:
- Press and release the learn button to open a 30-second programming window
- Press and hold the remote button until the opener lights flash or a clicking sound is heard
- Release the remote button once the opener confirms the pairing
- For the keypad, press the learn button once, enter a 4-digit PIN, then press Enter
- Test every programmed device to confirm the garage door responds correctly
LiftMaster Max remotes and older units with a wall-mounted program button may follow slightly different pairing steps depending on the model.
When Your LiftMaster Garage Door Opener Won’t Program, the Right Diagnosis Makes All the Difference
A LiftMaster garage door opener that refuses to program always has a specific cause, and knowing which one applies to your system is what makes the difference between a quick fix and a recurring problem. Getting to the root of the issue is what puts your garage door access back where it belongs.
All About Doors has been helping homeowners in Glen Burnie, MD, get their LiftMaster garage door opener systems back on track through expert repair, programming, and installation. Contact us or give us a call today so our technicians can find exactly why your LiftMaster garage door opener won’t program and get it working properly again.