Learning how to program a Genie garage door opener directly to your car is one of the most convenient upgrades you can make to your daily routine. Instead of keeping a separate remote in your visor or digging through your bag every time you pull into the driveway, your vehicle becomes the remote. No extra device, no batteries to worry about, no fumbling at the wheel.
This guide walks you through exactly how to sync a Genie garage door opener to your car using your vehicle’s built-in HomeLink system, even without a handheld remote. Whether you recently completed a garage door repair and need to reprogram your system, are figuring out how to program a Genie remote for the first time, working through the Genie 2128 HomeLink setup process, trying to understand how to program a garage door opener Genie Intellicode to a vehicle, or looking for a straightforward way to program a Genie remote control garage door opener without extra equipment, this step-by-step process covers what you need to know to get it done right.
What Is HomeLink and Why Does It Work With Your Genie Opener
Before jumping into the steps, it helps to understand what you are working with. HomeLink is a built-in wireless control system found in many cars, trucks, and SUVs. It is typically located on the rearview mirror, sun visor, or overhead console and features two to three programmable buttons.
When paired with a compatible garage door opener, HomeLink replaces the handheld remote entirely. Most Genie openers, including Genie Intellicode models, are compatible with HomeLink. The Genie 2128 HomeLink process, for example, follows a specific rolling code pairing sequence.
For homeowners who recently completed a full opener installation, our guide on How To Replace a Garage Door Opener provides helpful context on how the full system works before you begin programming.
What You Need Before You Start
Gather the following before beginning the programming process:
- A vehicle equipped with a HomeLink system
- Access to your Genie garage door opener motor unit
- A sturdy ladder to reach the motor head
- Your vehicle’s owner manual, if you are unfamiliar with your HomeLink panel
- A working power connection to the opener
Important note: If your vehicle’s HomeLink system has been previously programmed, you may need to clear the existing memory before adding a new device. Refer to your vehicle manual for the clearing procedure. Holding all HomeLink buttons simultaneously for about 20 seconds usually resets the system on most vehicles.
If you are setting up your opener from scratch, it is also important to understand proper installation. Our guide How to Safely Attach a Garage Door Opener to Your Door walks you through doing it correctly.
Step 1: Locate the HomeLink Buttons in Your Vehicle
The first step in learning how to program a Genie garage door opener to your car is finding the HomeLink panel inside the vehicle.
- Check the rearview mirror for a panel with two or three small buttons along the bottom edge.
- If not on the mirror, check the overhead console near the sunroof controls.
- Some vehicles, particularly older models, have the HomeLink buttons on the sun visor.
- Refer to your vehicle owner’s manual if you cannot locate the panel.
Once you find the buttons, identify which one you want to assign to your Genie opener. Most vehicles label them with small icons or numbers one through three.
Step 2: Clear the HomeLink Memory if Needed
If your HomeLink system was previously programmed to another device, clearing the memory prevents interference during the new setup.
- Hold all HomeLink buttons simultaneously and keep them pressed for 15 to 20 seconds.
- The indicator light will flash slowly at first and then flash rapidly. Release all buttons when the light flashes rapidly.
- This confirms the memory has been cleared and the system is ready for fresh programming.
If you are programming a button that has never been used before, you can skip this step and proceed directly to Step 3.
Step 3: Put Your Genie Opener in Programming Mode
This is one of the most important steps when learning how to sync a Genie garage door opener to a vehicle. The motor unit must be in programming mode before it can receive and store the HomeLink signal.
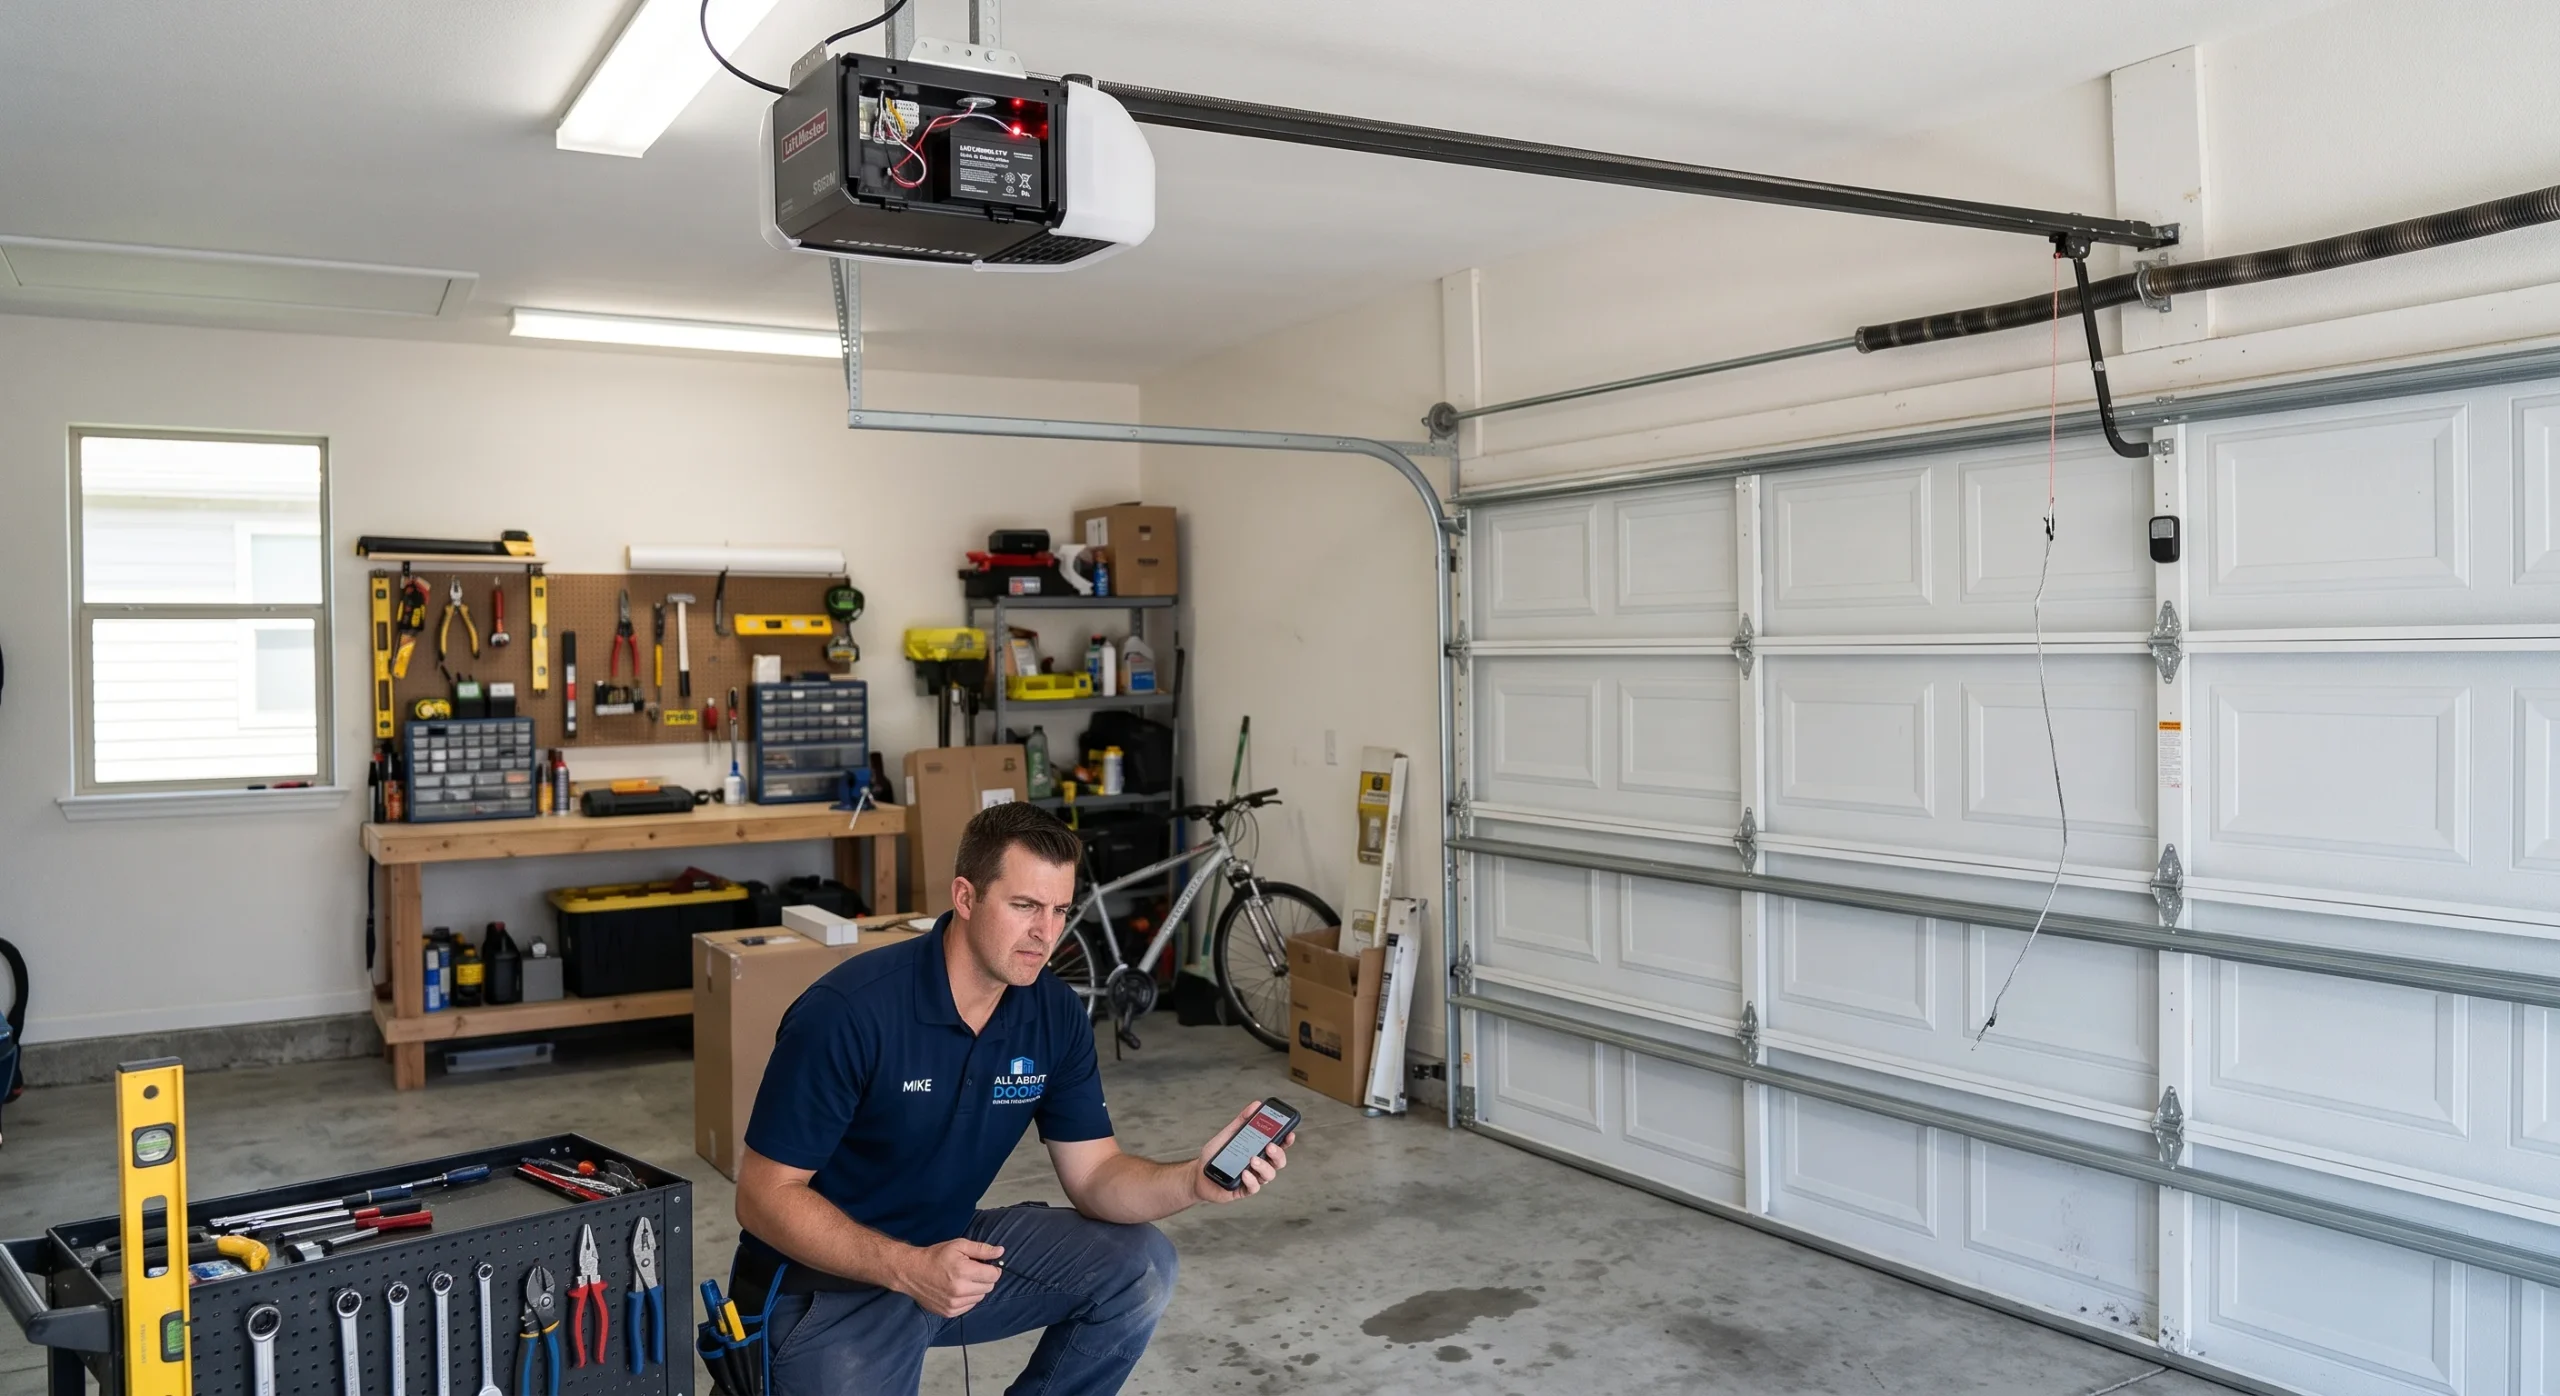
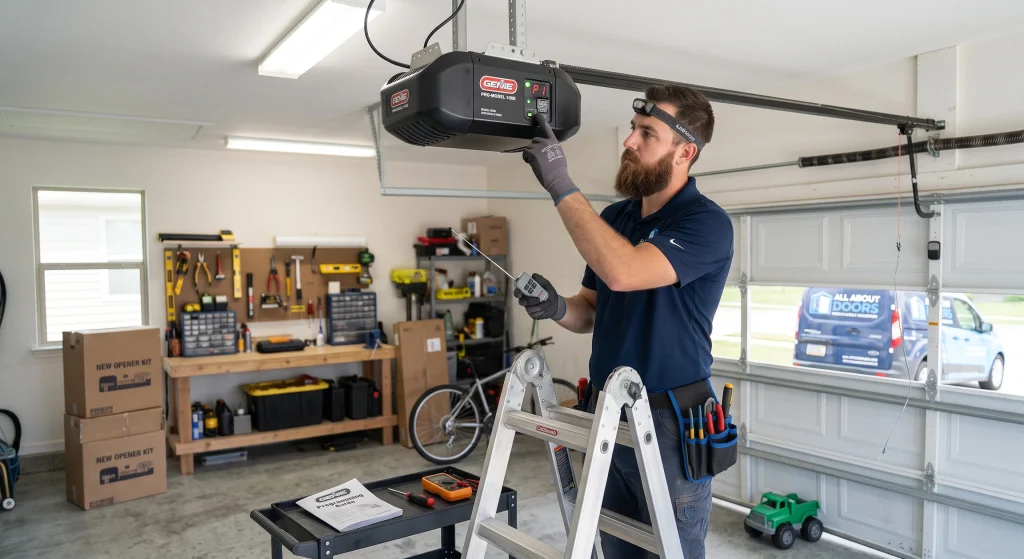
- Use a ladder to safely access the motor head of your Genie opener.
- Locate the “Learn” button on the back or side of the motor unit. On most Genie models, this button is purple or yellow and may be labeled “Learn Code” or “Program.”
- Press and release the Learn button once. The indicator light next to the button will turn on, signaling that the opener is in programming mode.
- You have approximately 30 seconds to complete the next step before the opener exits programming mode automatically.
If you are specifically working on how to program a garage door opener Genie Intellicode, understanding this rolling code system is key. The Learn button activates a new unique signal each time the door operates, which is what makes Genie Intellicode one of the more secure and reliable residential systems available today.
Step 4: Press and Hold the HomeLink Button in Your Car
With the Genie opener in programming mode, move quickly to your vehicle and complete the pairing sequence.
- Sit in the driver’s seat or position yourself near the HomeLink panel.
- Press and hold the HomeLink button you want to program. Do not release it.
- Hold the button for 10 to 15 seconds or until the garage door opener light flashes, or you hear the motor unit click. Either signal confirms the pairing was successful.
- Release the HomeLink button.
Step 5: Complete the Two-Button Training Step for Rolling Code Openers
Genie Intellicode and other rolling code Genie models require one additional step to finalize the HomeLink pairing. This step confirms the communication between the vehicle and the opener.
- Return to the motor unit and press the Learn button one more time.
- Go back to your vehicle and press the HomeLink button you just programmed two times, holding each press for two seconds.
- The garage door should activate, either opening or closing, confirming that the pairing is complete.
This two-button training step is specific to Genie Intellicode models and some Genie 2128 HomeLink configurations. If your opener is not a rolling code model, this step may not be required. Refer to your opener’s manual to confirm.
If performance issues persist, it may be due to incorrect opener strength. Learn more in What Horsepower Garage Door Opener Do I Need? A Complete Guide.
Step 6: Test the HomeLink Programming
Before wrapping up, run a full test to confirm everything is working the way it should.
- Sit in your vehicle with the engine running and press the programmed HomeLink button once.
- The garage door should open or close in response.
- Press the button again to confirm the door responds in both directions.
- Test from the end of your driveway to confirm the signal carries from a realistic distance.
- If the door responds slowly or inconsistently, check that the opener antenna wire is hanging freely from the motor unit and is not coiled or pinched.
A properly programmed HomeLink button should operate the door just as reliably as a handheld remote, if not more so, since the vehicle’s built-in antenna is typically stronger.
If you want a broader reference on how garage door openers are installed and wired before programming, Family Handyman’s garage door opener installation guide provides helpful visual context for understanding the full system.
Step 7: Program Additional HomeLink Buttons if Needed
If your vehicle has multiple HomeLink buttons and you want to sync additional Genie garage door openers or other devices, such as a second garage door or a gate, the process is the same for each button. Knowing how to sync a garage door opener Genie to multiple devices is especially useful for households with more than one garage door or a shared driveway gate.
- Repeat Steps 3 through 6 for each additional opener you want to pair.
- Use a different HomeLink button for each device.
- Label each button if your vehicle’s HomeLink panel supports it, or make a note in your owner manual for future reference.
Many households with two garage doors choose to program both doors to separate HomeLink buttons so both can be controlled without switching remotes or devices.
For households considering an upgrade to a smarter or more compatible opener model, Angi’s breakdown of garage door opener styles is a helpful guide for comparing the options available.
What to Do When the Programming Does Not Work
If you follow the steps above and the HomeLink button still does not activate the Genie opener, work through these common troubleshooting points before assuming the system is faulty.
- The opener exited programming mode too quickly. The Learn button window is only 30 seconds. Reduce the distance between you and the motor unit, or have a second person press the HomeLink button while you stay near the opener.
- The HomeLink memory was not cleared properly. Repeat the clearing process from Step 2 and confirm the light flashed rapidly before releasing the buttons.
- The opener is a Genie Intellicode model and needs the two-button training step. Many homeowners skip Step 5 without realizing it is required for rolling code models.
- The vehicle does not support rolling code programming without a bridge device. Older HomeLink systems, typically pre-2005 vehicles, may require a Genie HomeLink Compatibility Bridge to communicate with rolling code openers. This small device attaches near the motor unit and enables older vehicles to work with newer security systems.
- The opener antenna is coiled or positioned incorrectly. The antenna wire should hang straight down from the motor unit, not coiled or tucked. A mispositioned antenna significantly reduces signal range.
If none of these steps resolve the issue, contact a qualified technician who can inspect both the opener and the vehicle’s HomeLink system.
How to Program a Genie Remote
Homeowners who want to know how to program a Genie remote without using a vehicle can follow this simpler process. If you prefer to use a handheld Genie remote control garage door opener rather than HomeLink, the steps do not involve your vehicle at all. Knowing how to program a Genie remote control garage door opener is also useful as a backup option if your vehicle’s HomeLink system ever needs to be reset, or if you have recently had residential garage door repairs done and need to set up your remote from scratch.
- Press and release the Learn button on the motor unit until the light activates.
- Within 30 seconds, press and hold the button on your Genie remote until the opener light flashes.
- Release the remote button and test by pressing it once. The door should open or close.
Keeping your remote system maintained is also important for long-term reliability. Our related guide on How to Replace Garage Door Opener Battery: Full DIY Guide covers what homeowners should know about maintaining remote performance over time.
Start Using Your Car as Your Garage Door Remote Today
Programming your Genie garage door opener to your car is a straightforward process once you understand how the HomeLink system and Genie Intellicode technology communicate with each other. Following each step carefully, particularly the rolling code training sequence for Genie Intellicode models, gives you a reliable, hands-free way to control your garage door every time you pull in or out of the driveway. It is a small change that makes a noticeable difference in convenience and daily routine.
All About Doors proudly serves homeowners throughout Glen Burnie, MD with professional garage door installation, programming, and repair services. If you run into any issues during the setup process or would prefer to have a technician handle the programming for you, do not hesitate to contact us or give us a call. We are always ready to help.
Frequently Asked Questions
How to program garage door opener Genie Intellicode?
Press the Learn button on the motor unit, then press and hold your remote or HomeLink button for 10 to 15 seconds until the opener light flashes. Complete the two-button training step by pressing the Learn button once more and pressing your device button twice to finalize the rolling code handshake.
How do I reset my Genie garage door opener before reprogramming?
Press and hold the Learn button on the motor unit for about 10 seconds until the indicator light goes out, which clears all stored remotes and pairings. You can then reprogram each device from scratch.
How to sync garage door opener Genie?
Press the Learn button on the motor unit to activate programming mode, then press the button on your new remote, keypad, or HomeLink within the 30-second window. For Genie Intellicode models, complete the two-button confirmation step to finalize the sync.
Do I need to reprogram my Genie opener after a power outage?
In most cases, no. Genie openers retain their programmed remote and HomeLink pairings in memory even after a power outage. However, travel limit and force settings should be checked after any extended power interruption.
Can I program a Genie garage door opener to my car without the original remote?
Yes, if your vehicle has a HomeLink system, you can program the opener directly using the Learn button on the motor unit without needing the original remote at any point.
How do I know if my car has HomeLink?
Check your rearview mirror, overhead console, or sun visor for a small panel with two or three programmable buttons, often labeled "HomeLink." You can also confirm by checking your vehicle owner manual or searching your car's make, model, and year with the word HomeLink.
Why is the HomeLink indicator light blinking instead of staying solid?
A blinking light usually means the system received a signal but has not completed the rolling code handshake. Complete the two-button training step in Step 5 to finalize the pairing for Genie Intellicode models.
How many devices can I program to one Genie opener?
Most Genie openers store up to three remotes or HomeLink pairings, though some newer models support more. Check your opener manual for the exact capacity of your model.
What should I do if the garage door activates once during programming but will not respond to the HomeLink button after that?
This usually means the rolling code pairing was not fully completed. Press the Learn button again and repeat Steps 4 and 5, making sure to finish the two-button training step before testing.