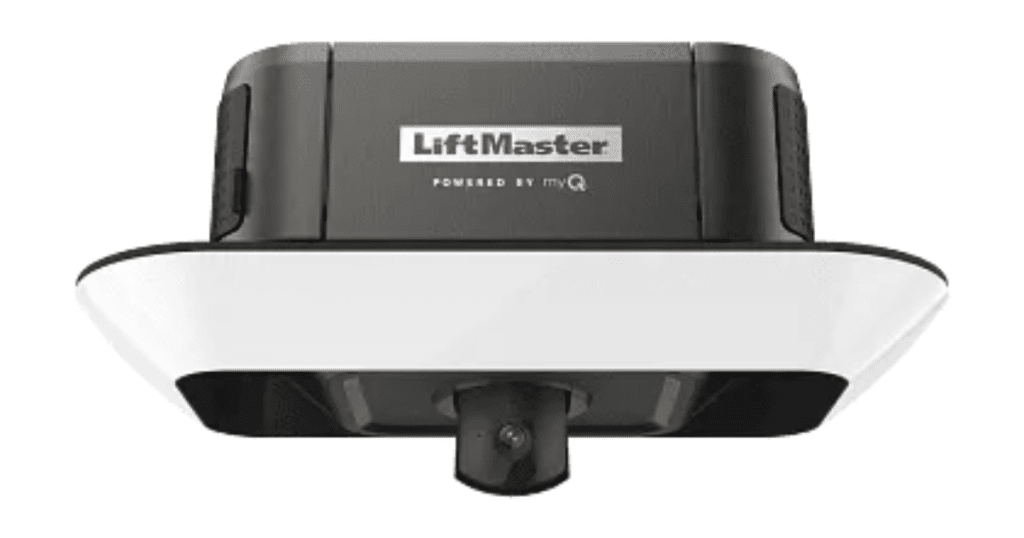
Learn to set the right force, door movement, and sensors for your LiftMaster garage door opener. Ensure safety and efficiency with our 2025 guide!
Adjusting a LiftMaster garage door opener starts with identifying the issue. If your door stops short, reverses on its own, or slams shut, you may need to fine-tune the travel limits or force settings. These settings are found on the motor unit and control how far and how hard the door moves.
To begin, unplug the opener for safety. Use a screwdriver to turn the adjustment screws slightly, then test the door. Repeat if needed. While this task is simple, hiring a garage door repair expert is best if the problem continues or you’re unsure. A pro can make sure everything runs safely and smoothly.
Why Adjusting a LiftMaster Garage Door Opener is Important
Adjusting a LiftMaster garage door opener helps your door work better, last longer, and stay safe. This quick task can have a big impact.
1. Smooth Operation
Adjusting your garage door opener helps the door move up and down without jerking or making loud noises. It makes everything run quietly and smoothly, which is better for your daily routine and keeps the system working properly over time.
2. Enhanced Safety
A properly set opener stops the door from closing on people, pets, or things. This makes your garage safer, especially if you have kids around. It also helps the sensors work better, preventing accidents and protecting everyone in your home.
3. Longer Lifespan
Minor adjustments help reduce pressure on the opener and all moving parts. The motor and door parts last much longer when the system doesn’t struggle. This means fewer repairs, less money spent, and your garage door stays in good shape for years.
4. Better Security
When your garage door shuts entirely, it helps keep out intruders, bugs, and bad weather. An adjusted opener ensures the door seals tightly every time. Knowing your garage and home are safe and secure gives you more peace of mind.
What Tools Do You Need for LiftMaster Opener Adjustments
Before you adjust a LiftMaster garage door opener, it’s important to have the right tools ready. These basic items will help you work safely and smoothly.
- Ladder: For safely reaching the opener.
- Screwdriver: Flathead or Phillips, based on your model.
- Tape measure: To check the door travel distance.
- Clean cloth: For wiping dust and grease.
- Silicone lubricant: To reduce friction on moving parts.
How to Adjust a LiftMaster Garage Door Opener
A well-adjusted LiftMaster garage door opener keeps your door running safely and smoothly. Use this simple step-by-step guide to fix common issues and improve performance fast.
Step 1: Unplug the Opener for Safety
Before making any changes, unplug the garage door opener from the power outlet. This keeps the motor from starting by mistake. It’s a quick and easy safety step that helps keep you safe while working.
Step 2: Check the Door Balance First
Use the red emergency cord to disconnect the door from the opener. Lift the door halfway by hand. If it falls or feels heavy, the springs may be worn out or unbalanced and should be checked first.
Step 3: Adjust the Travel Limits
Find the “Up” and “Down” screws on the opener’s motor. These settings decide how far the door goes up and down. Turn them slowly and test each time until the door moves to the correct position.
Step 4: Set the Force Settings
These settings adjust the opener’s power. Turn the force screws gently, one small turn at a time. If the door stops too early or reverses, increase the force slowly.
Step 5: Align the Safety Sensors
Look at the small sensors near the bottom of the door tracks. They must face each other and be at the same height. Clean the lenses and adjust until both sensor lights are solid and steady.
Step 6: Test the Auto-Reverse Feature
Put something solid, like a wooden block, under the open door. Press the remote to close it. If the door doesn’t reverse when it touches the object, adjust the down force and try again.
Step 7: Reconnect and Power On
Plug the opener back in. Reconnect the door to the opener by pulling the emergency release cord again. Then run a full open-and-close test to make sure the door works properly with no issues.
Step 8: Check for Smooth Operation
Try opening and closing the garage door a couple of times. Listen for strange sounds or shaking. Repeat the steps if it moves unevenly or makes noise or call a garage door repair expert for help.
How to Adjust Force and Sensitivity on a LiftMaster Opener
Fine-tuning the force and sensitivity settings on your LiftMaster garage door opener keeps it working smoothly and safely. To do it properly, follow these easy steps.
1. Find the Adjustment Screws
Find the “up force” and “down force” dials on your garage door opener. These small dials control how much power the opener uses to lift or lower the door. They’re usually on the motor unit close to the light.
2. Make Small Turns
Use a flathead screwdriver to turn the dials. Turn clockwise to increase the force or counterclockwise to reduce it. Make only small turns, about a quarter at a time. After each turn, test the door to see how it moves.
3. Test with a Block
Place a wooden block under the garage door. Try closing the door. The force is set too high if it doesn’t reverse when it touches the block. Lower it a little, then test again. The door should stop and reverse right away.
4. Fine-Tune for Smooth Movement
Watch how the door moves when opening and closing. Adjust the settings a little more if it shakes, moves slowly, or slams. The goal is smooth and steady movement both ways. Keep adjusting and testing until the door works just right.
LiftMaster Opener Maintenance Tips for Lasting Performance
Keeping your new garage door in good shape is key to smooth performance and safety. Here are simple maintenance tips for adjusting a LiftMaster garage door opener.
1. Check and Adjust Travel Limits
If your garage door doesn’t open or close all the way, the travel limits may need fixing. Use a screwdriver to turn the up or down screws. Keep adjusting until the door opens and closes fully without stopping too early or too late.
2. Fine-Tune the Force Settings
If the door stops, backs up, or has trouble closing, the force might be set too low. Turn the force dial a little bit at a time. Test the door after each turn until it moves smoothly without any jerks or slamming.
3. Test the Auto-Reverse Safety Feature
Place a small block of wood under the garage door. Close the door using the remote or the wall button. If the door doesn’t go back up after touching the block, adjust the safety setting until the door safely reverses when blocked.
4. Clean and Align the Sensors
If the garage door won’t close, the sensors might be dirty or not lined up. Wipe both sensor lenses with a clean cloth. Make sure they face each other at the same height. A steady light on both means they’re working right.
5. Lubricate the Moving Parts
Spray silicone oil on the rollers, hinges, and tracks every six months. This helps the door move quietly and keeps parts from wearing out fast. Don’t use grease because it collects dust and dirt. Regular oiling keeps your door working well.
LiftMaster Opener Problems and How to Fix Them Fast
Garage doors can act up for simple reasons. Knowing the most common problems and how to fix them quickly can save you time, stress, and costly garage door repairs.
1. Door Reverses Before Closing
- Increase the closing force slightly.
- Ensure sensors are clean and aligned.
2. Door Doesn’t Close Fully
- Adjust the down travel limit.
- Check for obstructions in the tracks.
3. Opener Makes Grinding Noises
- Lubricate moving parts.
- Inspect the gear and belt for wear.
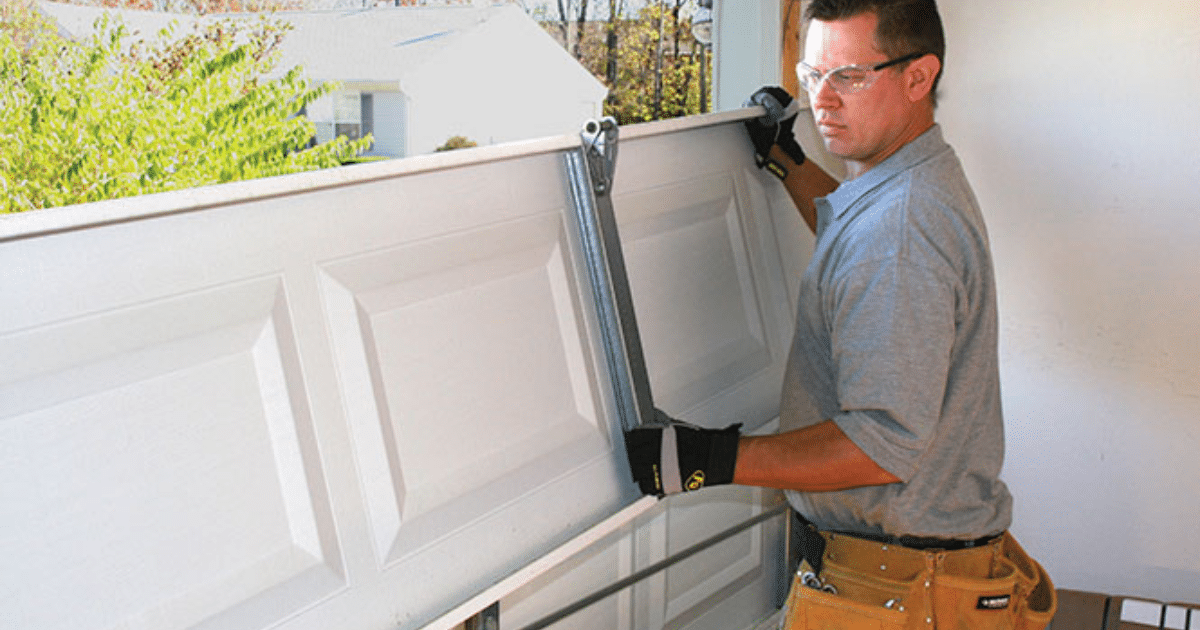
When to Call a Pro for LiftMaster Garage Door Opener Issues
While adjusting a LiftMaster garage door opener is often a DIY task, some issues require expert attention:
- Broken or worn-out torsion springs (hazardous to DIY)
- Motor or circuit board failure
- Persistent misalignment despite adjustments
Frequently Asked Questions
Why does my garage door go down 2 feet then back up?
If your garage door goes down a little and then goes back up, the safety sensors might be dirty or not lined up. Check to make sure nothing blocks them and they face each other. Clean them to help your garage door work the right way.
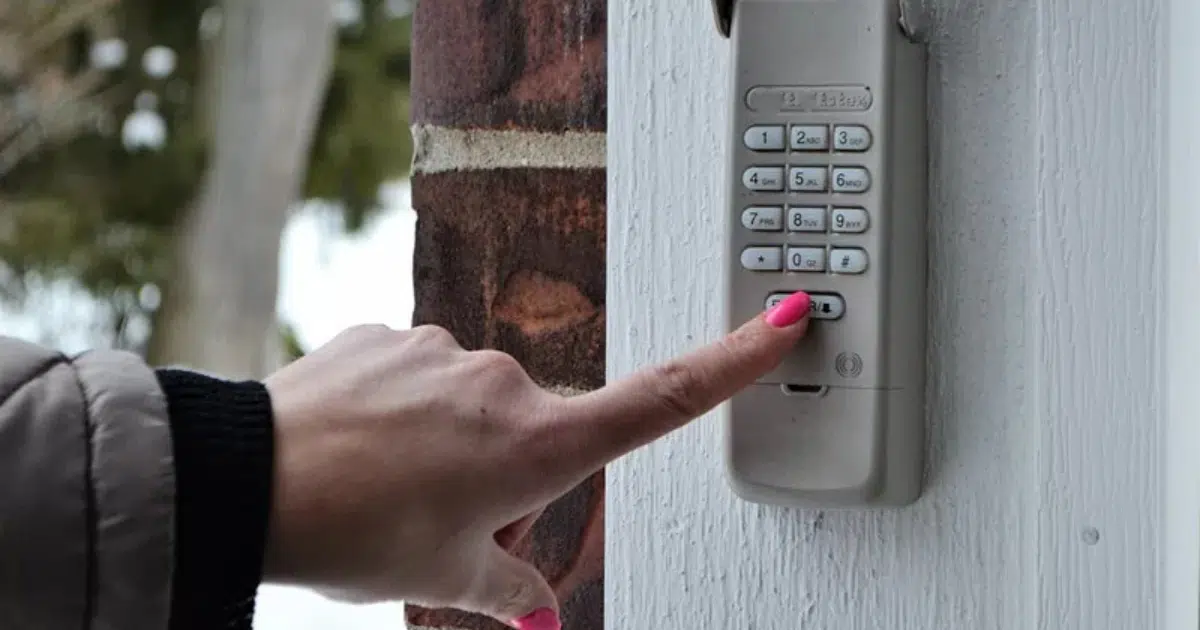
What are the different buttons on the LiftMaster garage door opener?
The LiftMaster garage door opener has buttons like “learn” for setting remotes, “up” and “down” for travel limits, and buttons for lights or locking. These buttons help control how your garage door opens and closes. If you are unsure, use the manual or call a garage door repair pro.
How to adjust the force on a garage door opener with manual adjustment screws?
Find the screws on the garage door opener marked “up force” and “down force.” Turn right to add more power and left to lower it. Always unplug the opener first. After adjusting, test the door to ensure it moves safely and smoothly.
How to set limits on a LiftMaster garage door opener?
To set limits on your LiftMaster garage door opener, press the “adjust” button until the up arrow blinks. Use the arrows to set how far the door opens or closes. Press “set” to save. This helps your garage door stop at the right spots.
Conclusion
Adjusting your garage door opener can make a big difference in how your door works every day. Small changes can help your door open and close smoothly and safely. Adjusting a LiftMaster garage door opener is an easy fix that brings real results.
If your door still has problems after adjusting it, it’s a good idea to call a pro. Some issues need someone with experience to find and fix the cause. Getting help early can stop bigger problems later. This is when garage door contractors can really help.
All About Doors is here to fix any garage door problem you have. Whether you need help with your opener or want your whole door checked, our team is ready. For expert help with adjusting a LiftMaster garage door opener, call us today at (410) 590-5662.
End Note
If your business needs strong and reliable doors, visit our homepage to see how All About Doors can help. We install commercial garage doors in Glen Burnie, MD, using trusted Wayne Dalton doors that are made to last and built for daily use.
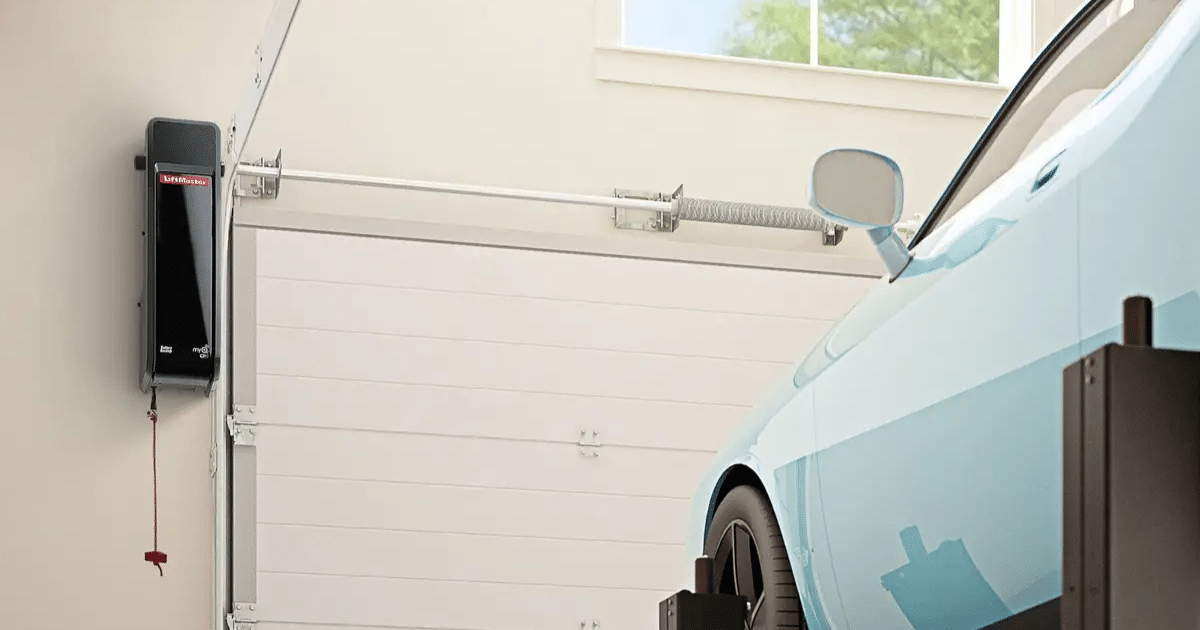
We also offer LiftMaster openers that open and close your doors smoothly every time. Learn more about us and read reviews to see why people trust our team. For fast and reliable garage door repair in Carroll County, our team is ready to help.
Look at our work in the gallery and check out tips on our blog. Visit our showroom, follow us on Facebook, or contact us for expert help. We ensure your commercial garage doors stay safe, strong, and working properly.
All About Doors
120 N Langley Rd, Glen Burnie, MD 21060, United States
+14105905662